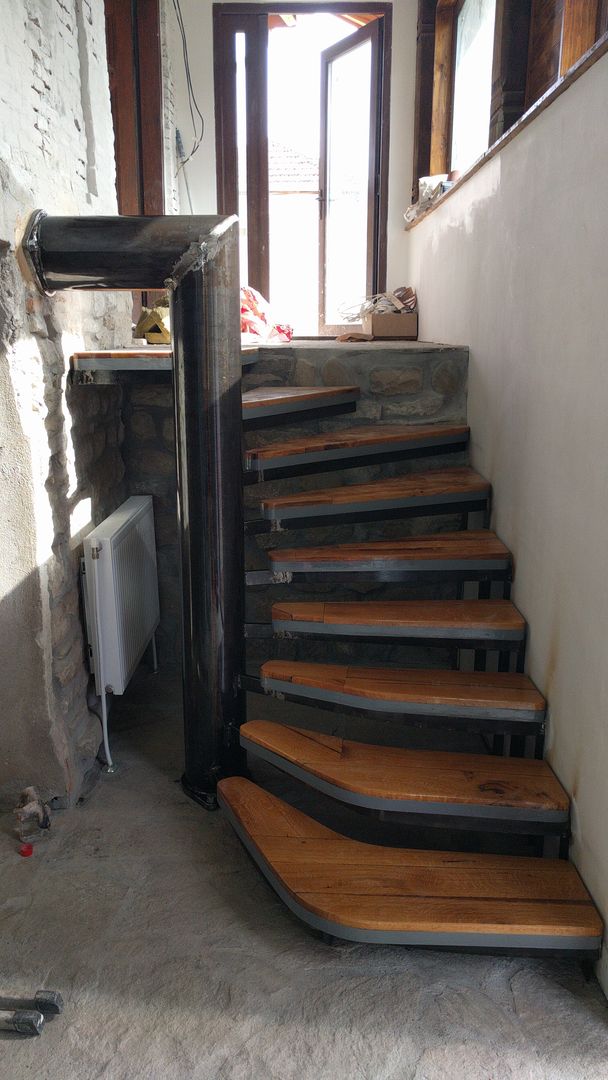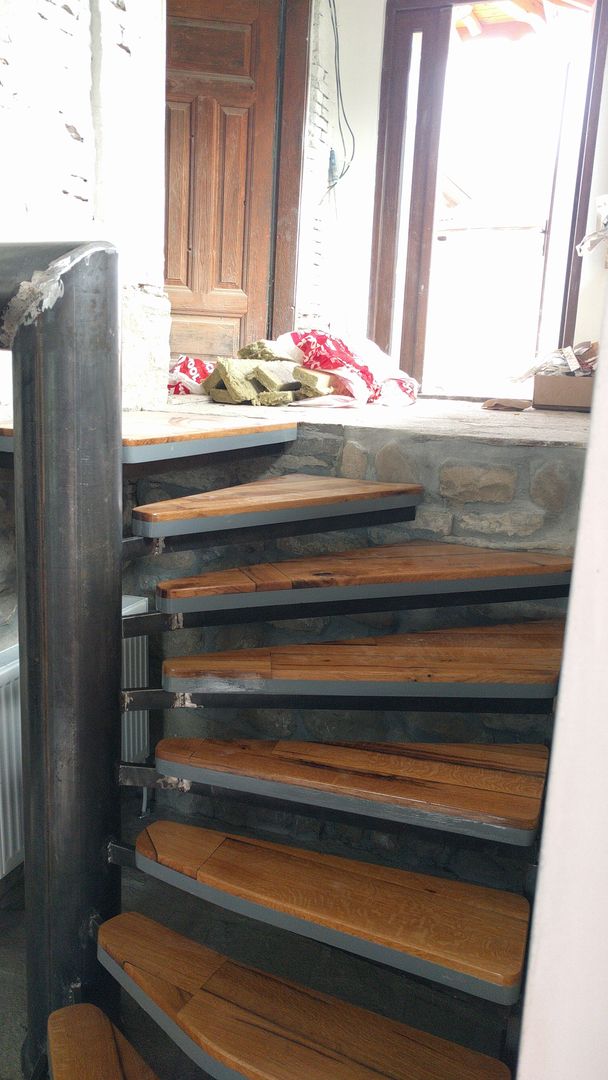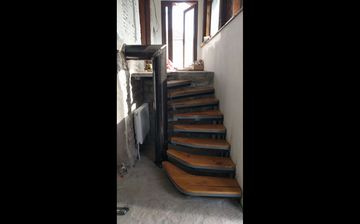
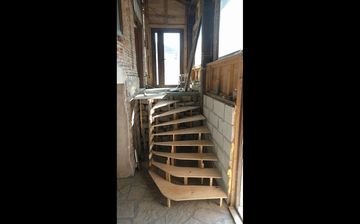
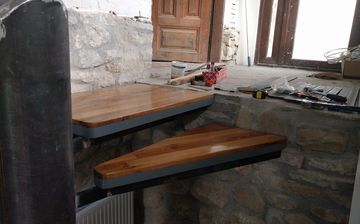
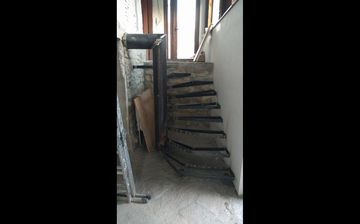
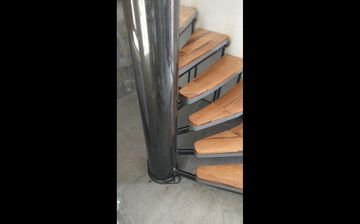
This is the finished staircase, at a village house in central Bulgaria, that has been completely rebuilt by it new owners. I was brought in just for the staircase when the house was about 80% complete. It's only a 1.5 meter height, and the owner had the idea for the large metal pipe as the center column, but let me come up with everything else.

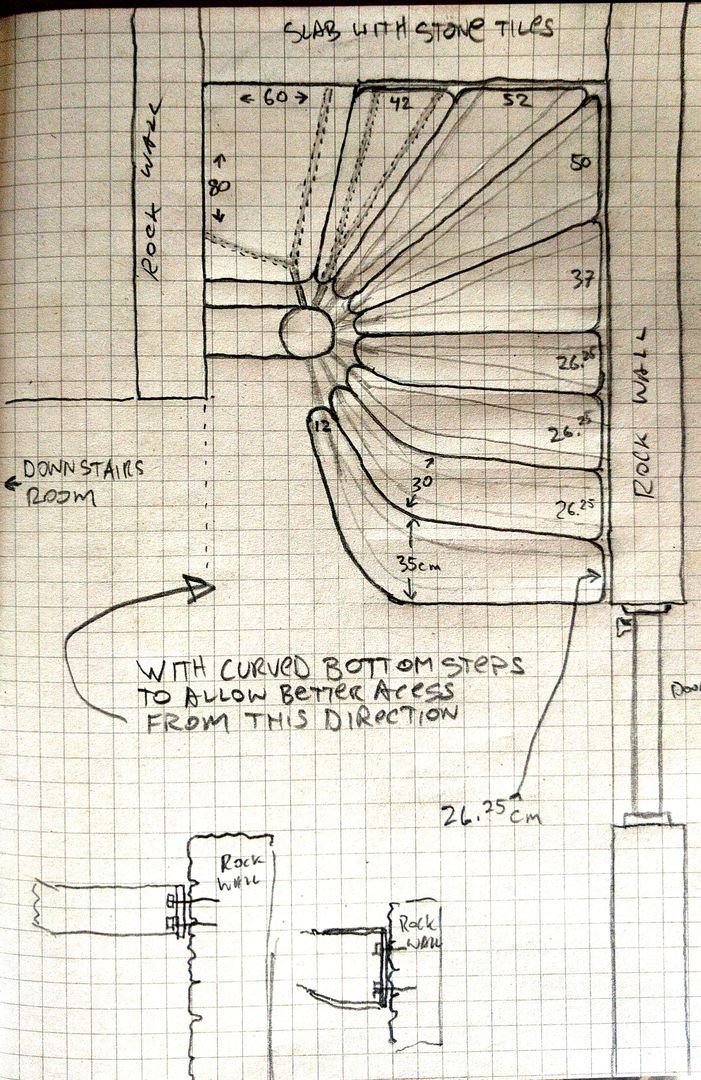
I drew up a few designs for the stair shapes and this one was the one they liked most. At the bottom there are 2 doors on either side and a kitchen area straight ahead so I wanted to make the bottom stairs very curved and inviting to people approaching from all directions.
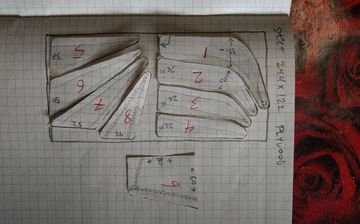
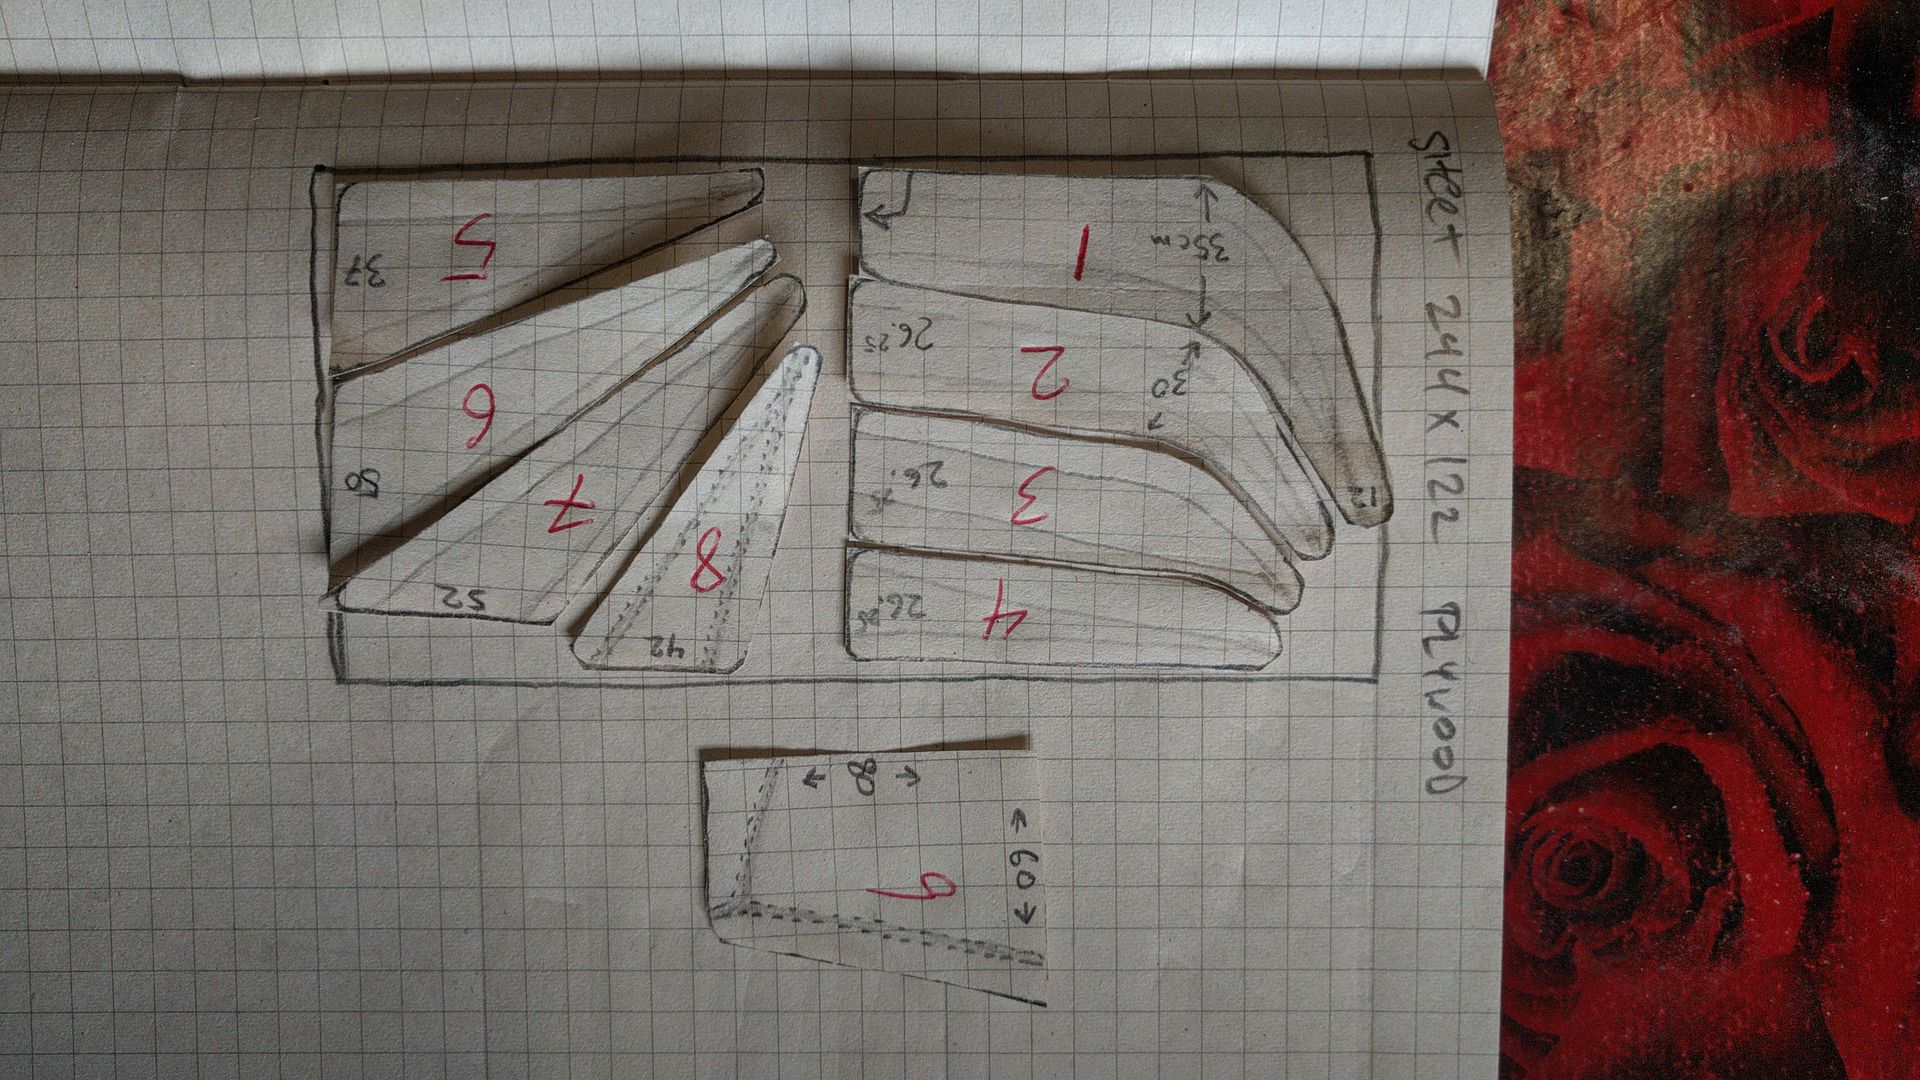
Yes I know you could figure out how to get all the shapes out of one sheet of plywood using a computer and CAD program, but honestly graph paper and scissors is much faster.
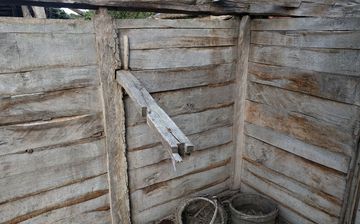
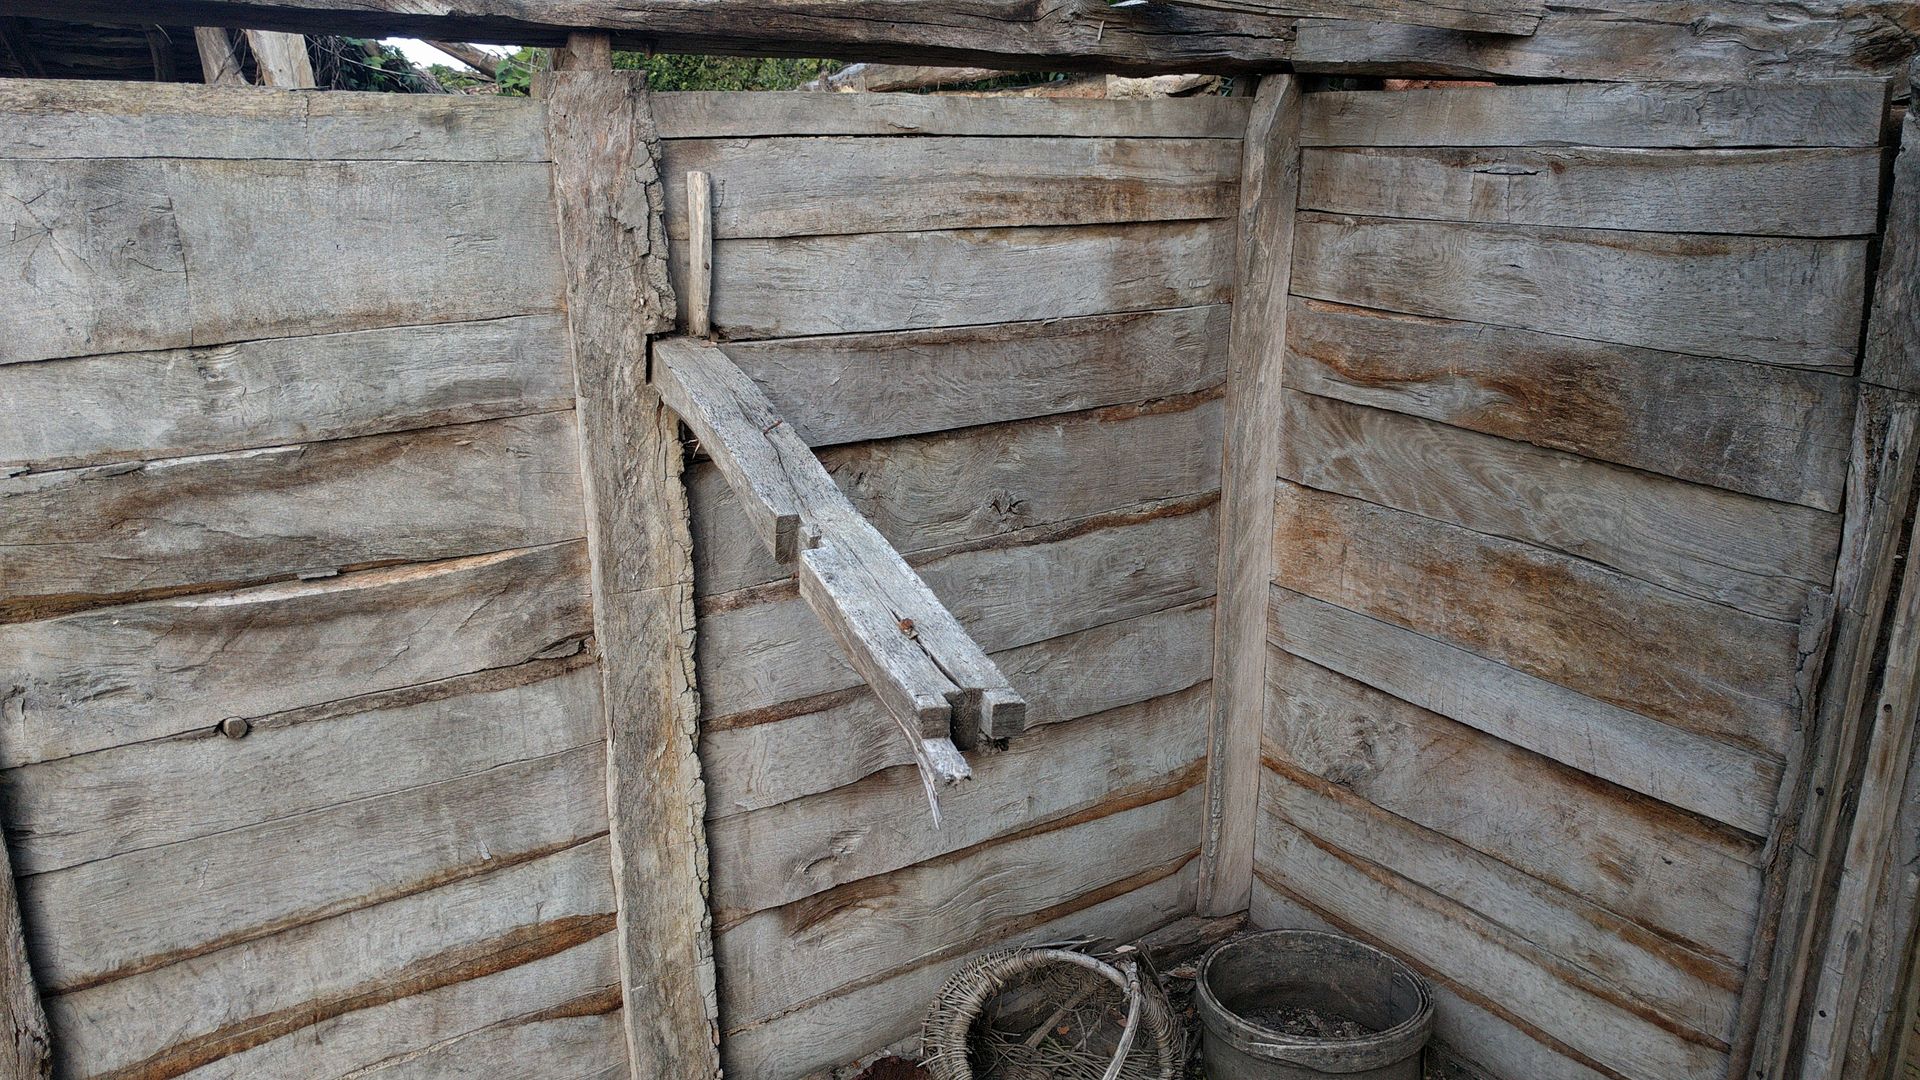
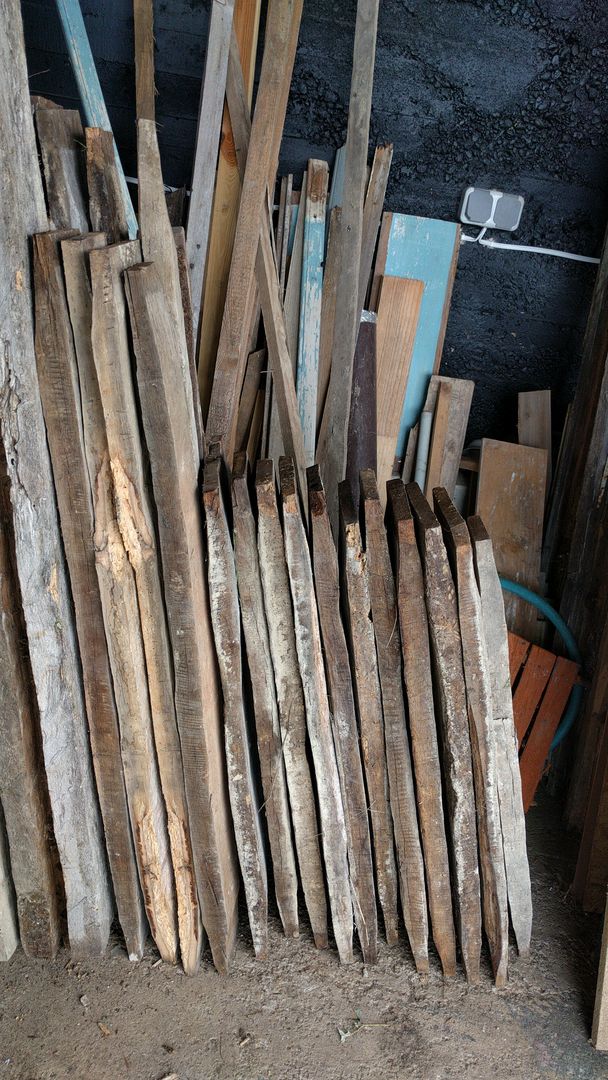
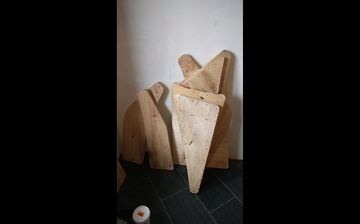
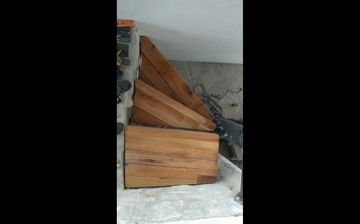
Since using dried hardwood slabs of at least 5cm thick for the stairs would have cost many thousands of monetary units, and the curved shapes would have made that worse, the idea was to use 2 layers of 18mm plywood as a base with a layer on top of old hardwood boards. This is an old animal pen from an abandoned barn in my village. I contacted the owner and made a deal to buy all these boards. They are over 100 years old, and made of locally cut oak. Each one was hand cut and had no nails. I also ended up using the vertical grooved posts that you see.
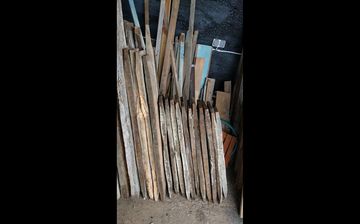
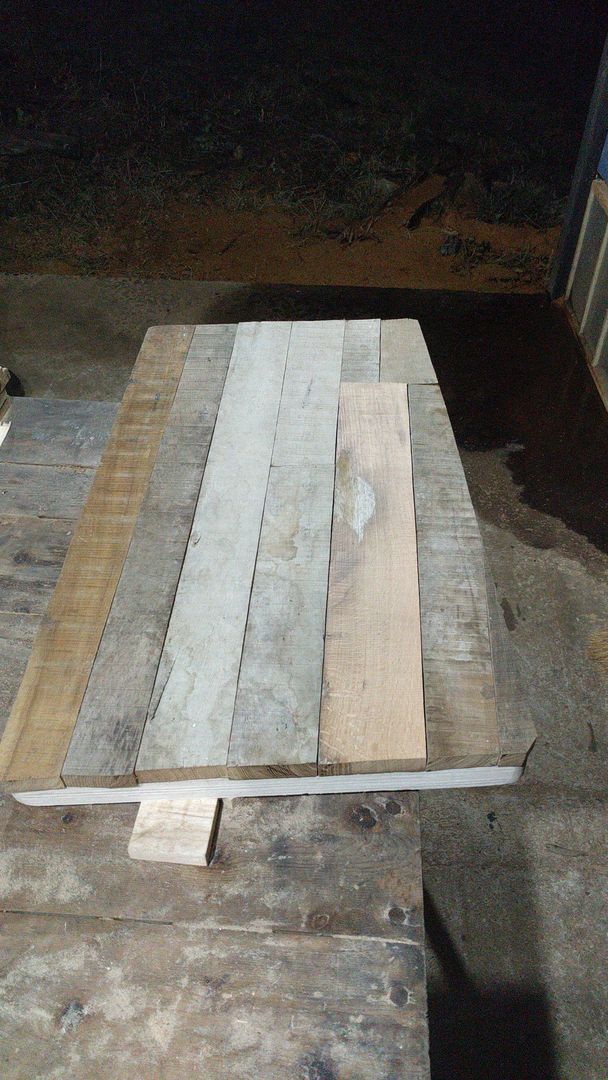
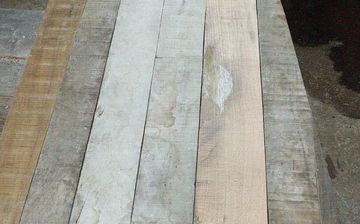
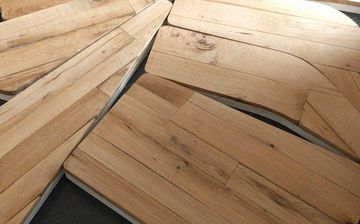
Some of the boards after extraction.
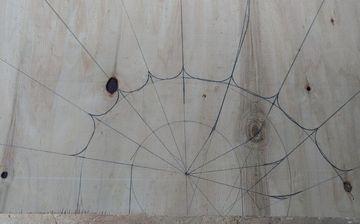
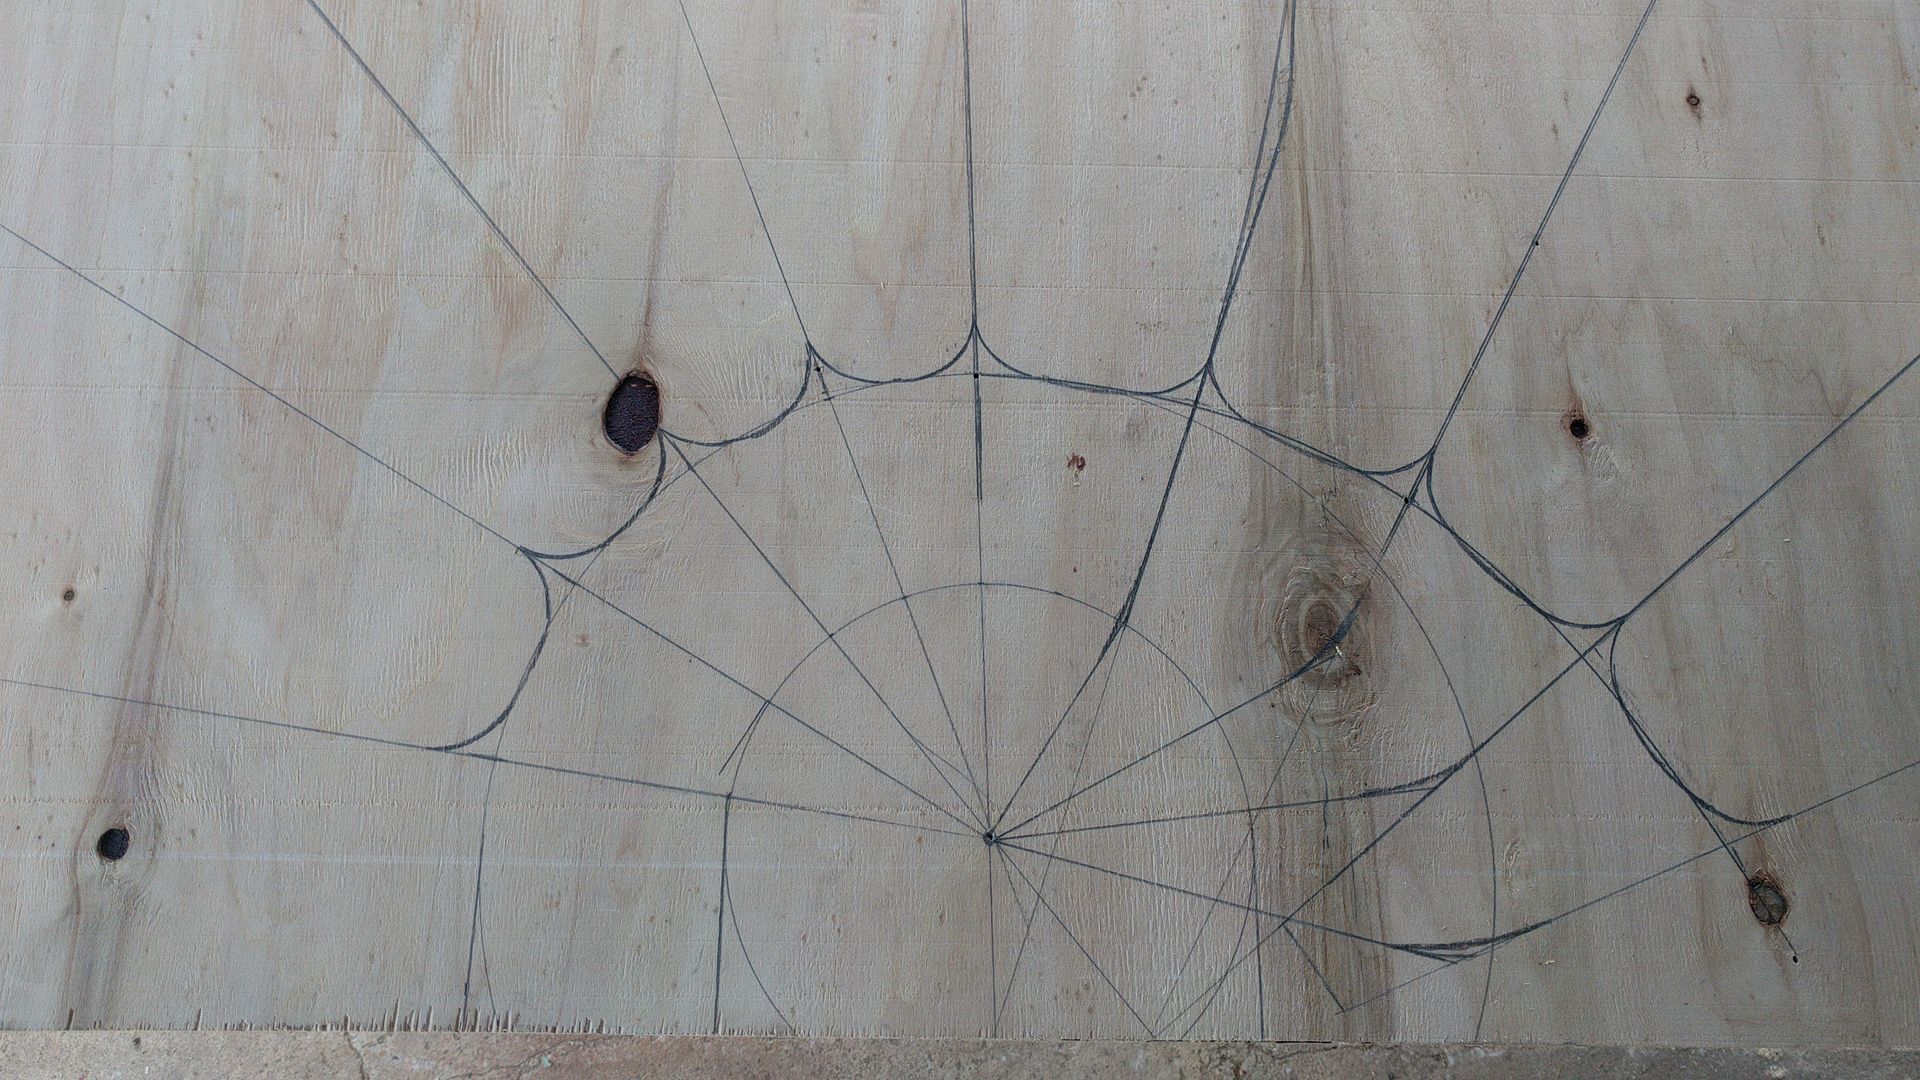
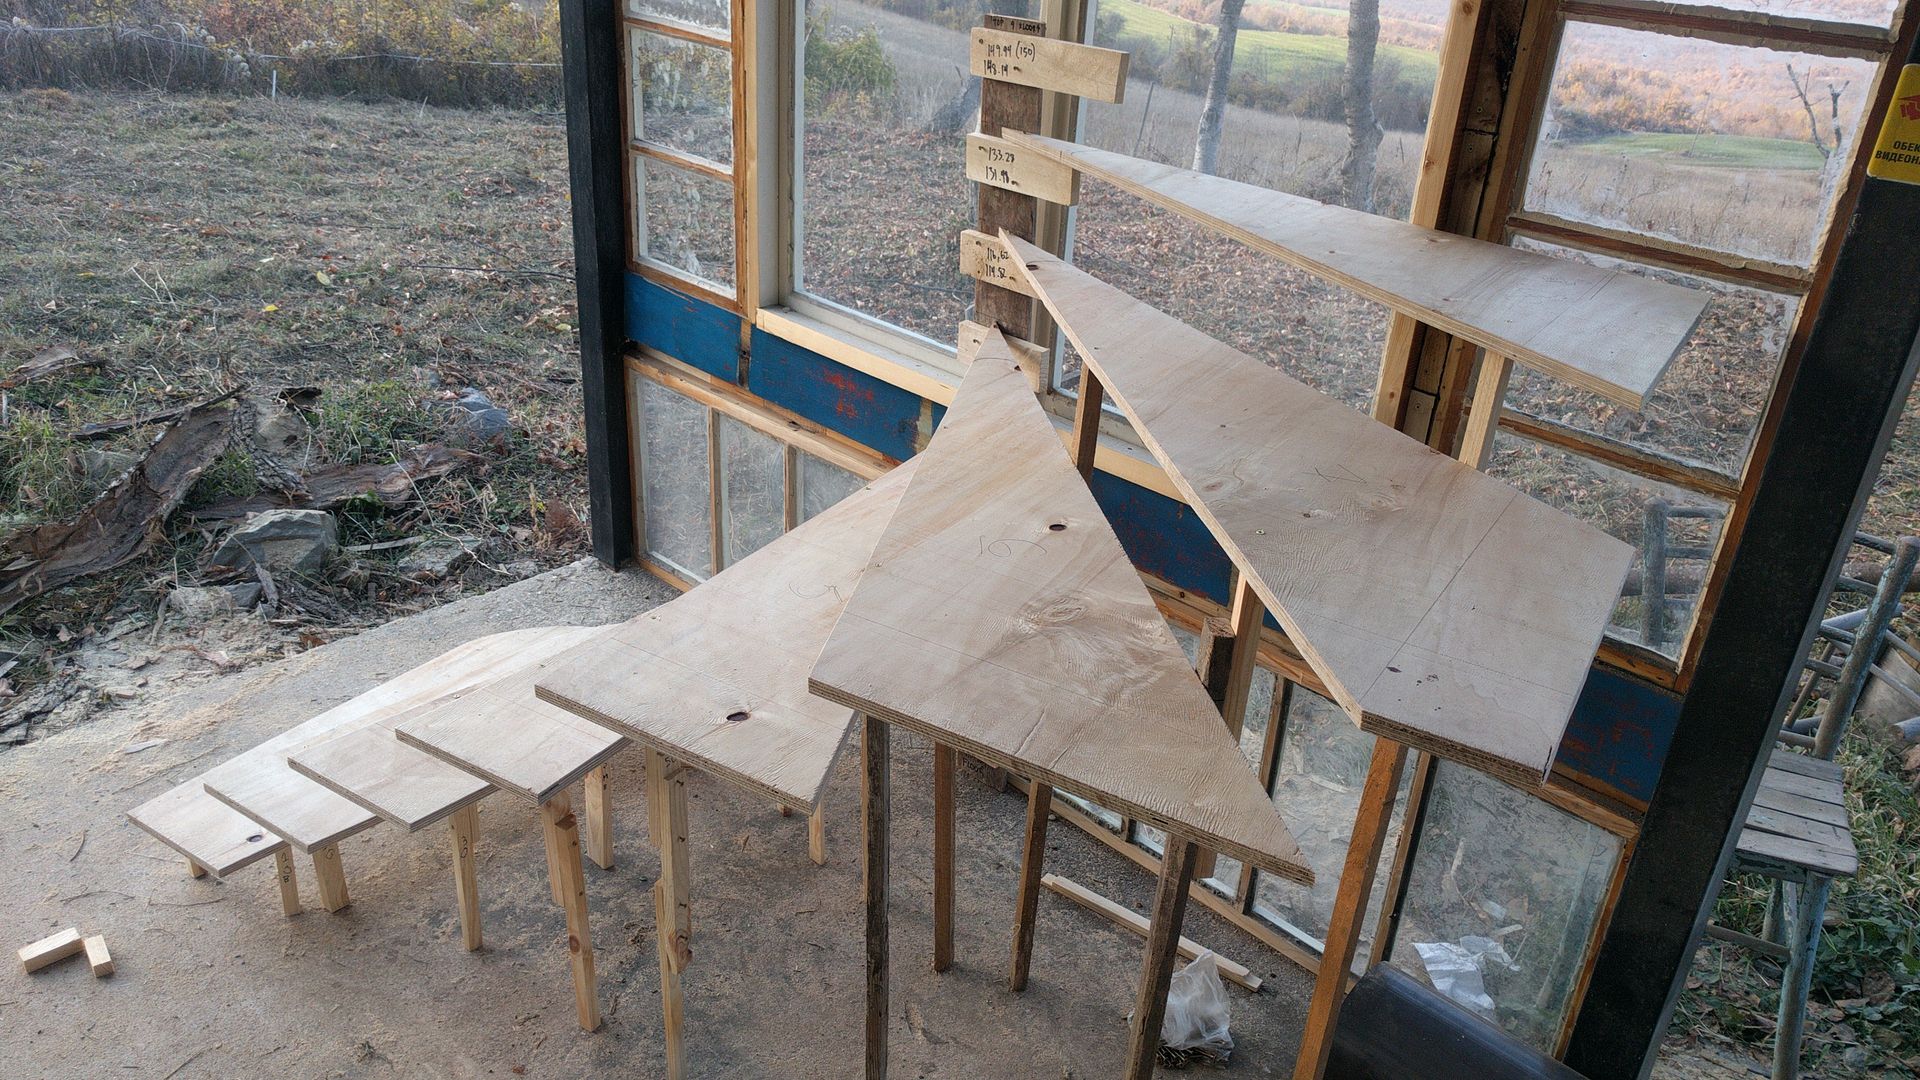
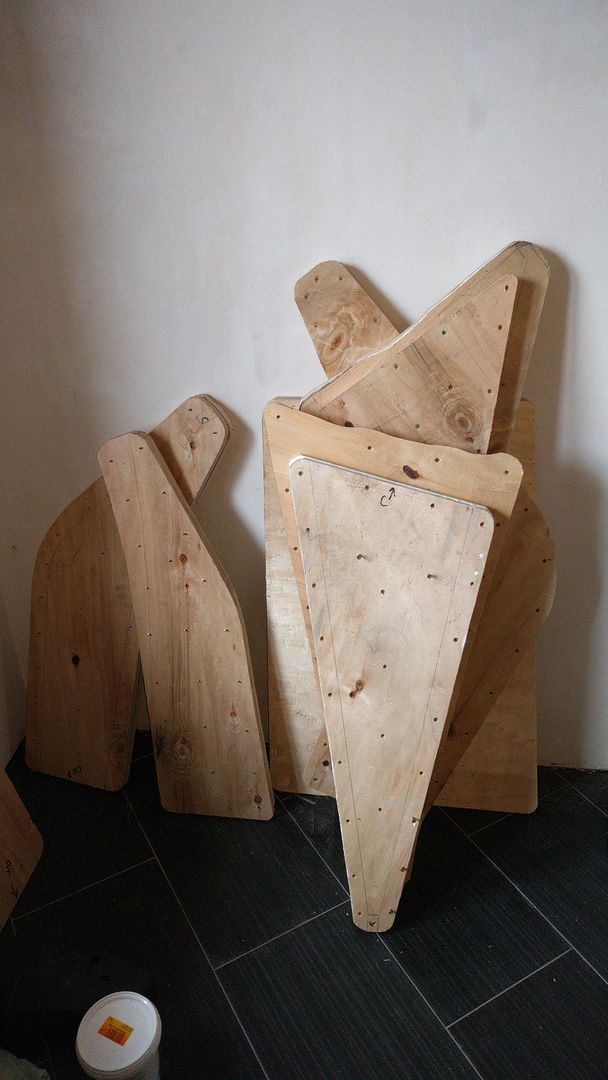
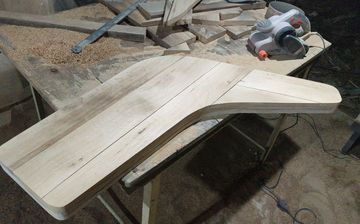
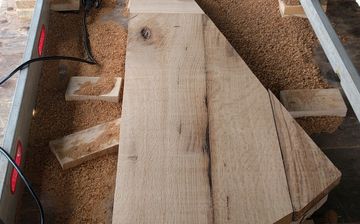
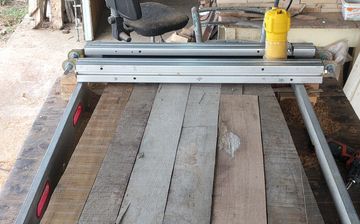
Laying out the center of the design on the first plywood sheet.
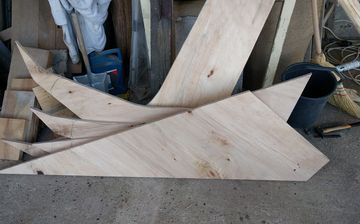
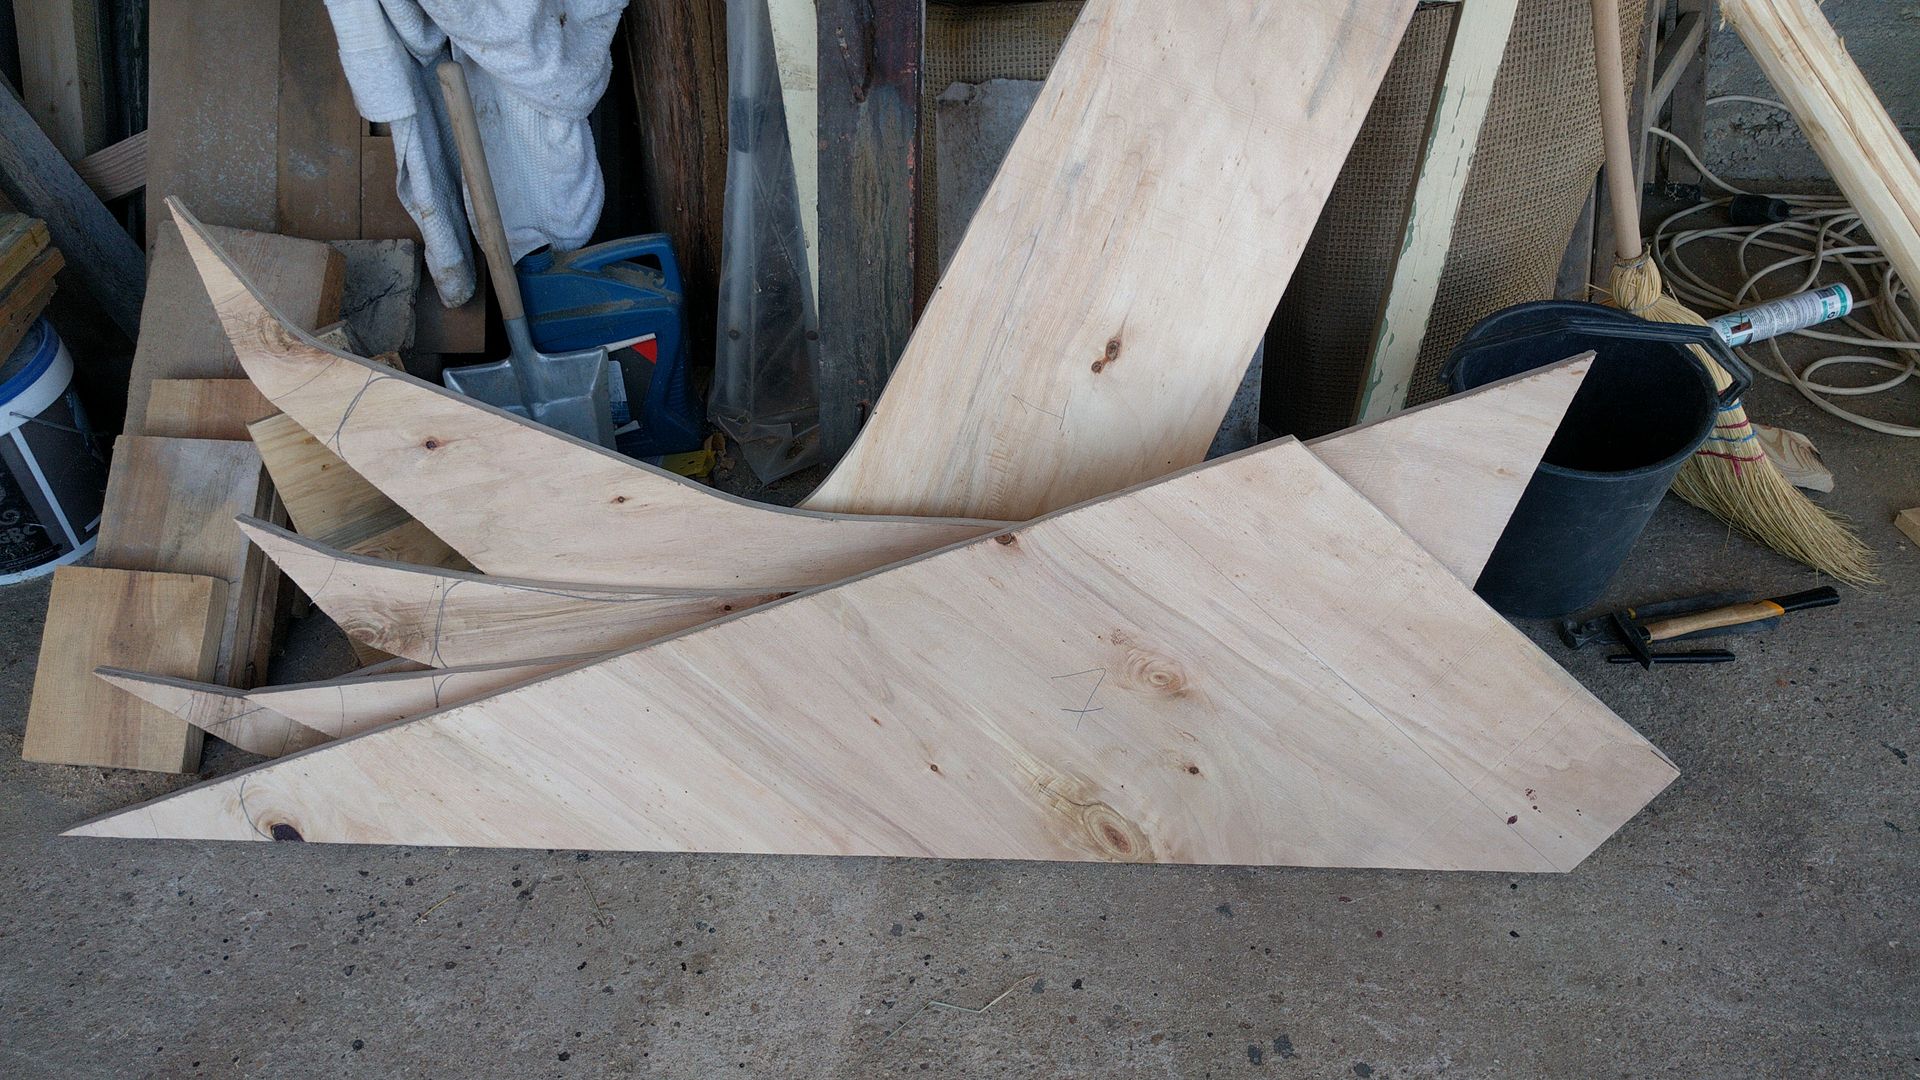
The shapes were cut out to be longer both on the inside and on the outer edges because you cannot predict how they will fit in the actual space when you have rock walls, and imperfect levels and angles.
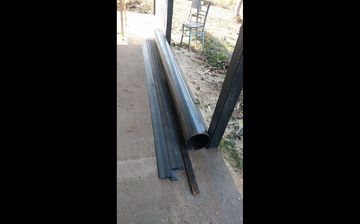
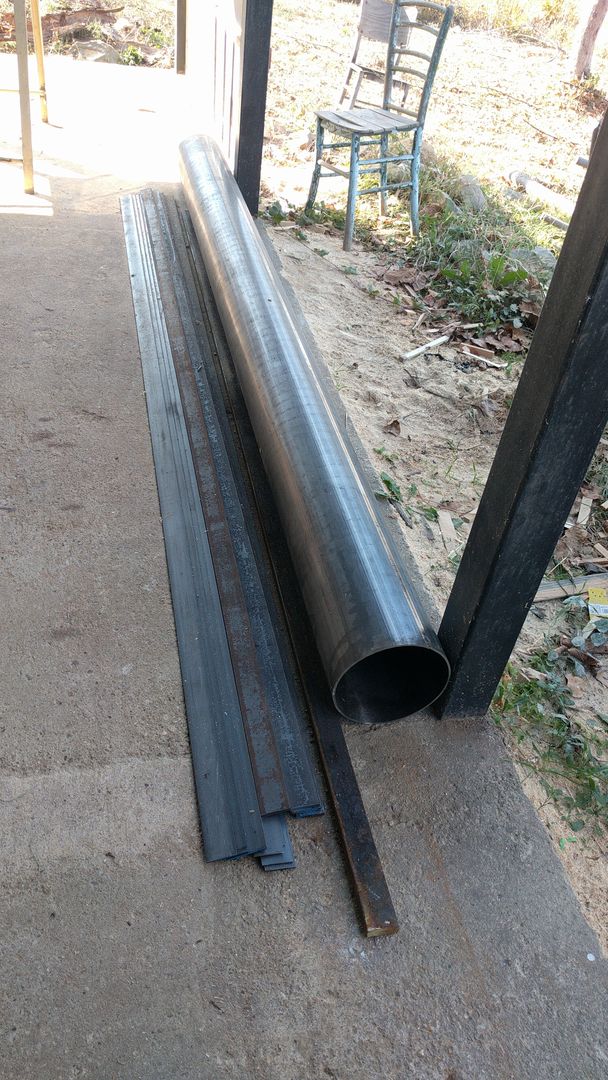
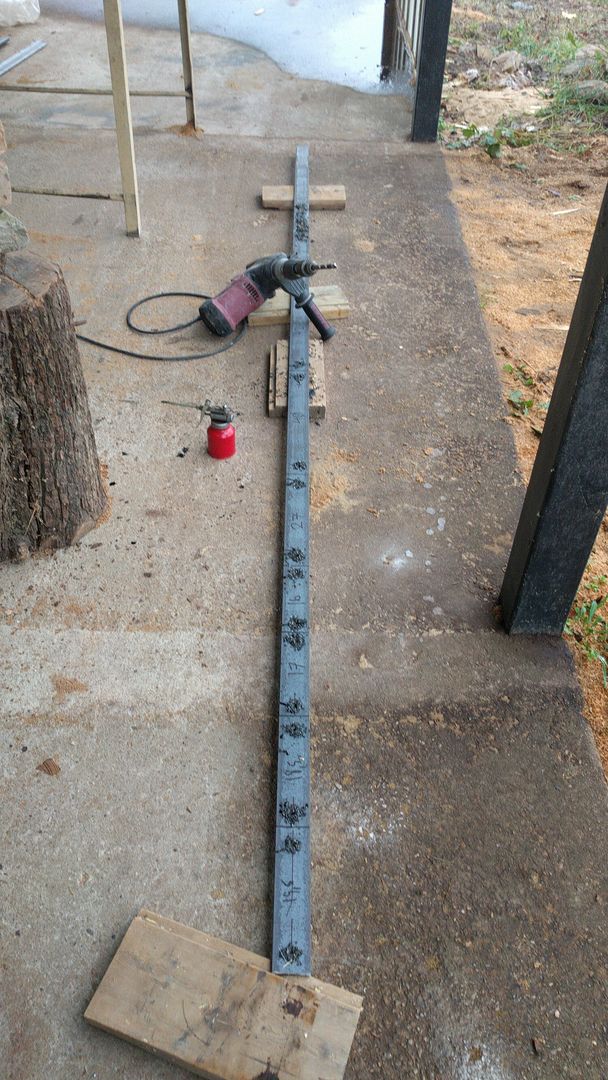
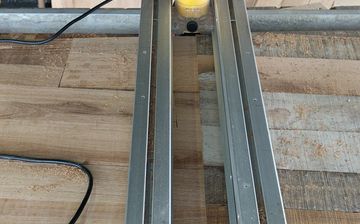
Metal stock for the column and the stair supports.
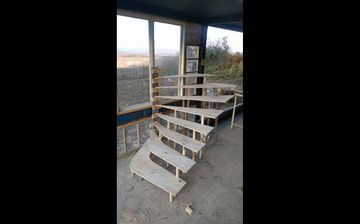
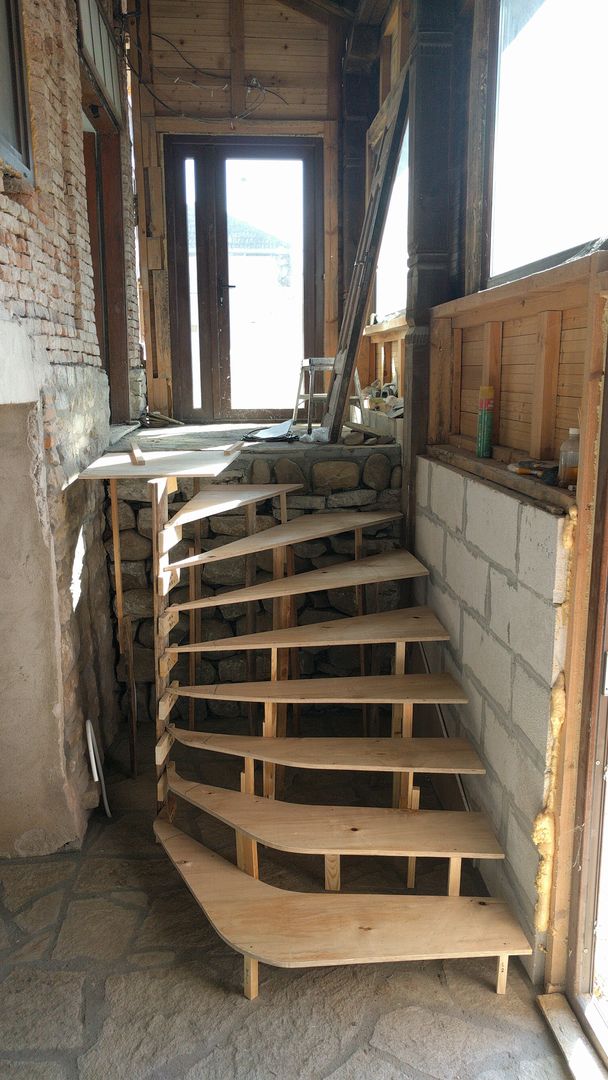
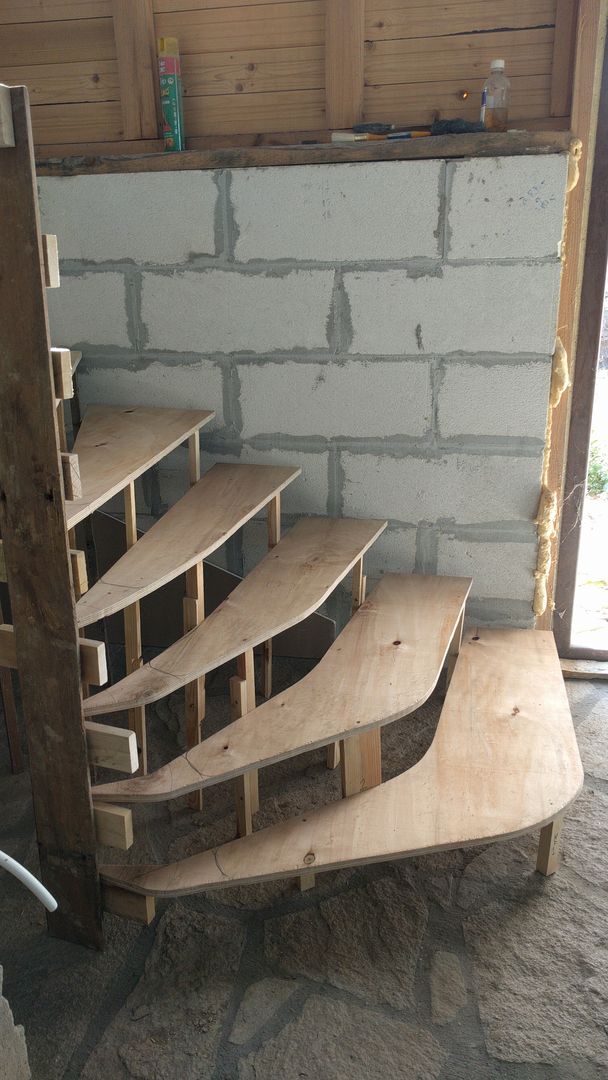
I first made a mock up using sticks and screws with a single layer of plywood.
It was rickety but I actually did carefully walk up and down this thing to make sure that it was going to feel right when finished.
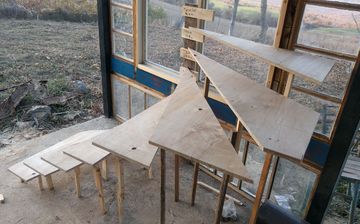
The next step was to take the mock up to the real location and get it all fitted so that I could get the outer edges cut exactly right for the walls. and draw on the inside curves.
You can see the many different surfaces that I had to deal with here. Also the builder told me that the aircrete wall will be covered with gypsum.
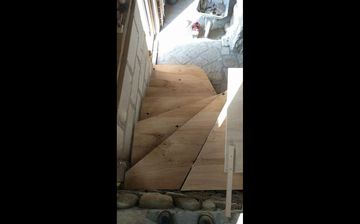
Also the floor has stone tiles which are of course by design not smooth or flat.
Making allowances on the left wall for the future added thickness.
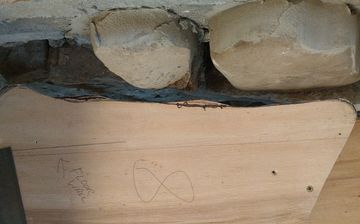
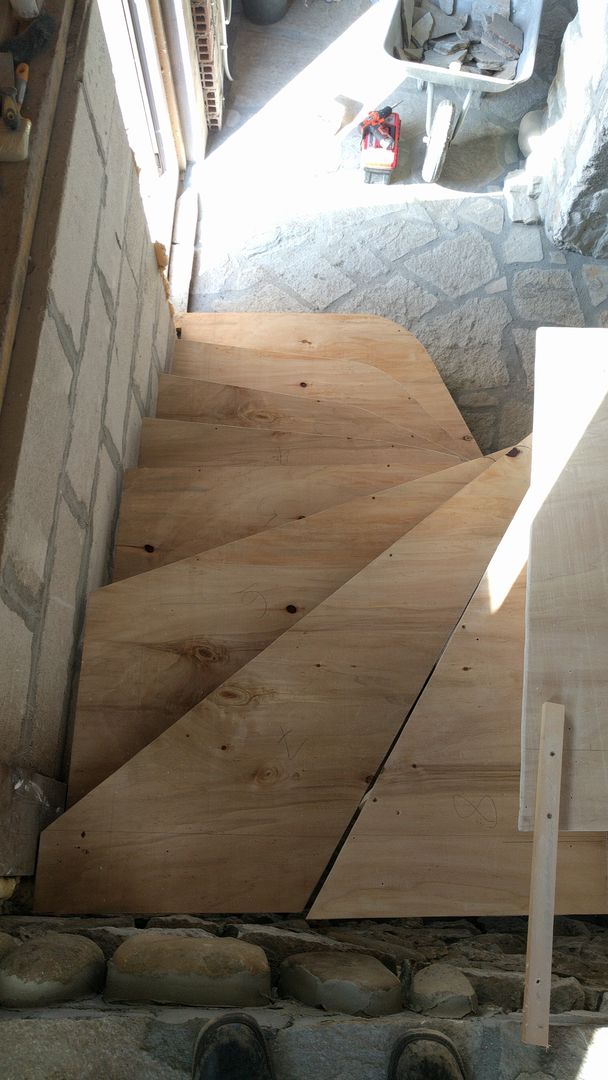
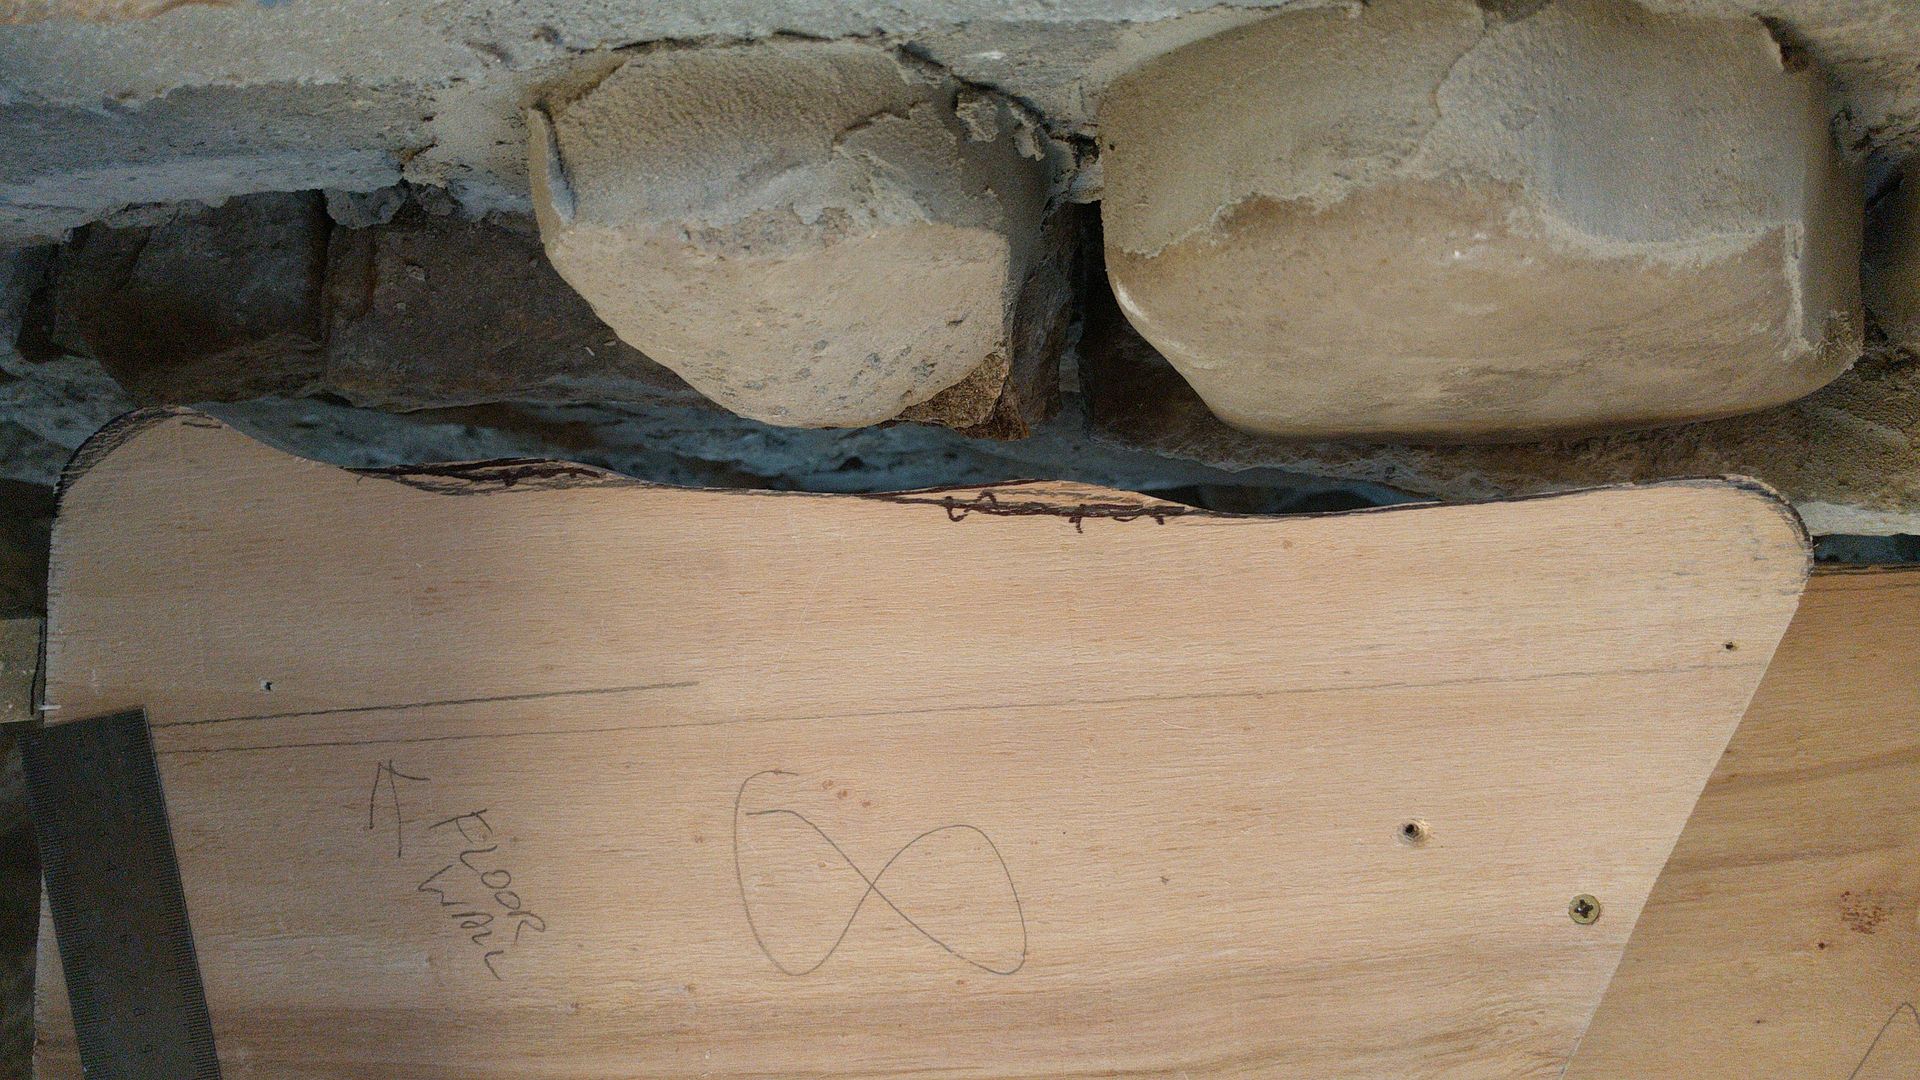
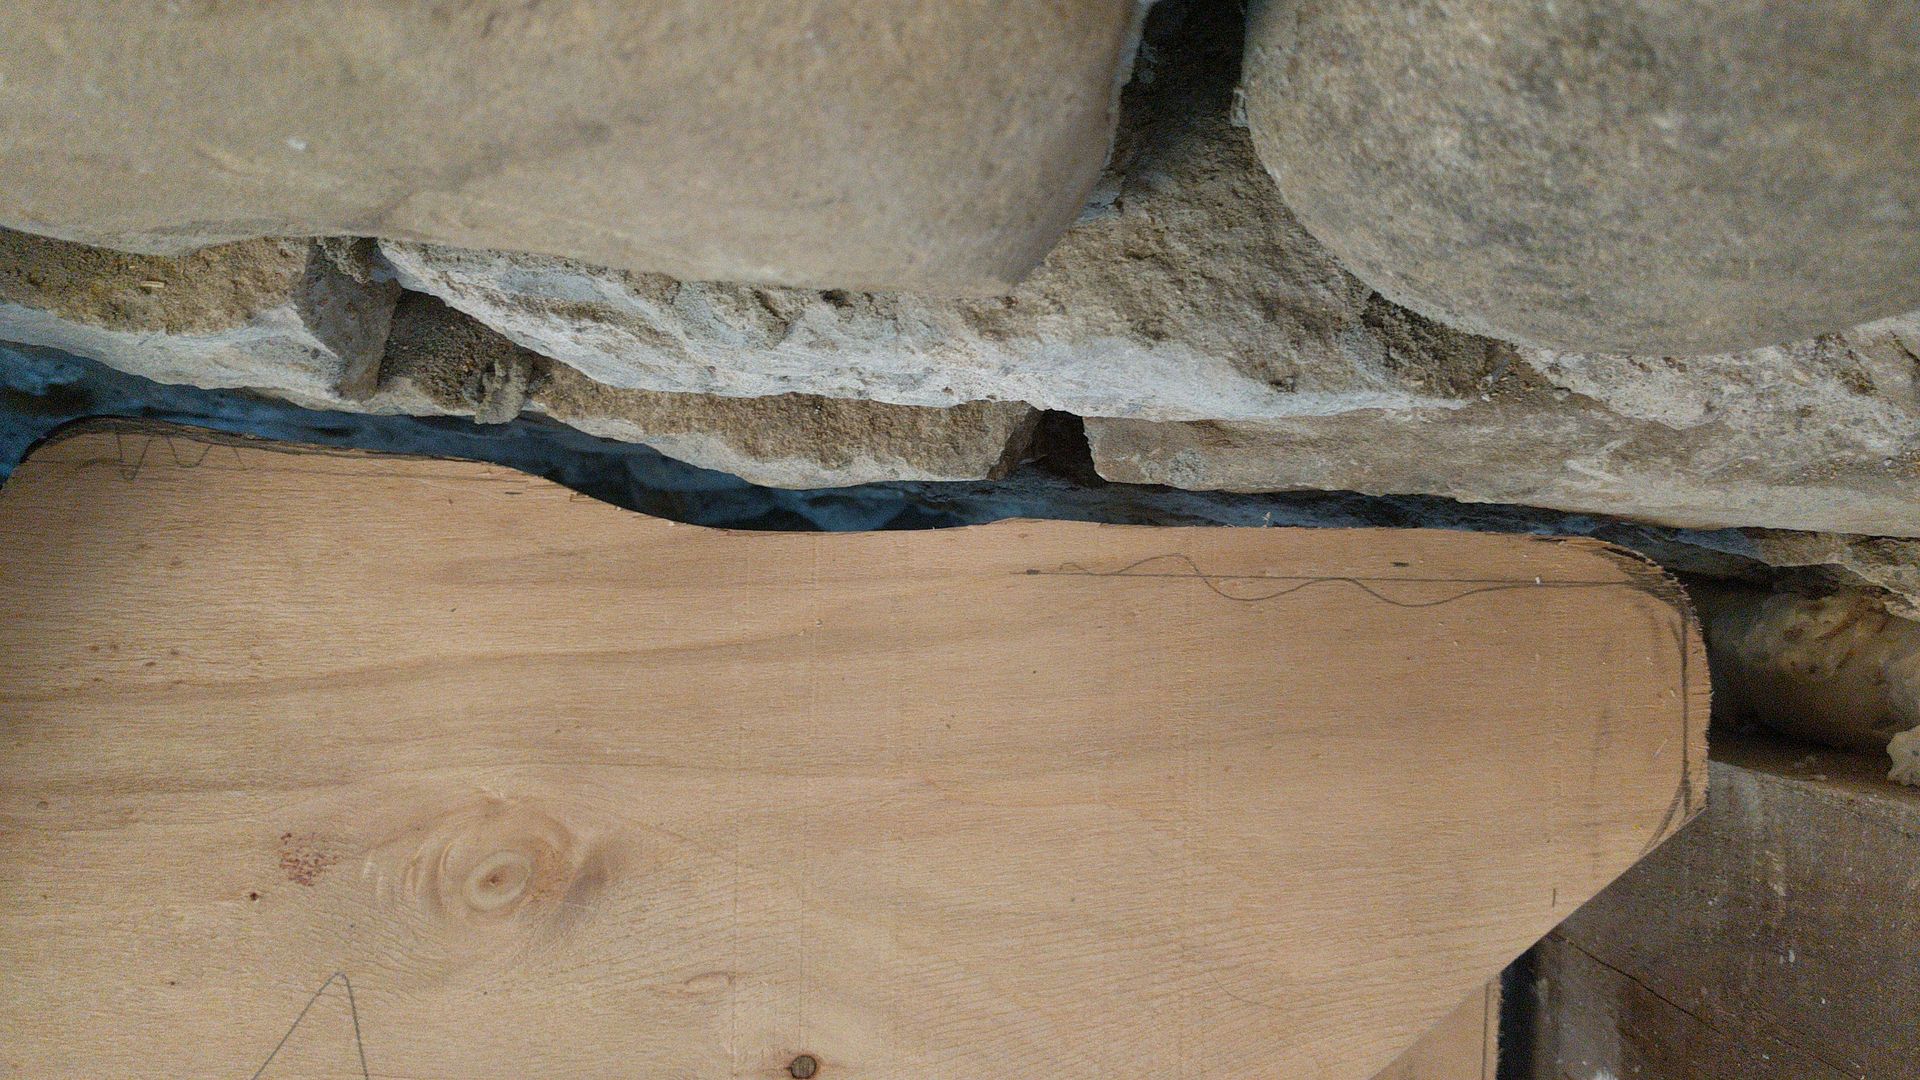
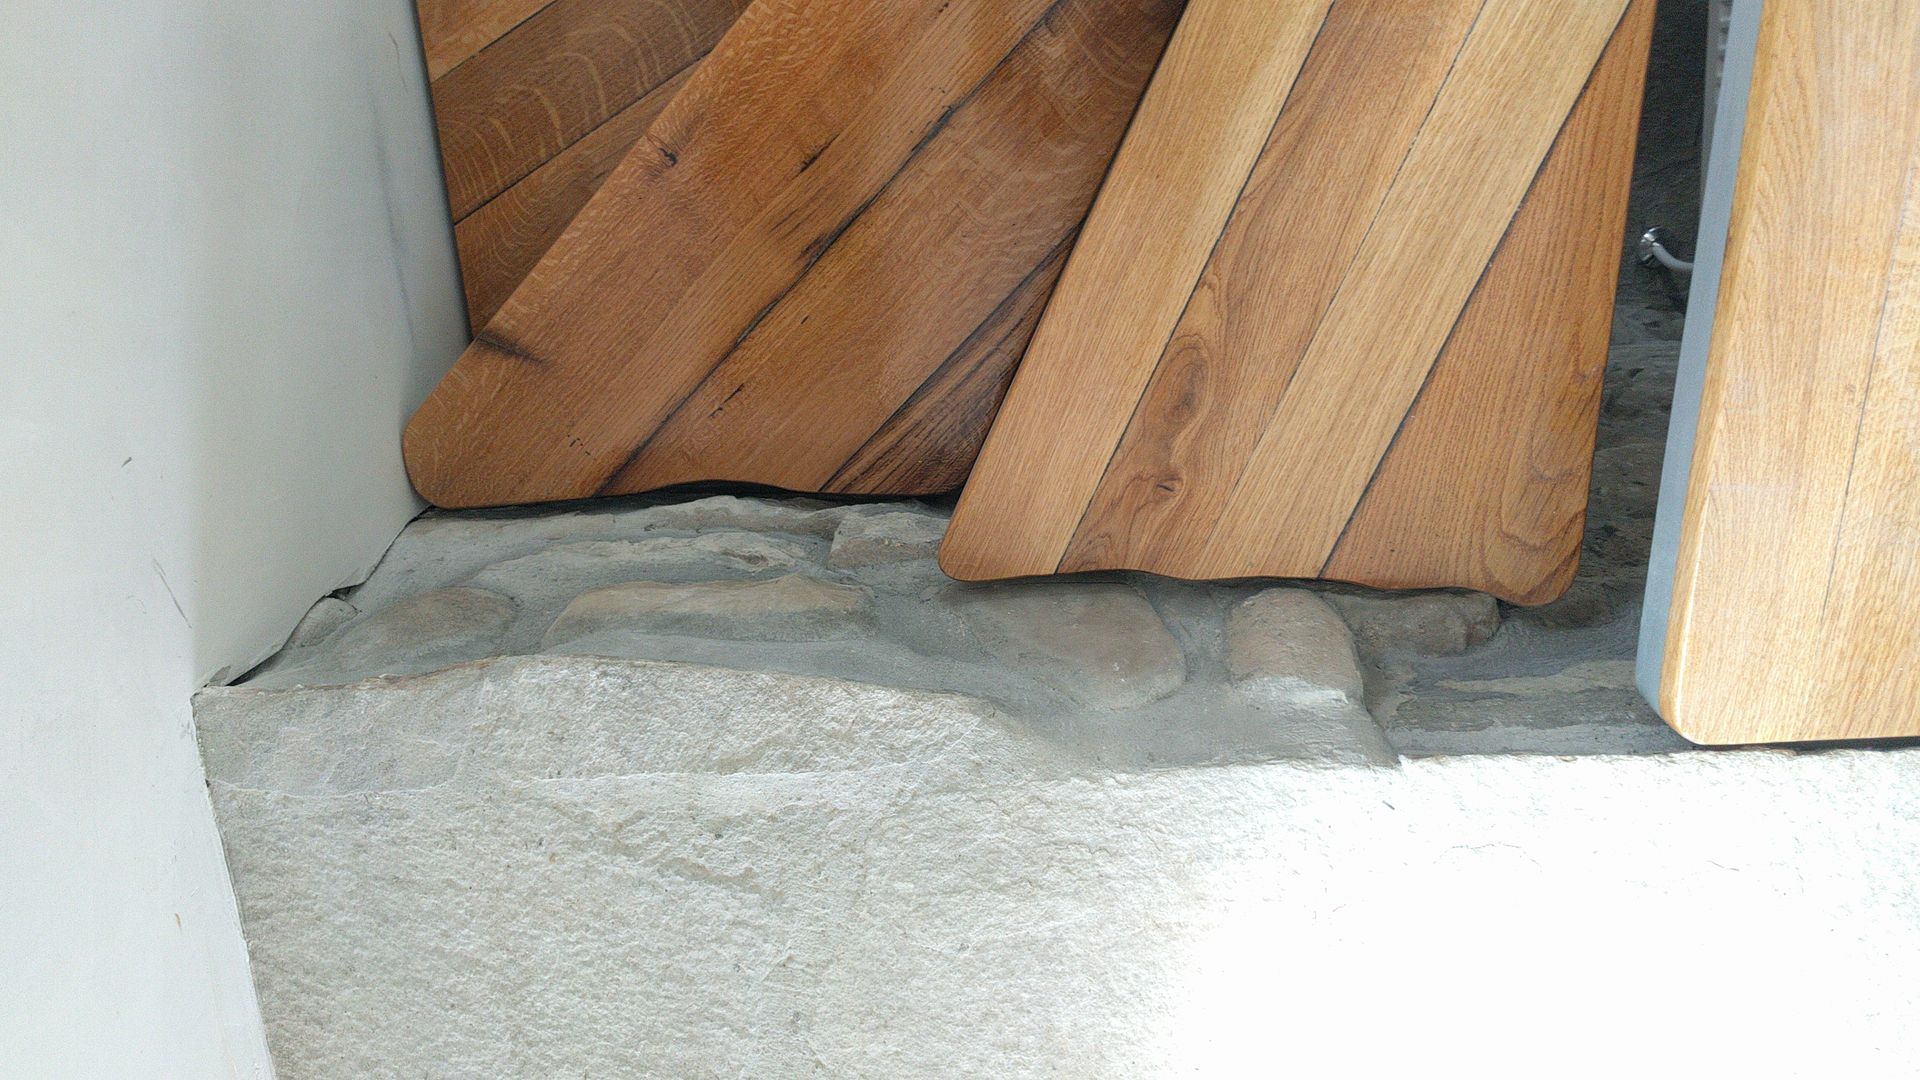
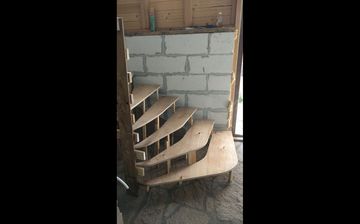
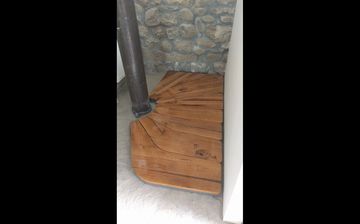
Cutting the back 2 stairs that end against the rock wall to have the same shape as the stones they will meet.
This is the corner stair.
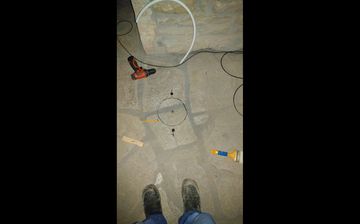
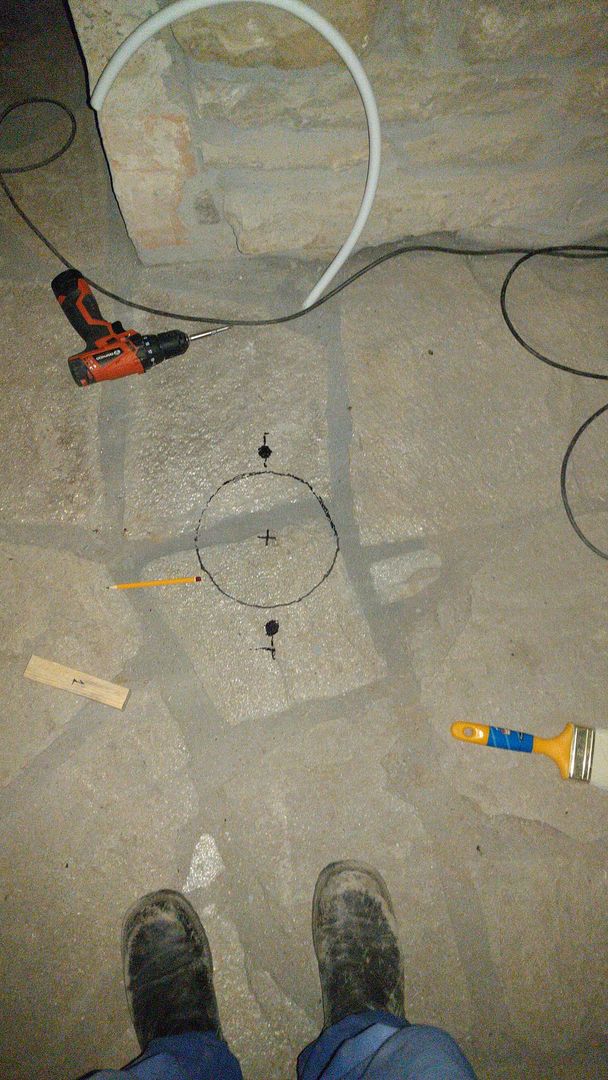
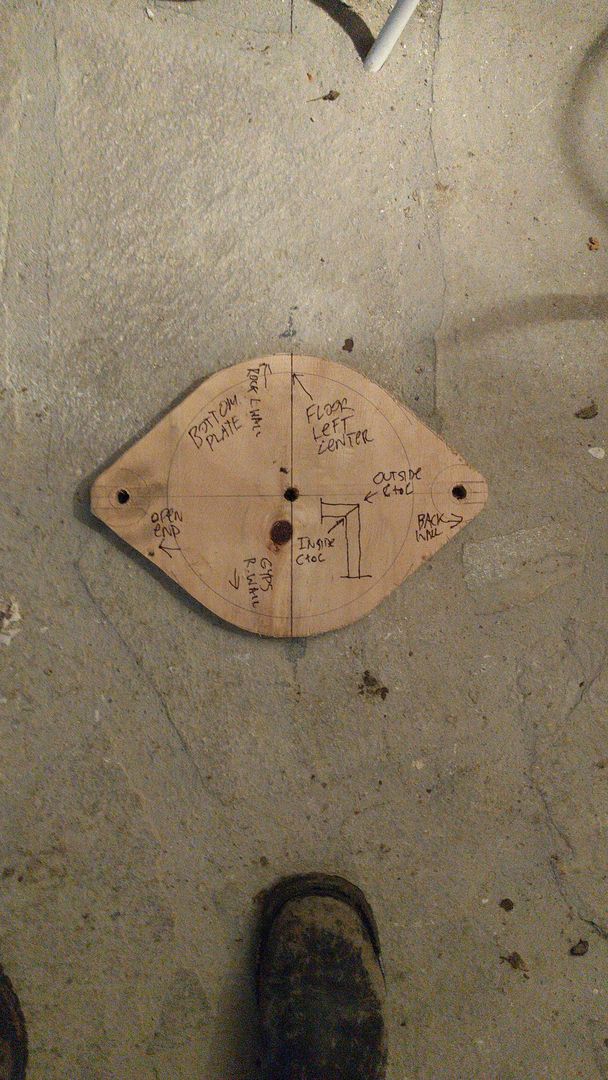
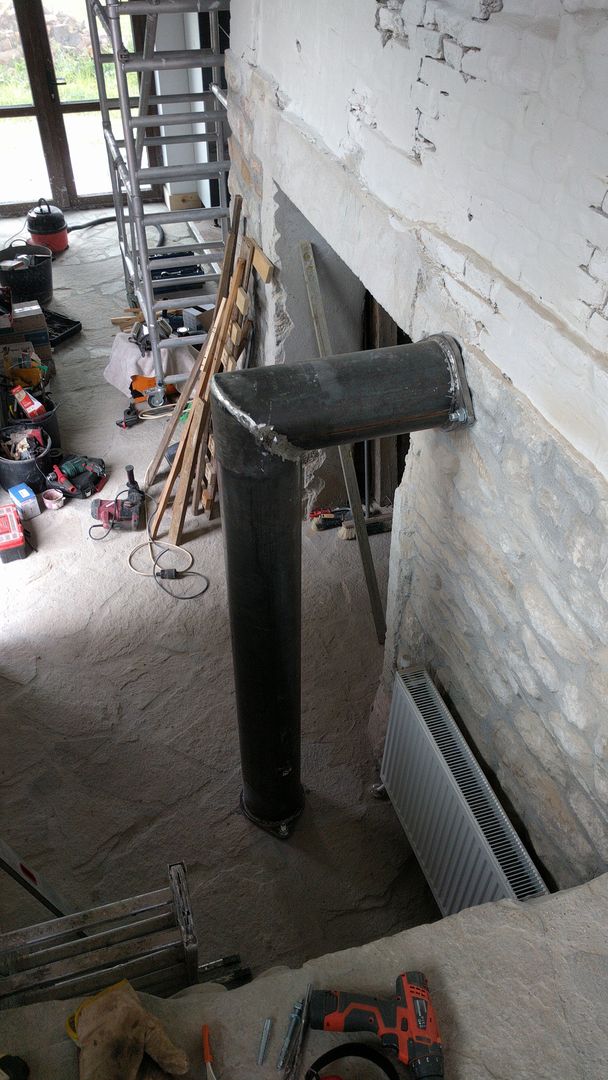
Marking the post floor location. Had to be very carefull not to plan a hole where it would drill through the pex heating pipes that go under the tiles.
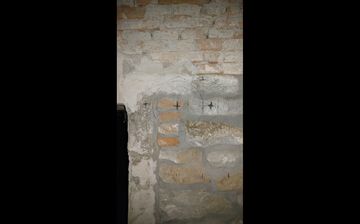
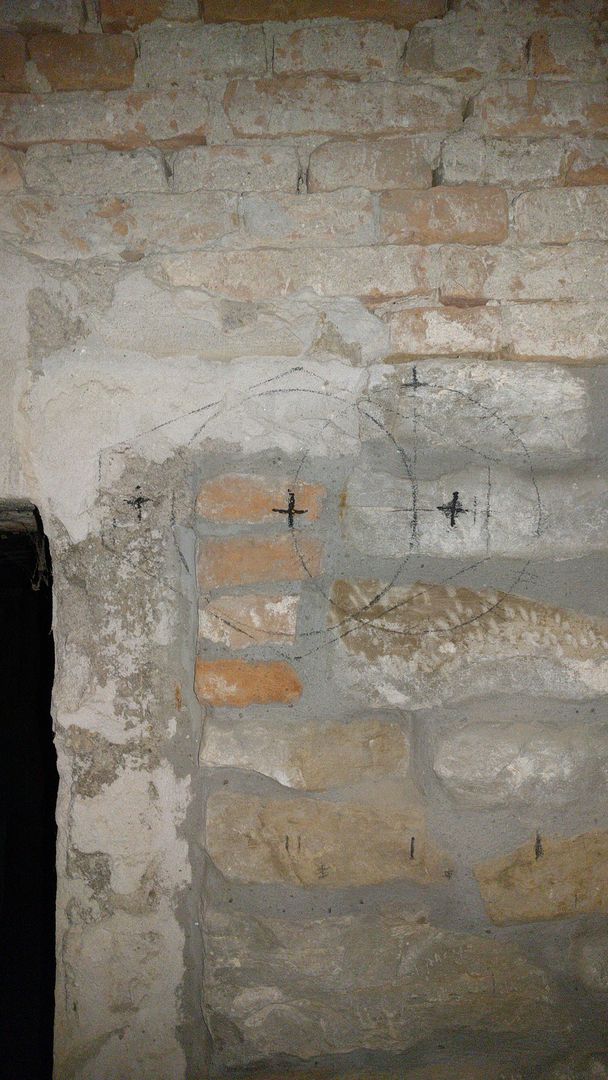
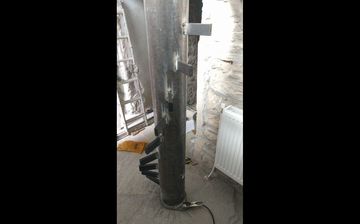
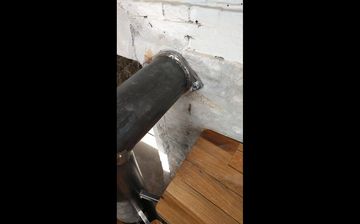
And the spot on the wall for the top of the pipe.
Once the first layer of plywood from the mockups was cut out, I cut out a second layer and screwed and glued them together.
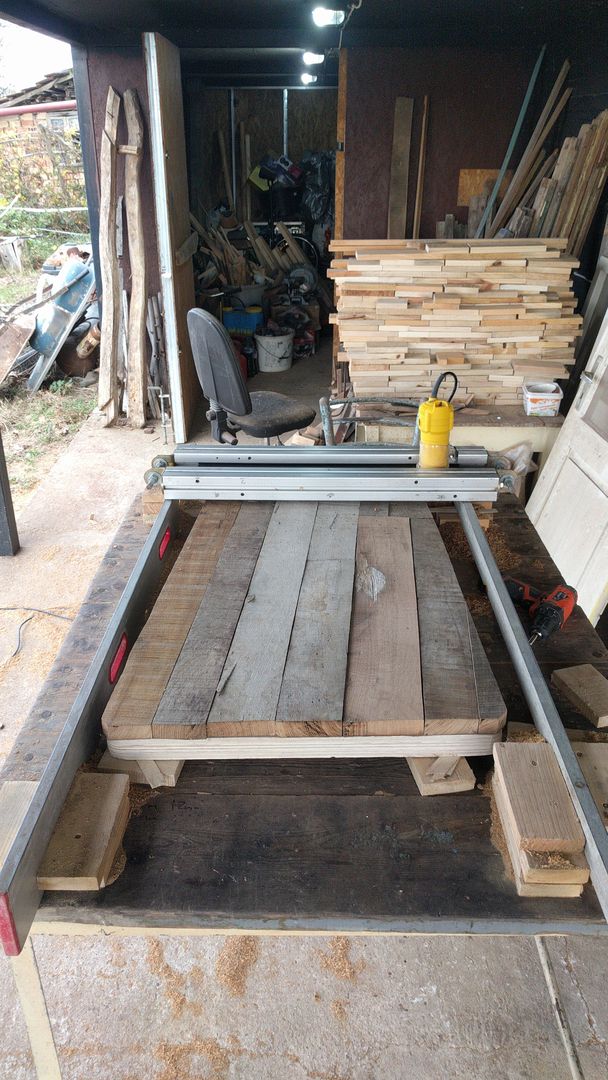
The old oak boards were added, but levelling with a hand power planer and a belt sander was not doing the job as well as I would have liked.
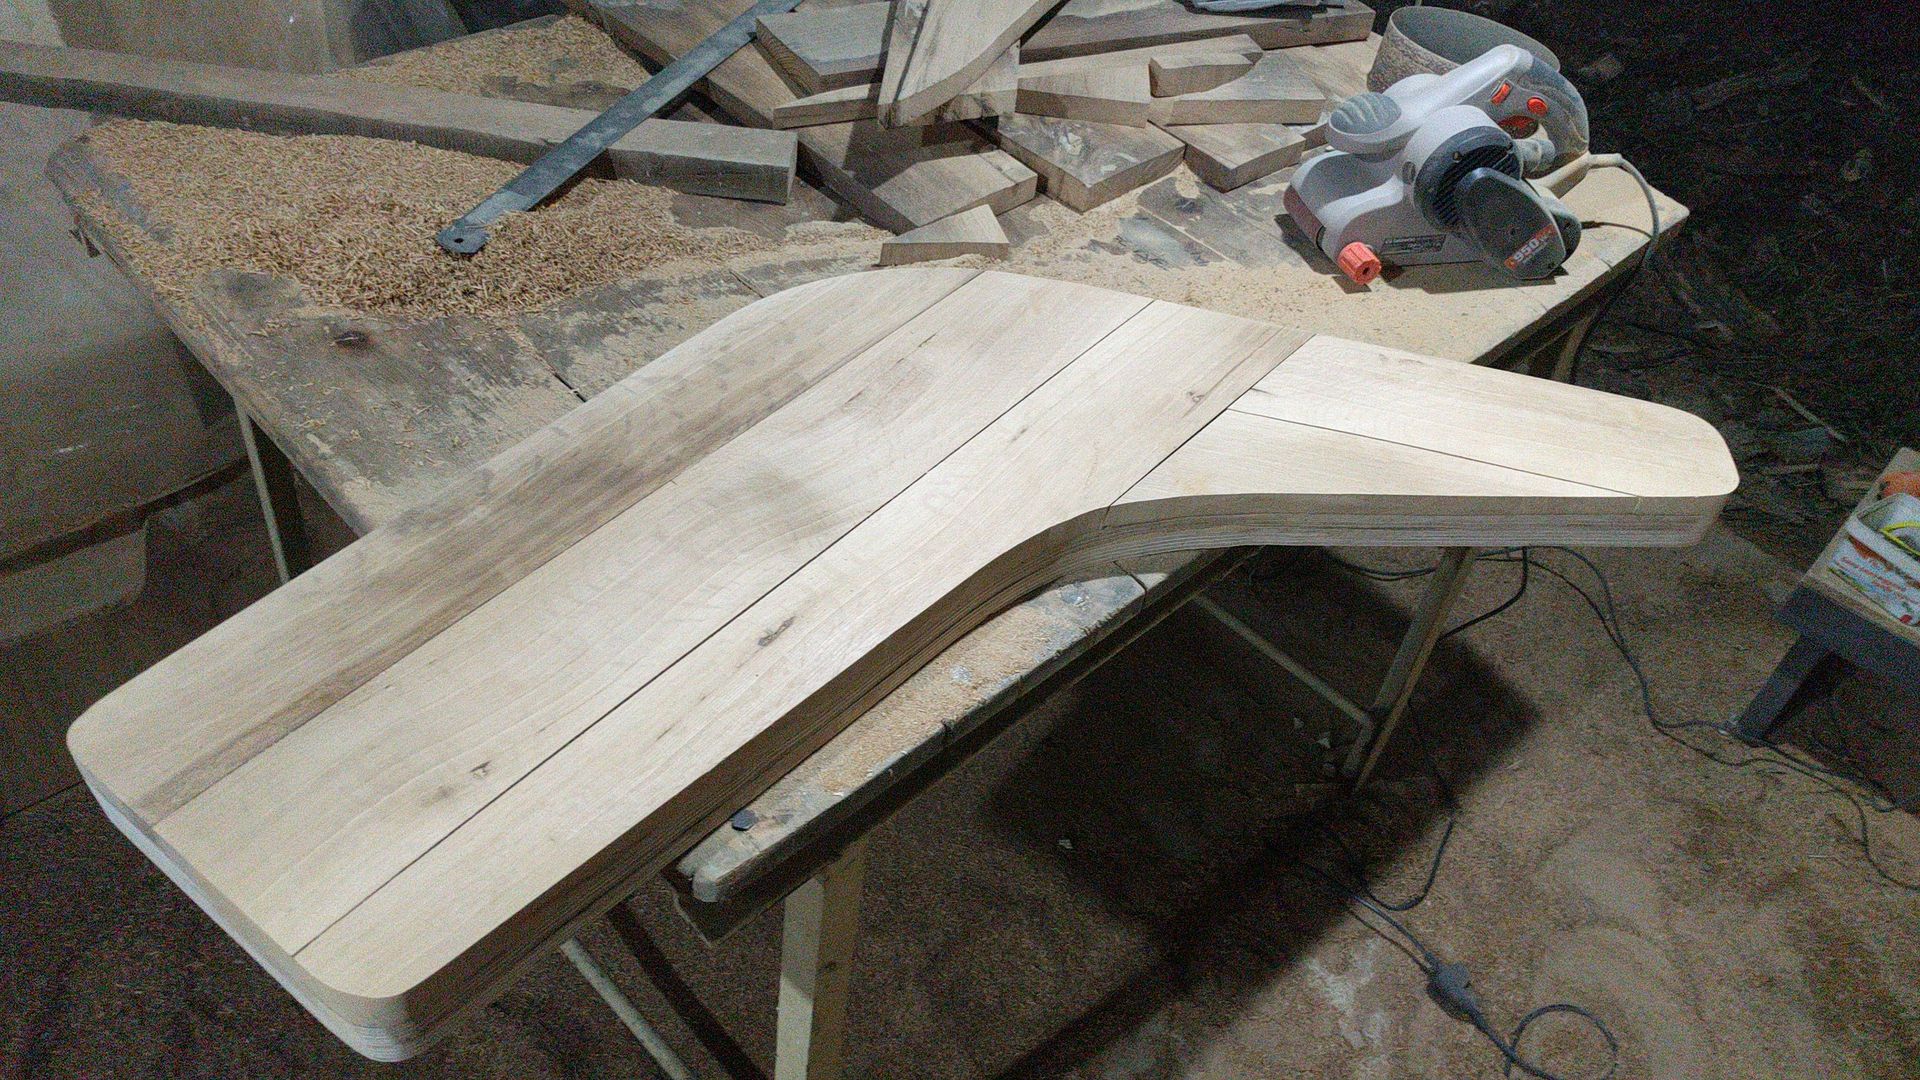
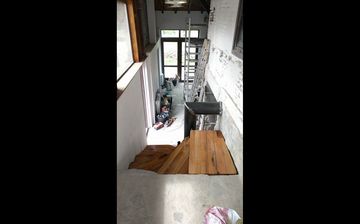
This is the top step, but really we call this a landing. Just after layout of the oak boards.
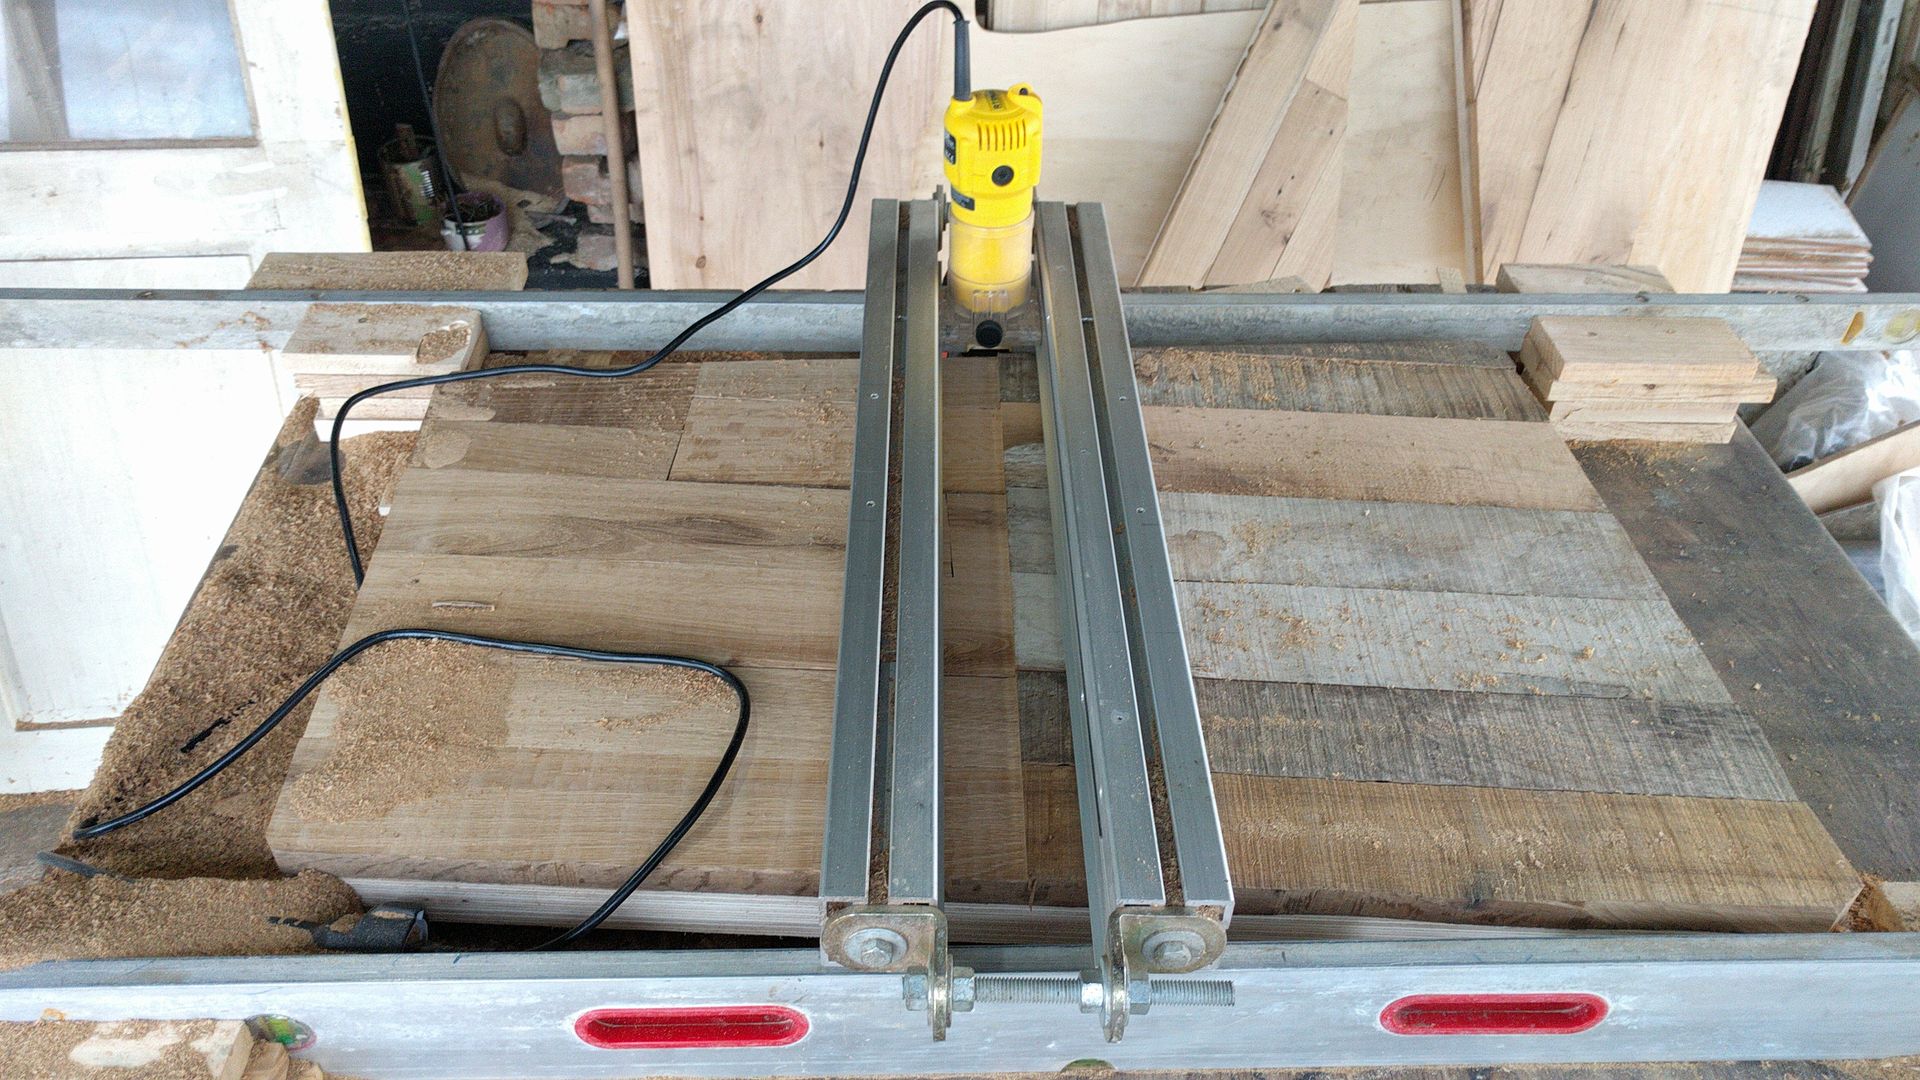
I decided to use a router plane. You can make one of these pretty easy, and although it's a slow process going back and forth over and over, the results you get with this for large pieces of odd shapes with many different board thicknesses is really great.
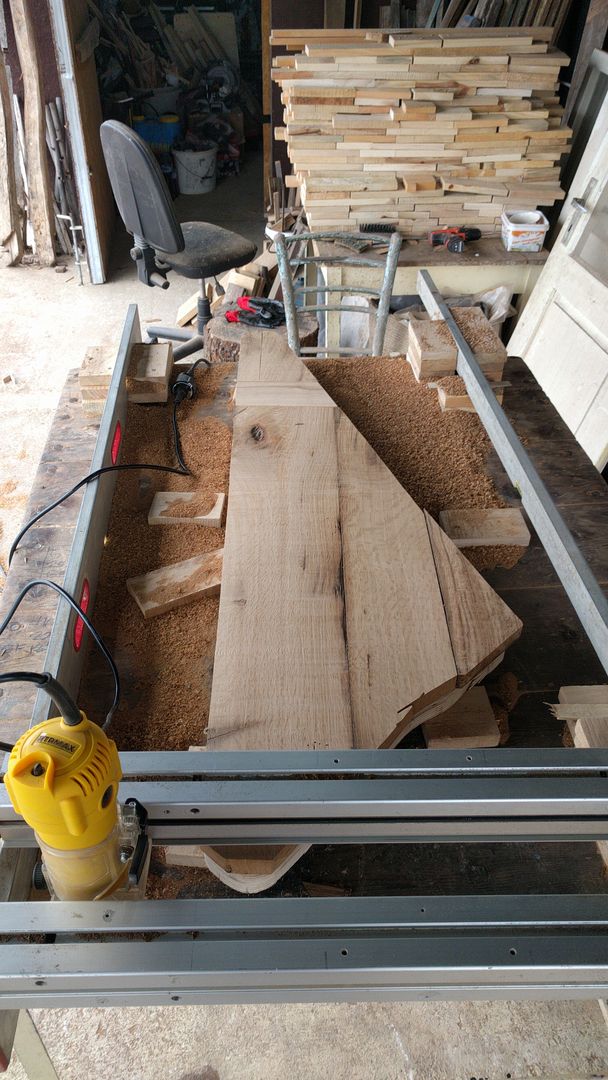
This one took a long time to get flat.
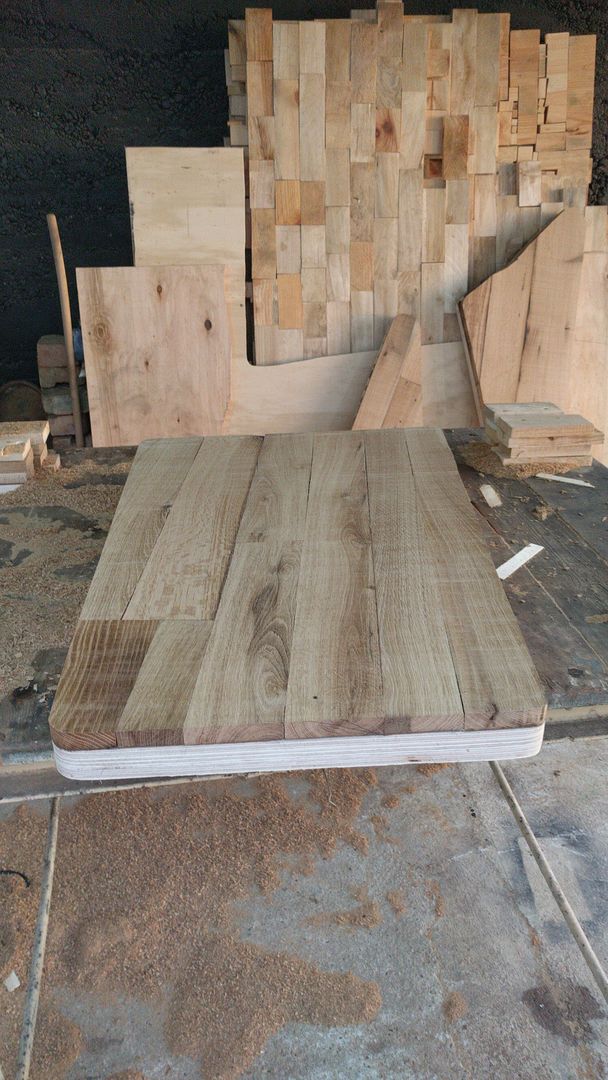
Halfway through I took a break and you can see how this system works.

All flat now.
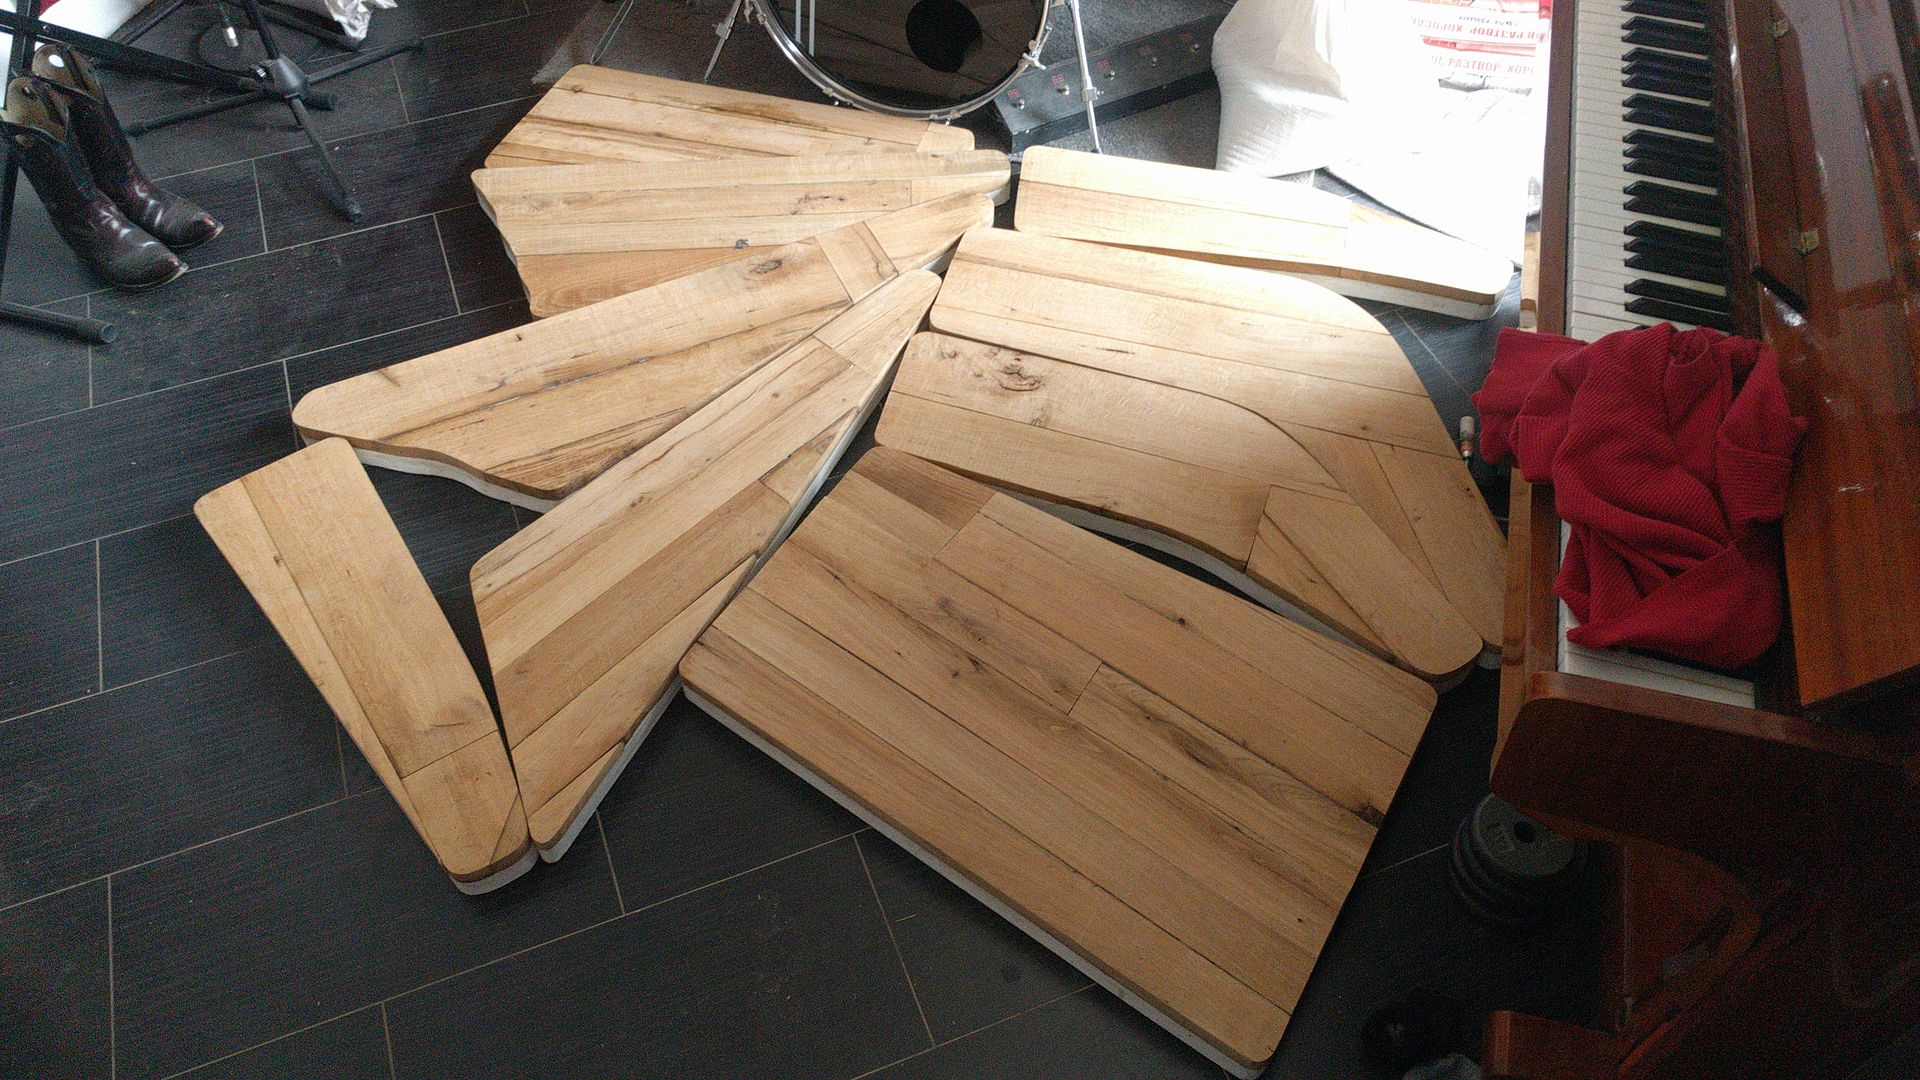
All 9 steps finished with the woodworking. Sometimes you need a really flat surface and a concrete tiled floor inside the house is helpful (no I don't do woodworking next to the piano normally)
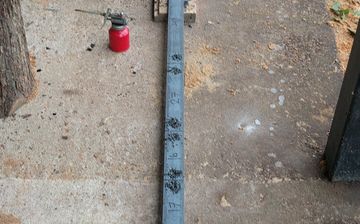
I've learned from experience that when you know where all the holes need to be, it's better to drill them all first before you cut the metal up.
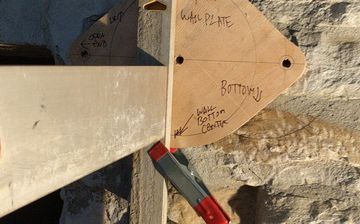
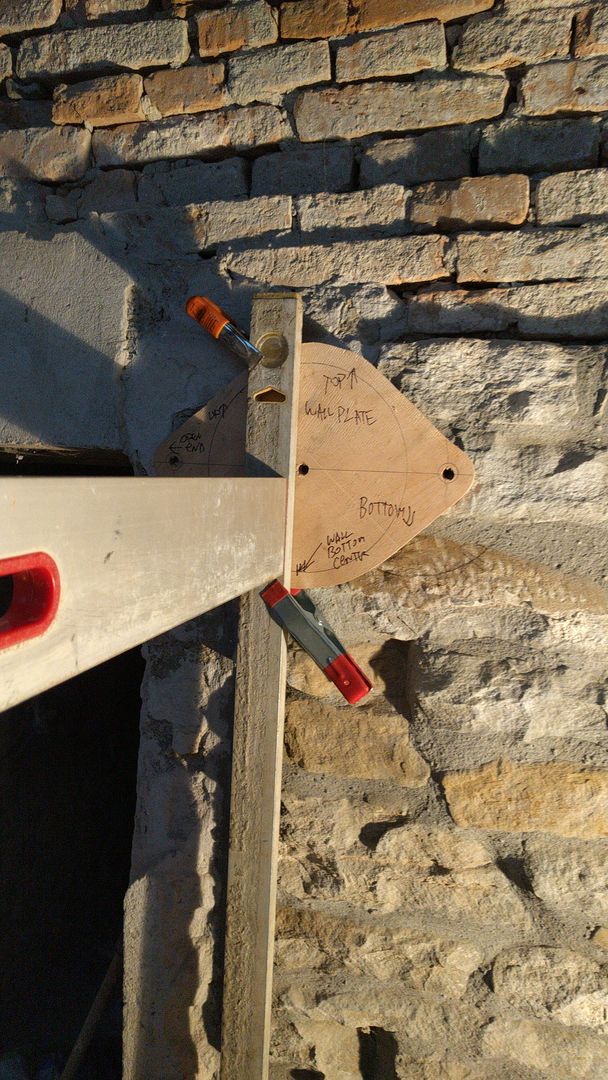
I made some plywood templates of the metal base plates that will go on the center column pipe and went back to the location to align and measure them as I was only going to get one chance at cutting that huge pipe and welding it together. That huge pipe is over 150 euros for a 3 meter piece and if you get it wrong well....
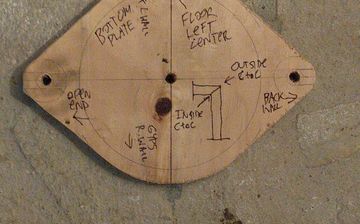
It's good to write things on the actual template instead of just on a piece of paper somewhere.
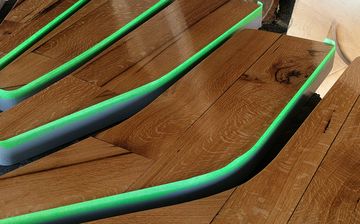
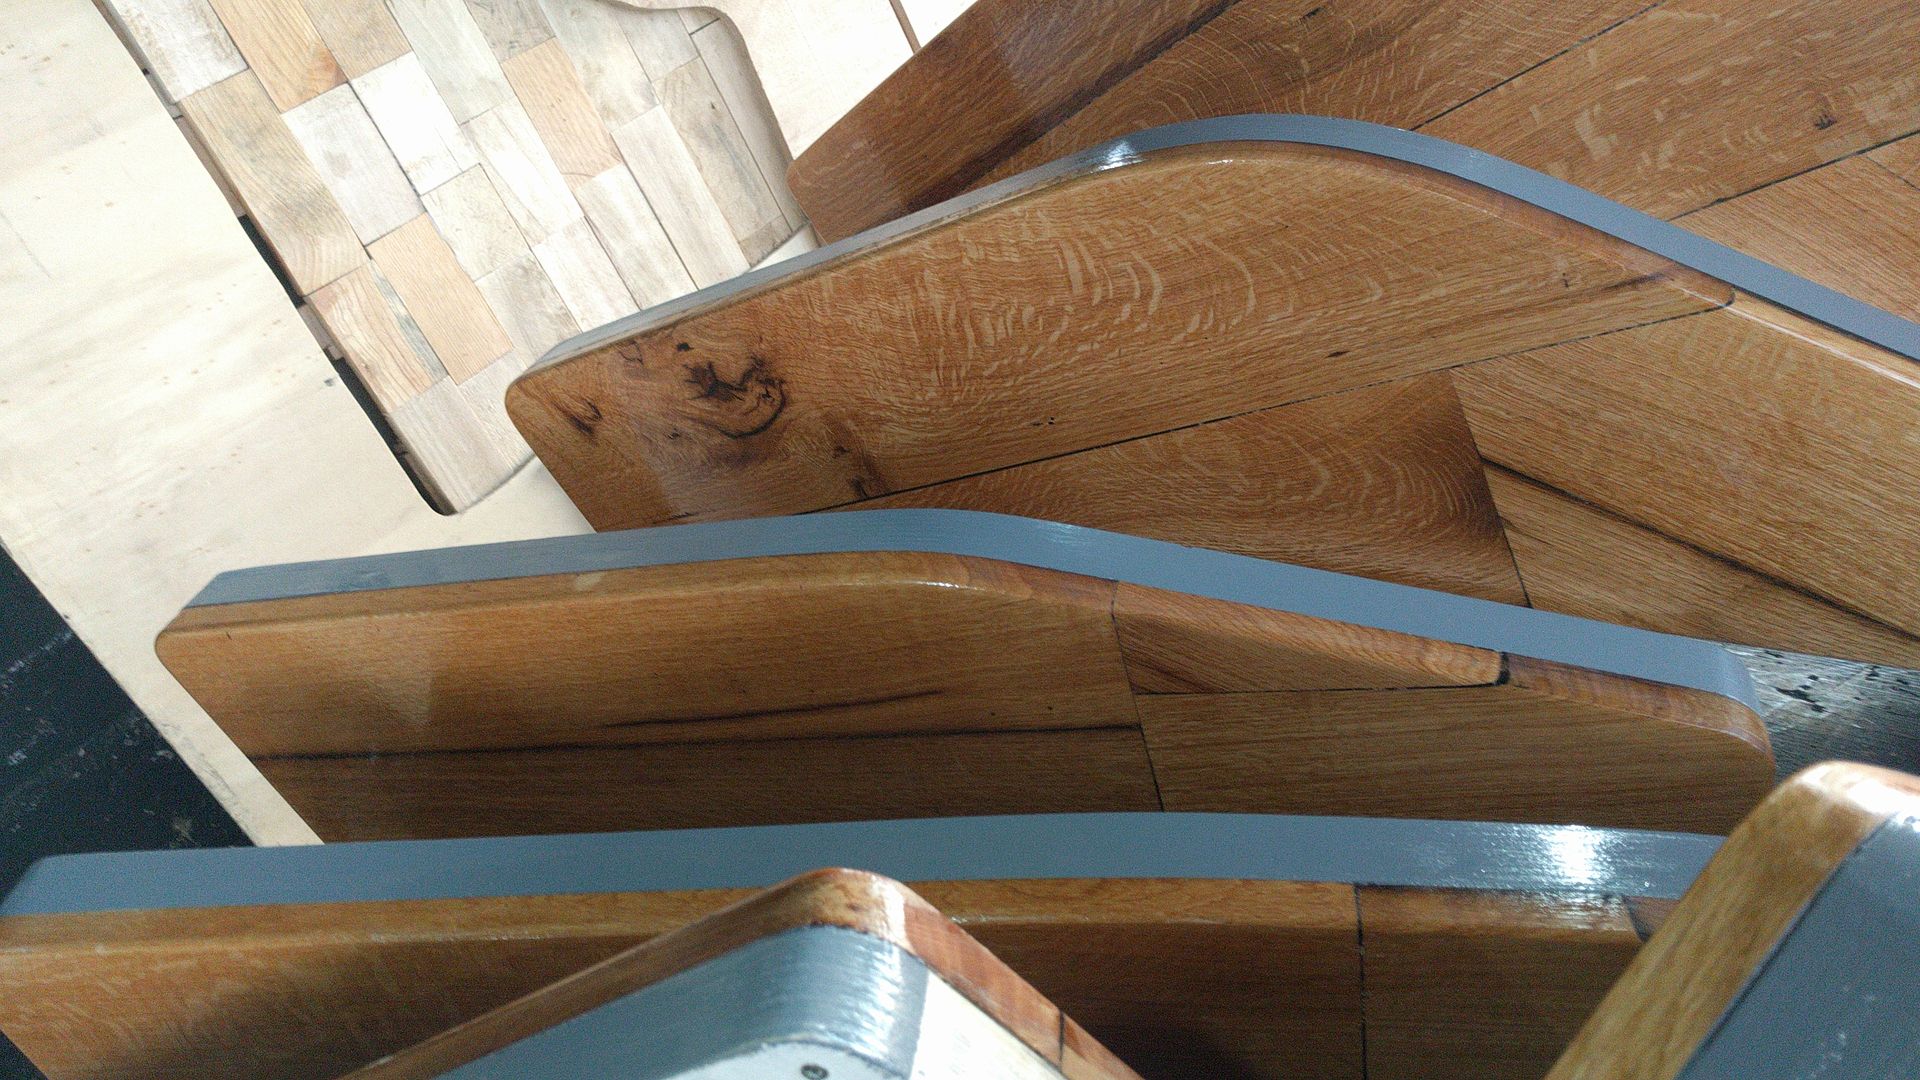
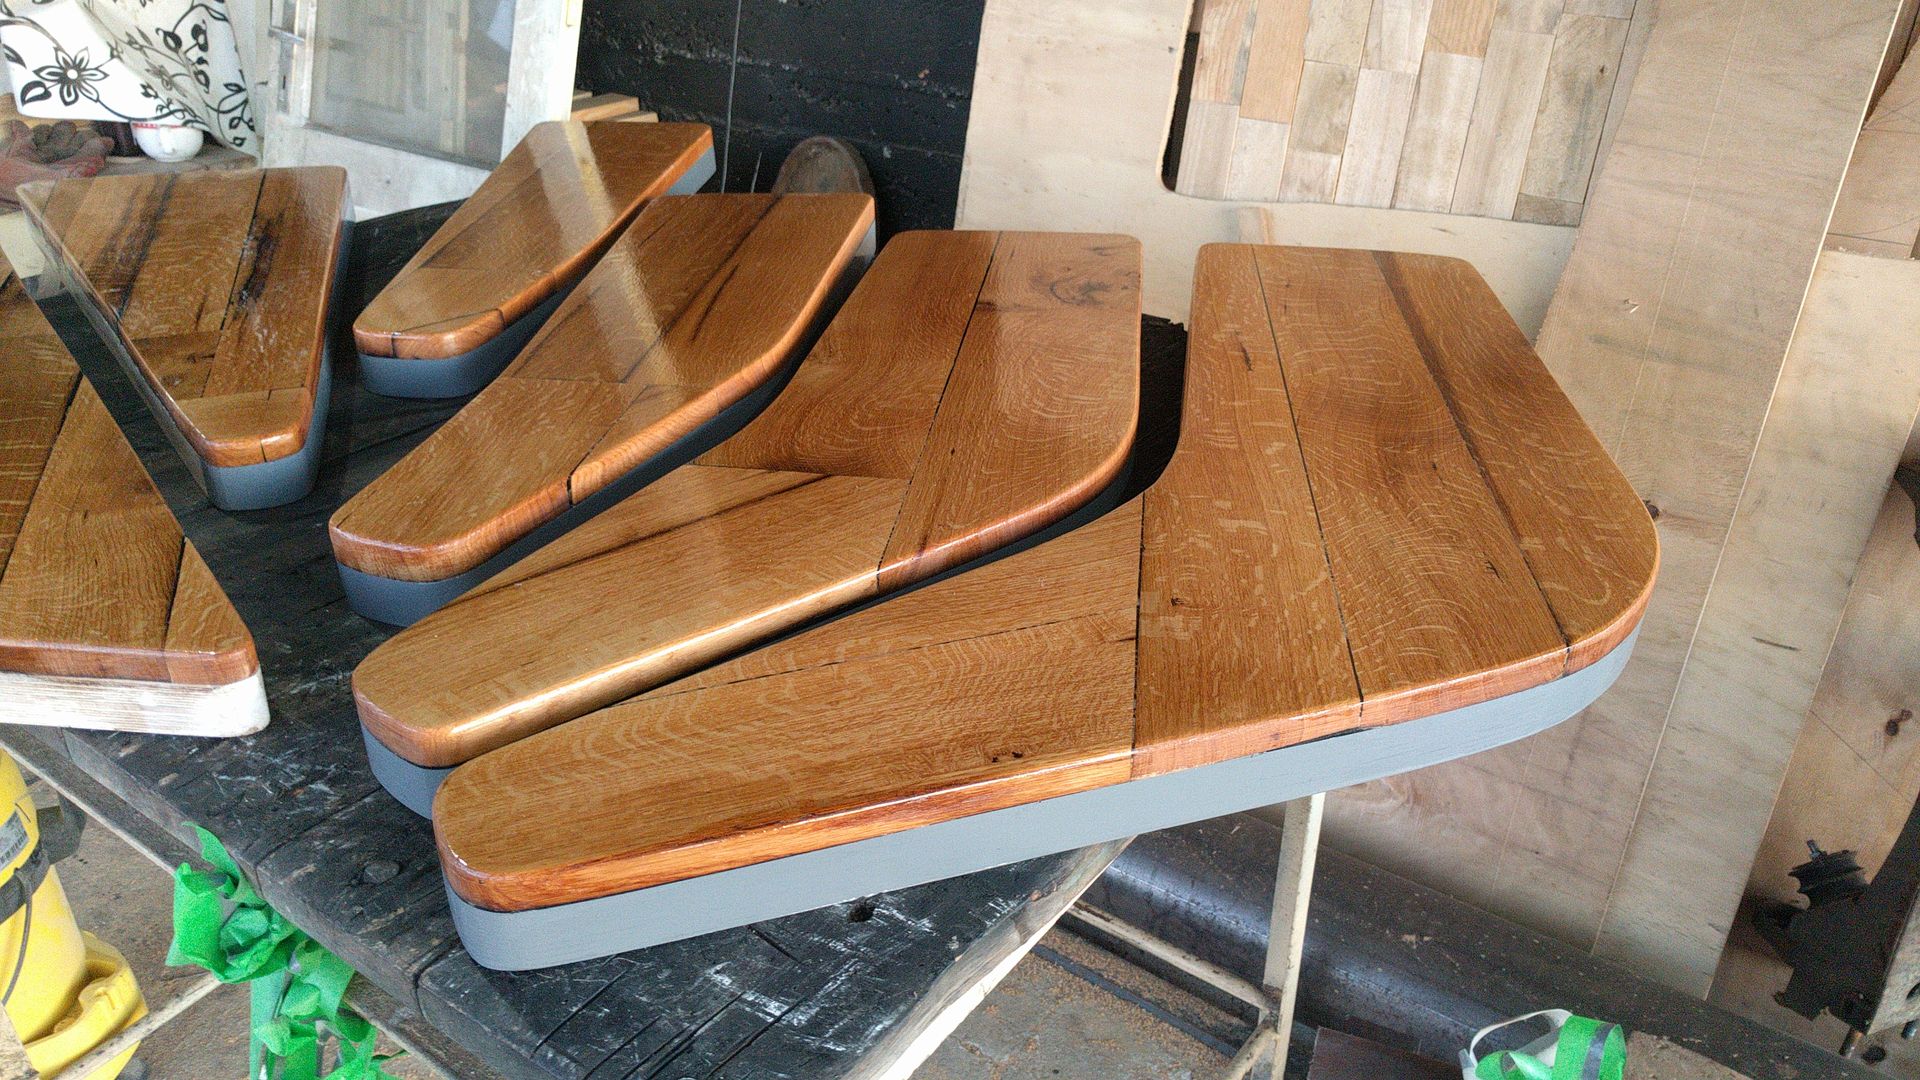
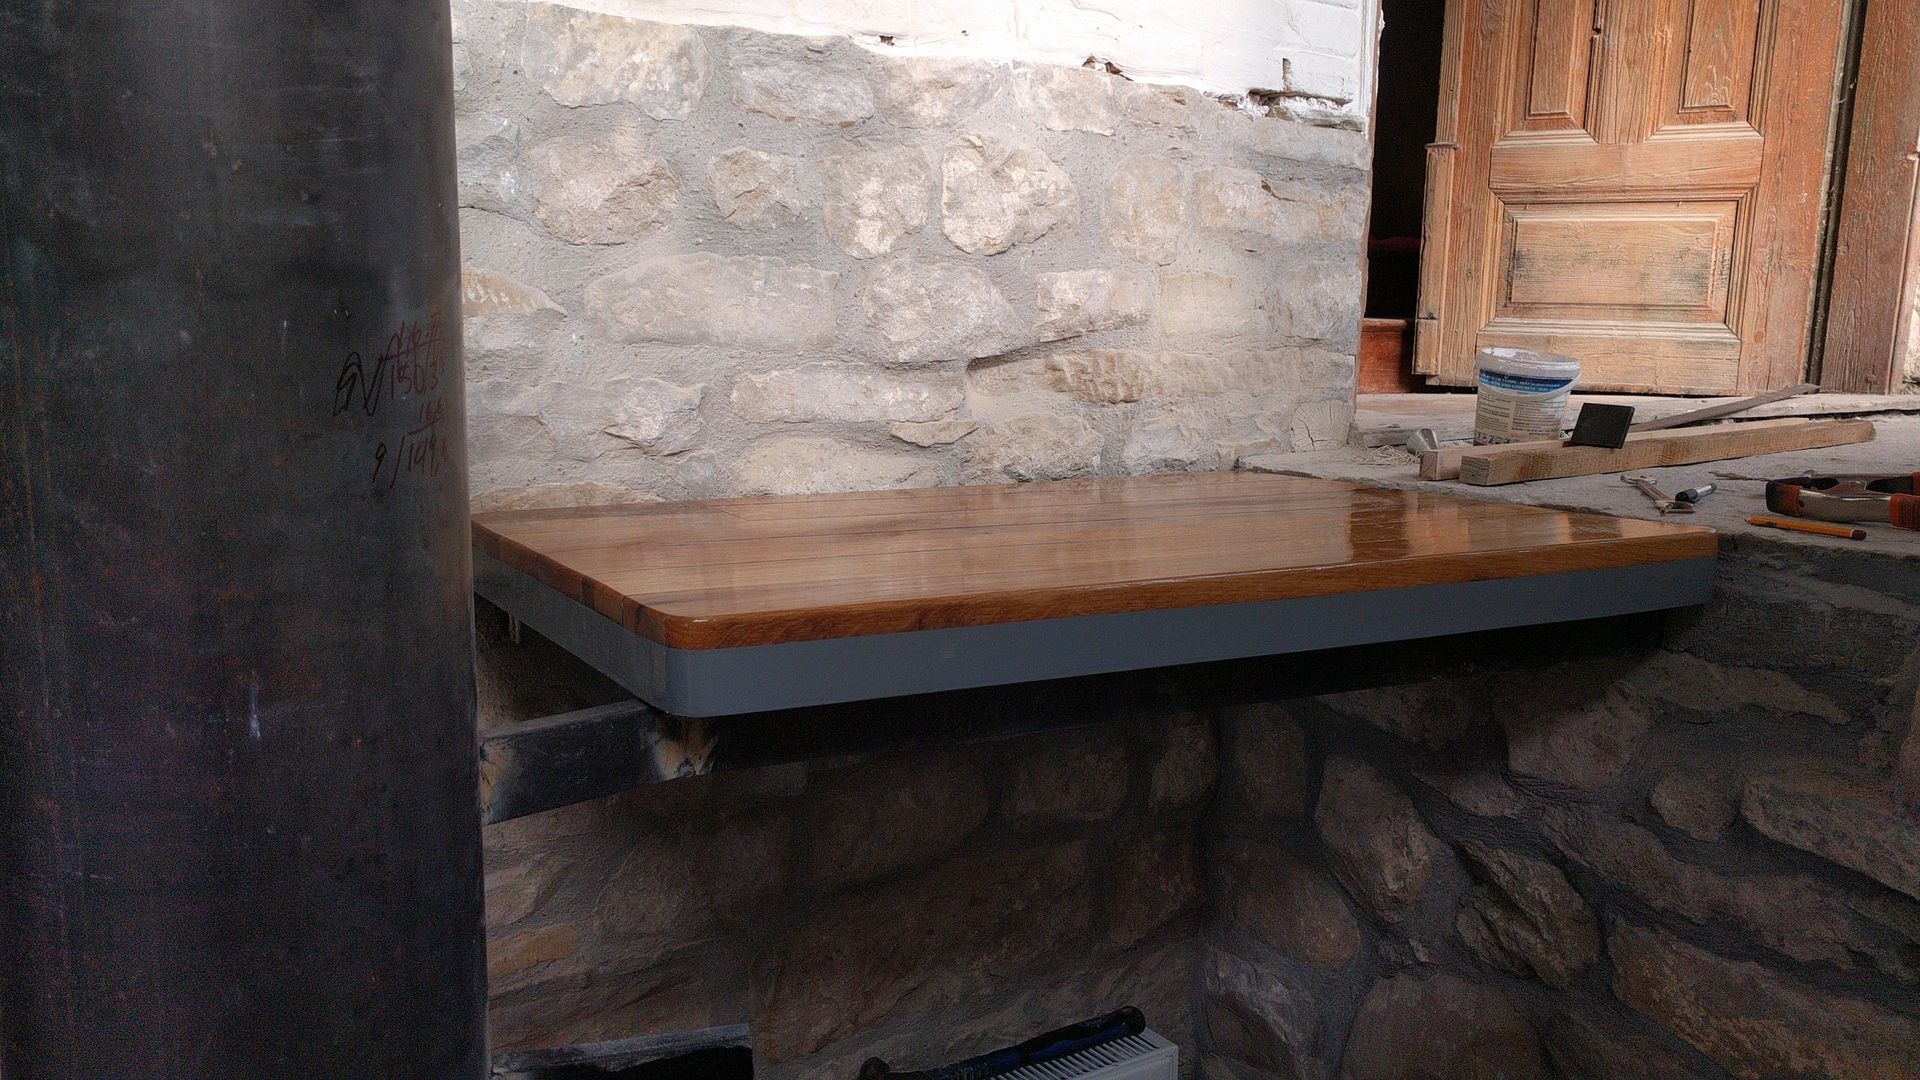
The small gaps and holes in the old oak boards were filled with black epoxy and then laquered. Black epoxy is better when you just take regular epoxy and mix in the black carbon powder that you scrape off the inside door of a wood burning stove. (wear a respirator!) If you use black ink or dye then it will stain the wood and you don't want that. After that step the plywood bases were painted grey on their leading edges. Real oak veneer strip could also be used, but it's difficult to find in Bulgaria.
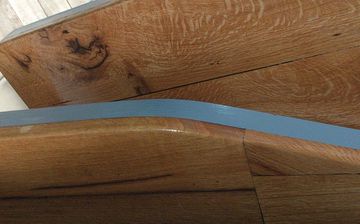
Starting to look nice finally.
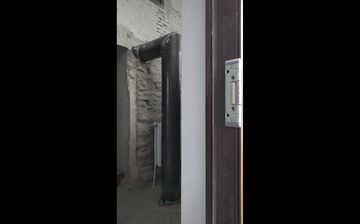
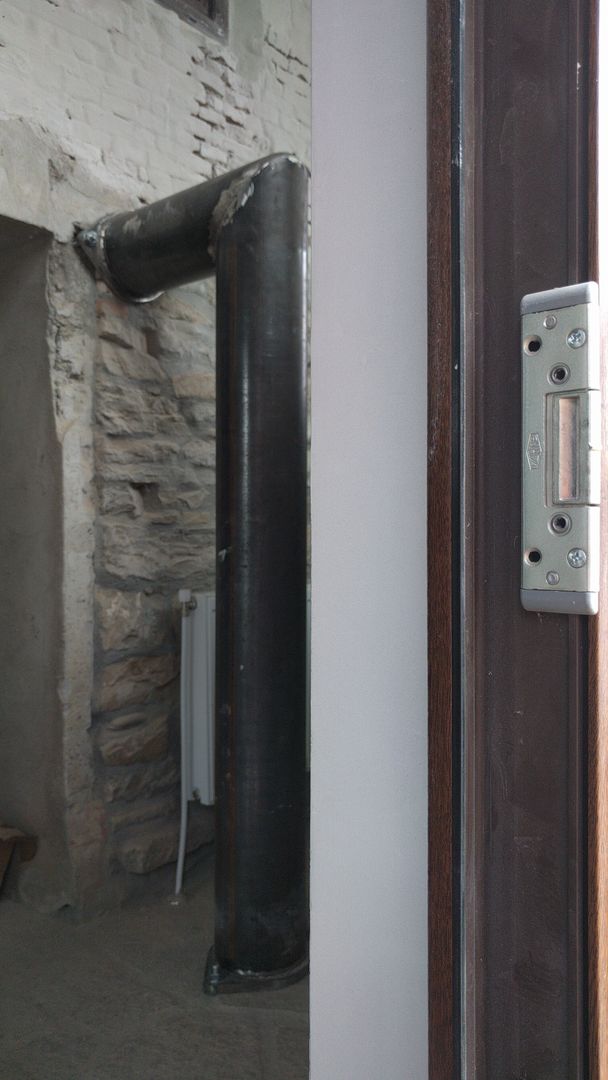
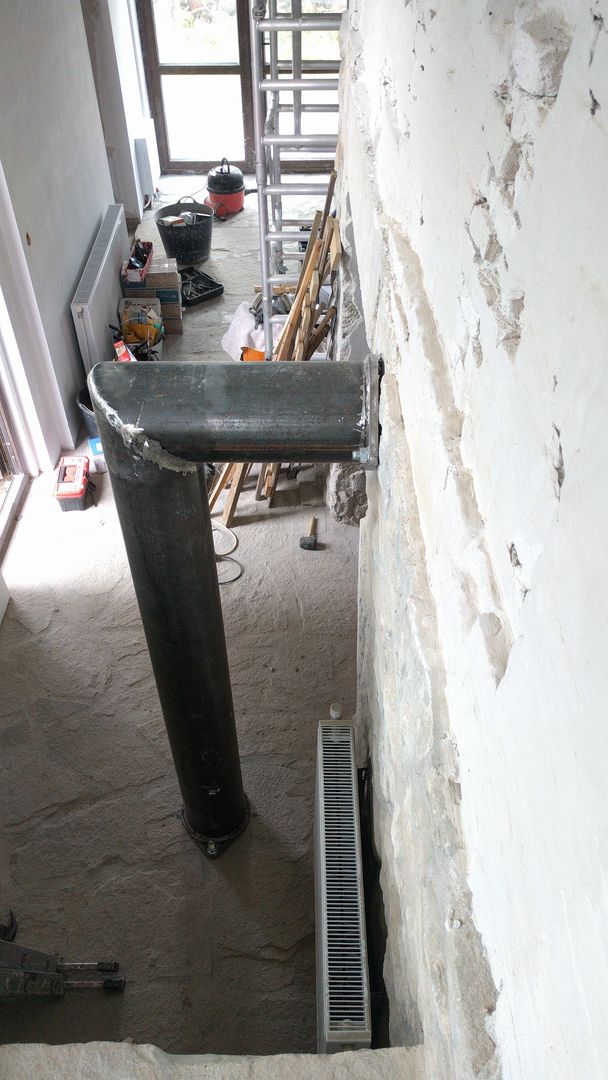
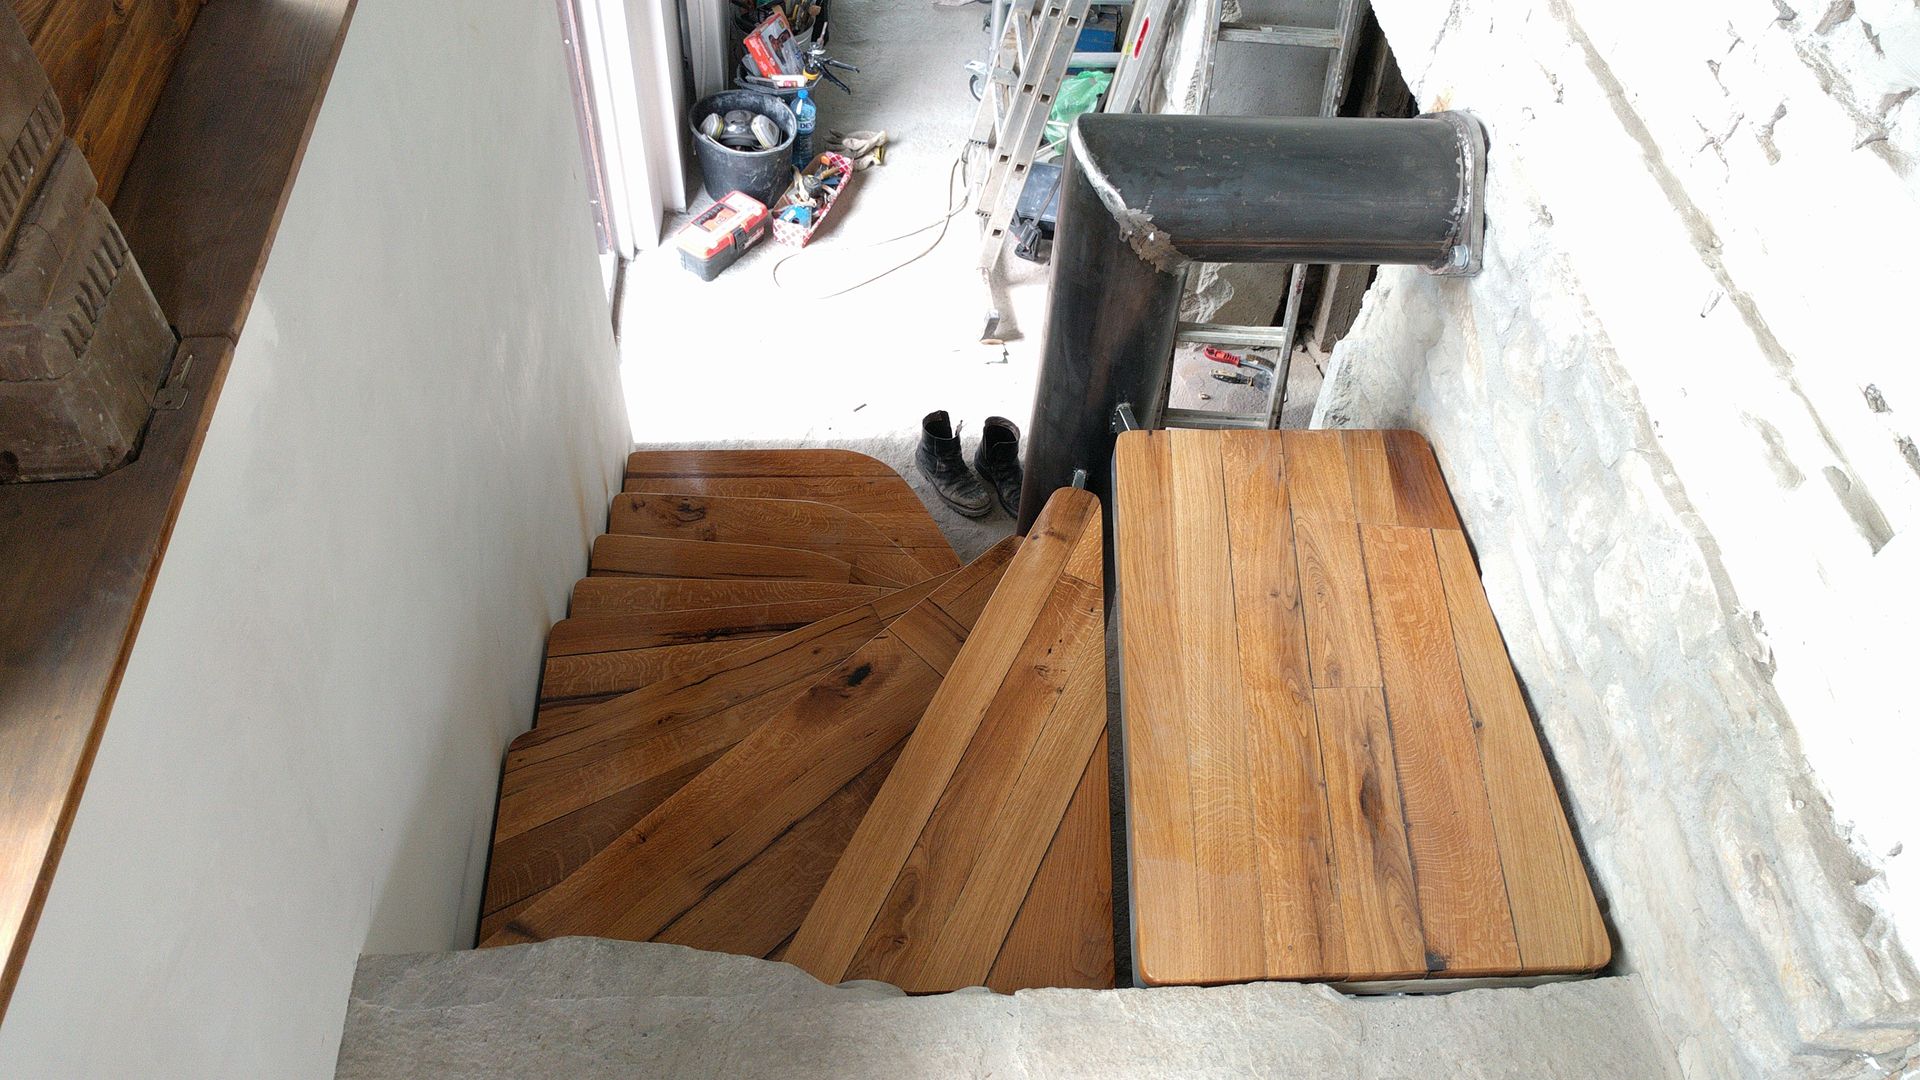
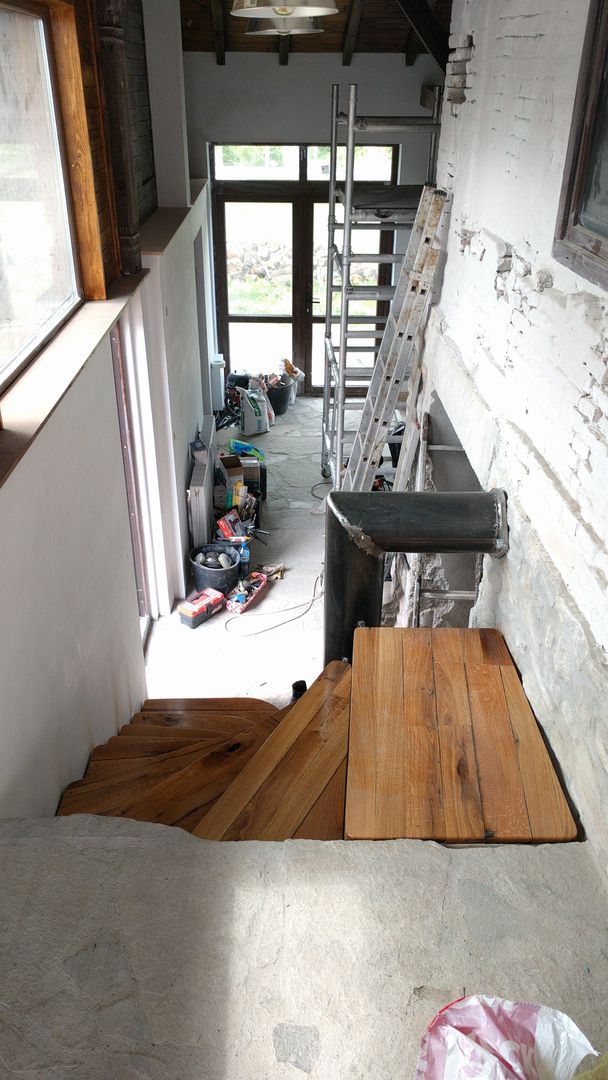
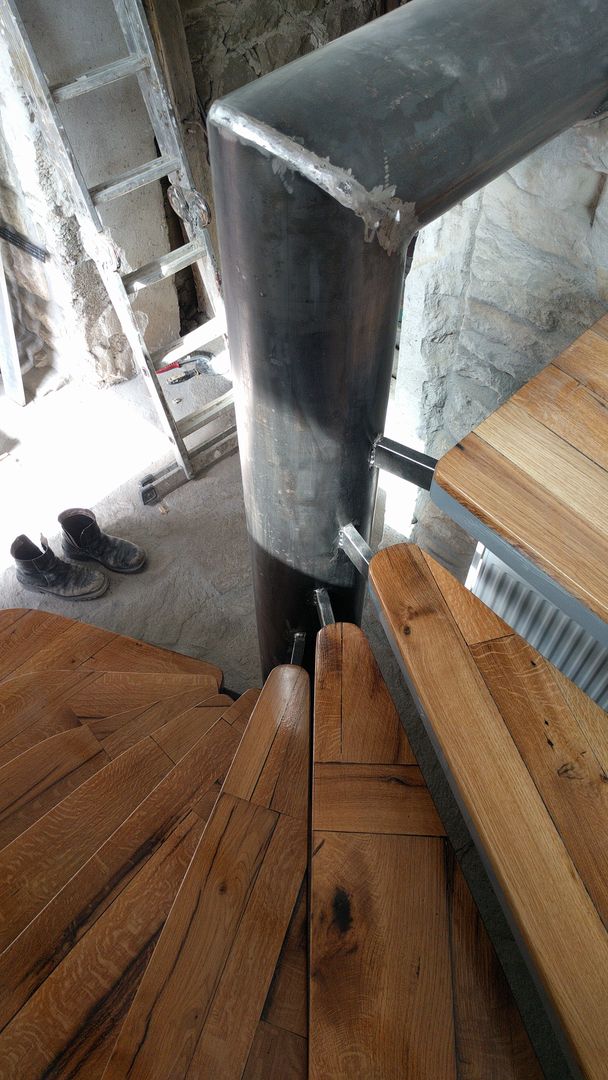
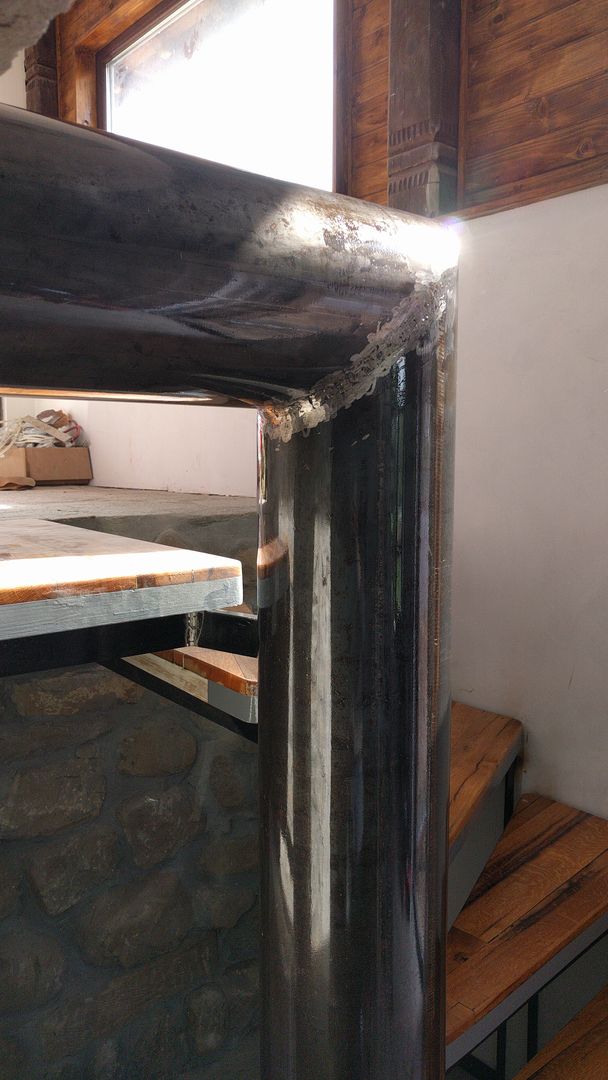
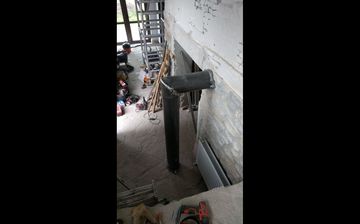
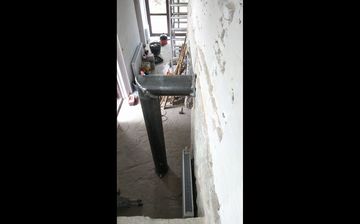
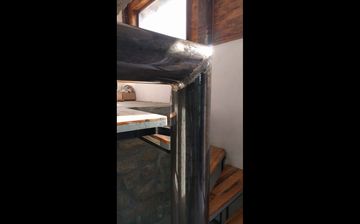
After mounting the center column I took a picture of the alignment with the door frame. If that was off then it would look weird to the eye. Lucky for me the builder did a great job of making that corner nice and plumb. (perfectly vertical)
You have a few issues when working on old houses, first nothing is square or plumb, second not everything is flat. So you can easily measure something right, make it level, and yet it will LOOK WRONG. Which is why I always look at stuff like this from all the places that it will be viewed by the people who are going to live in the space. You don't want them walking up and down those stairs for years to come thinking "oh that looks off". Keep in mind that pics taken from any phone have lots of lens distortion, so the image lies to you. You have to use your eyes in the location.
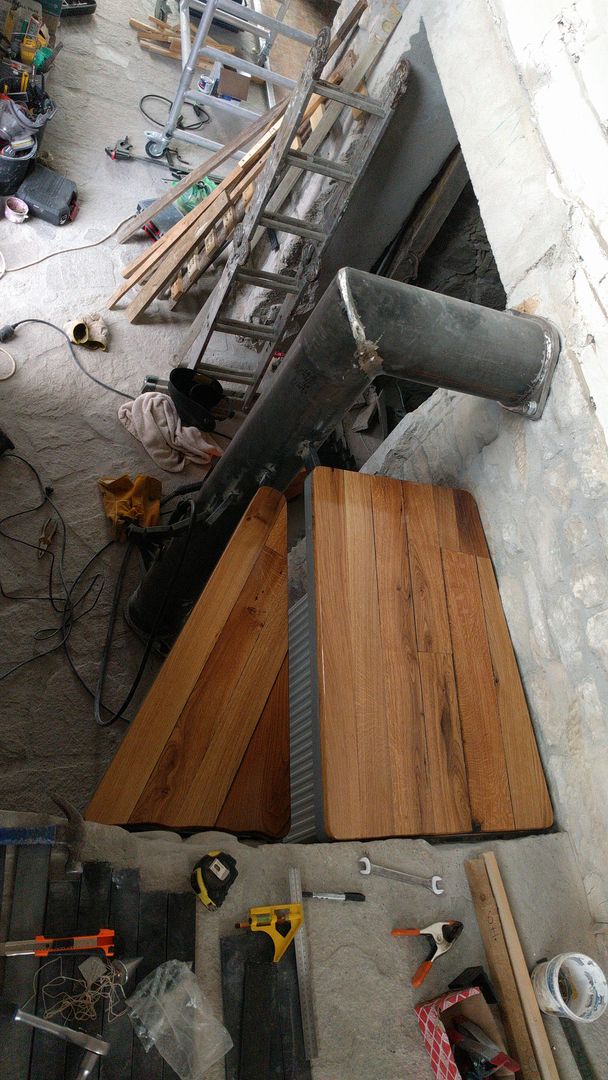
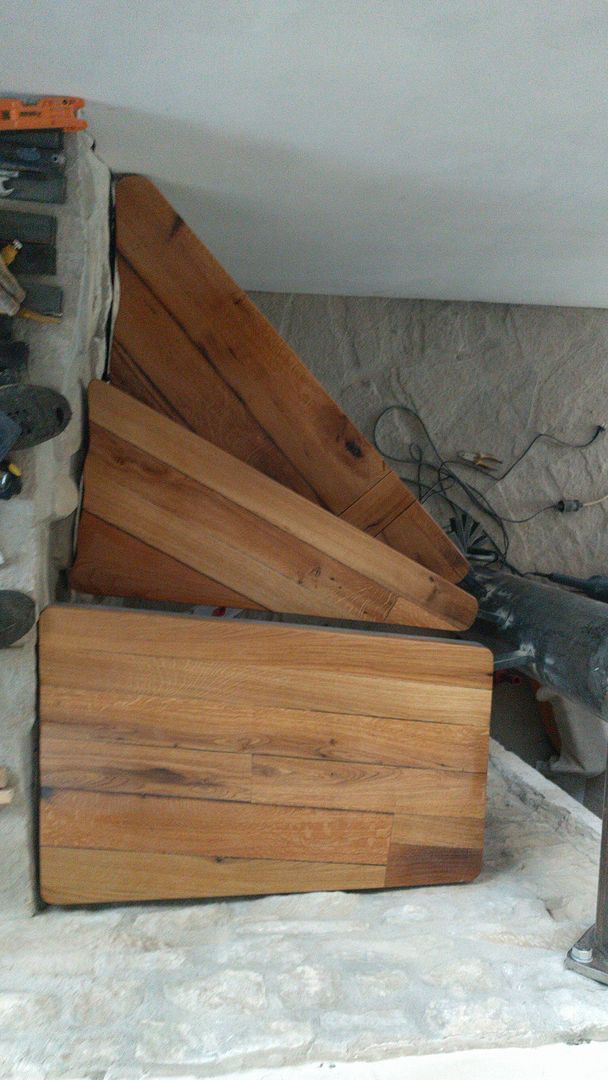
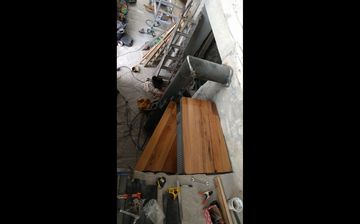
They lay out beautifully on the ground. Let's hope they maintain that when in place.
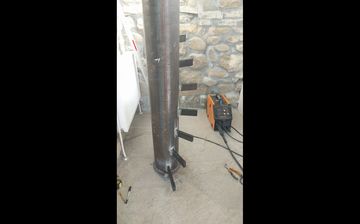
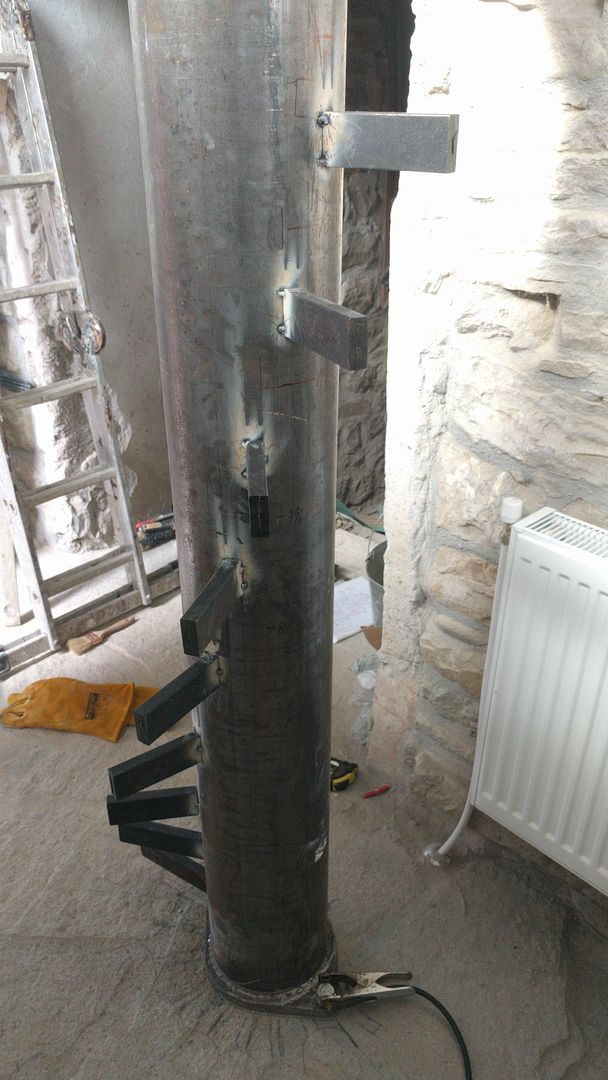
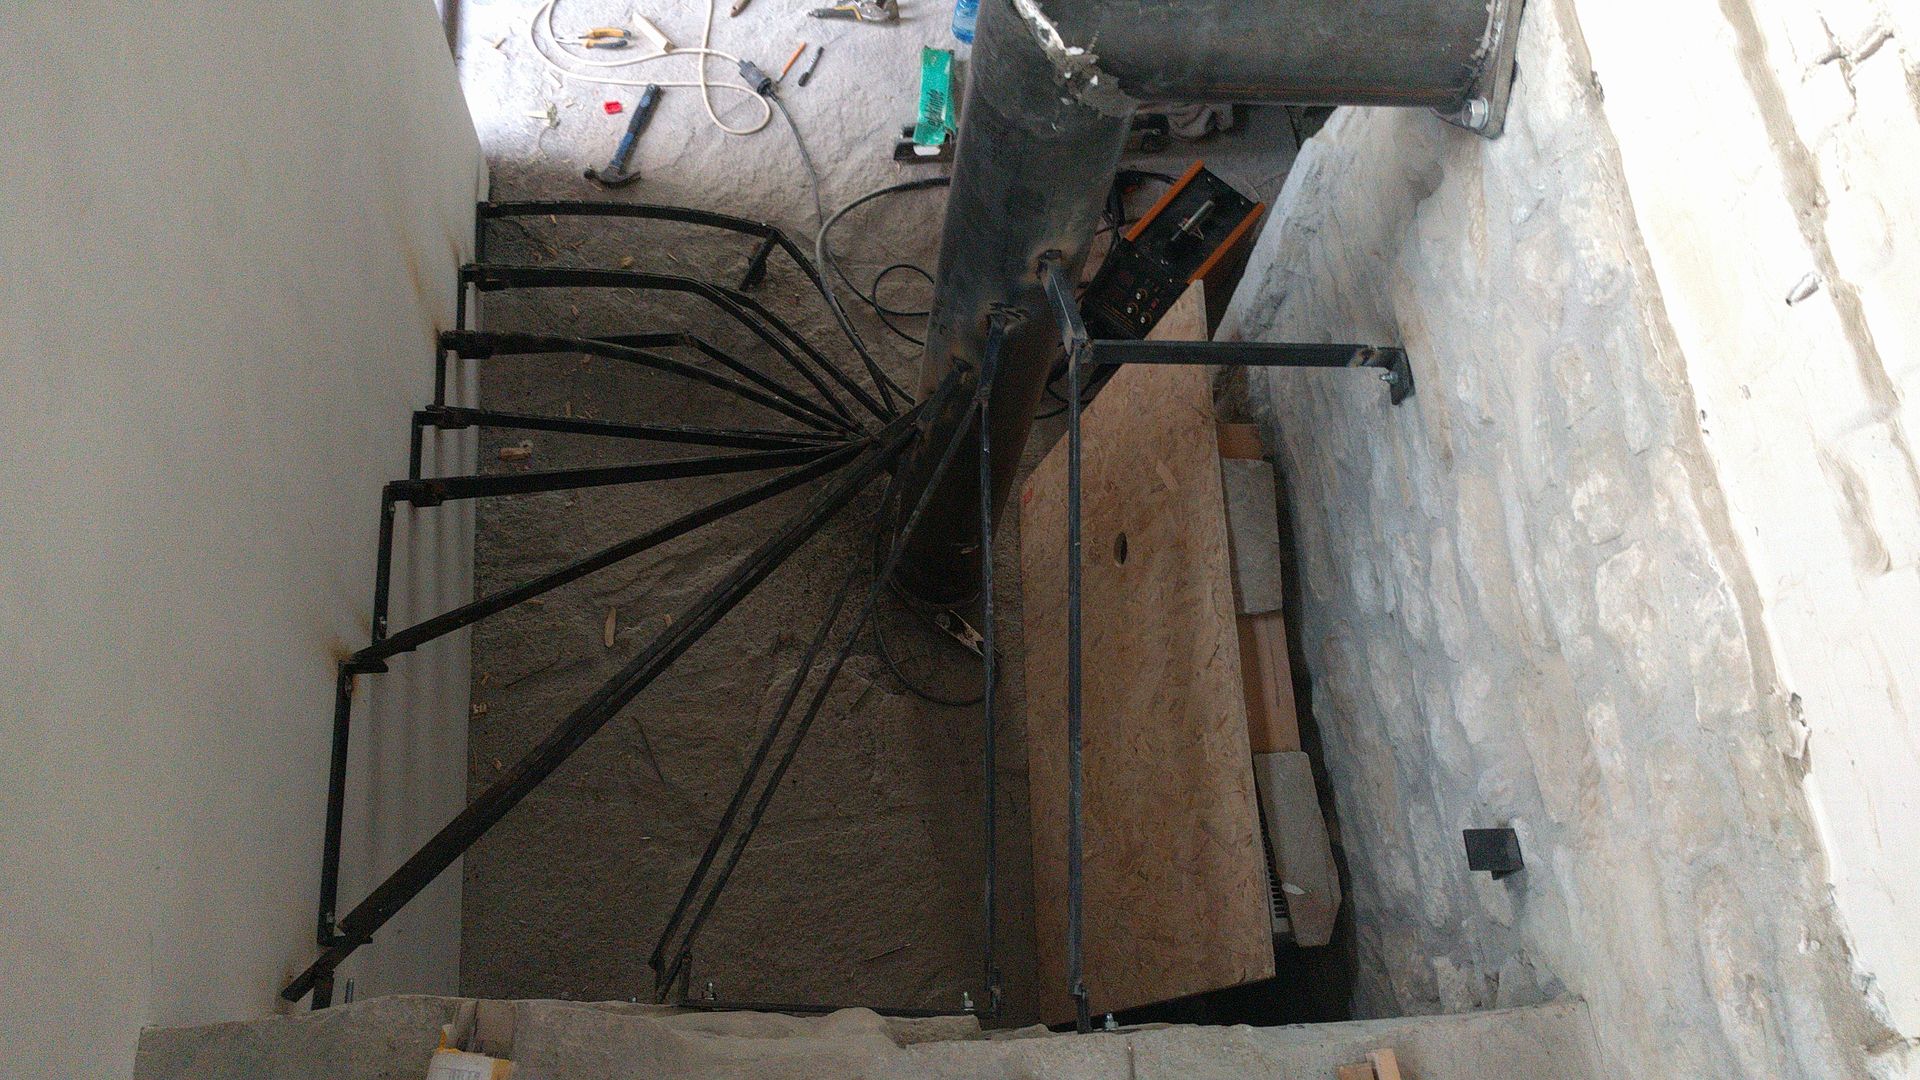
All the metal parts were measured and pre-cut. These center stubs are what I started with. I just tack welded them on at first because sometimes you need to cut them off and move them a little.
Each one had to be placed to account for both the thickness and the curvature of the step.
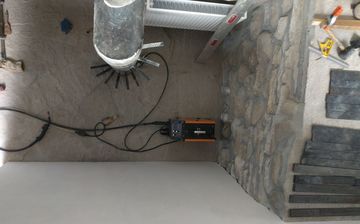
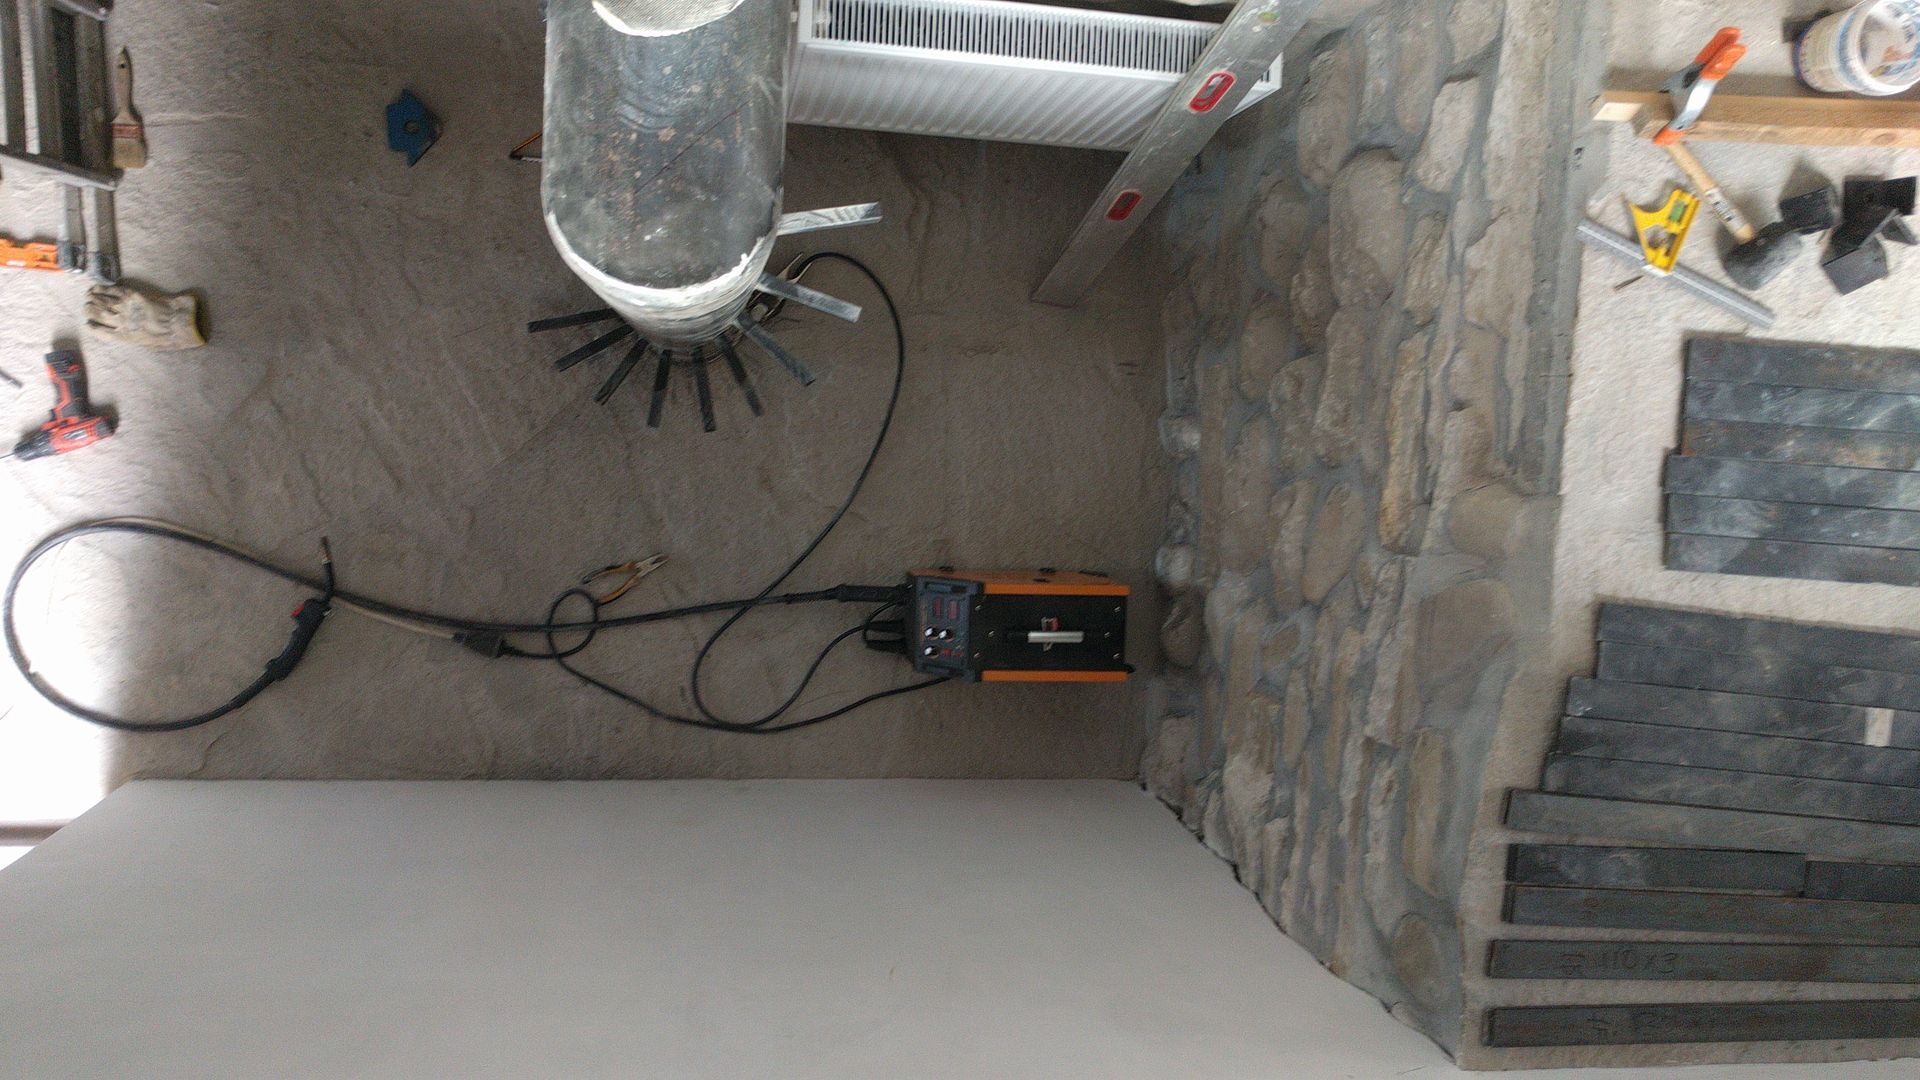
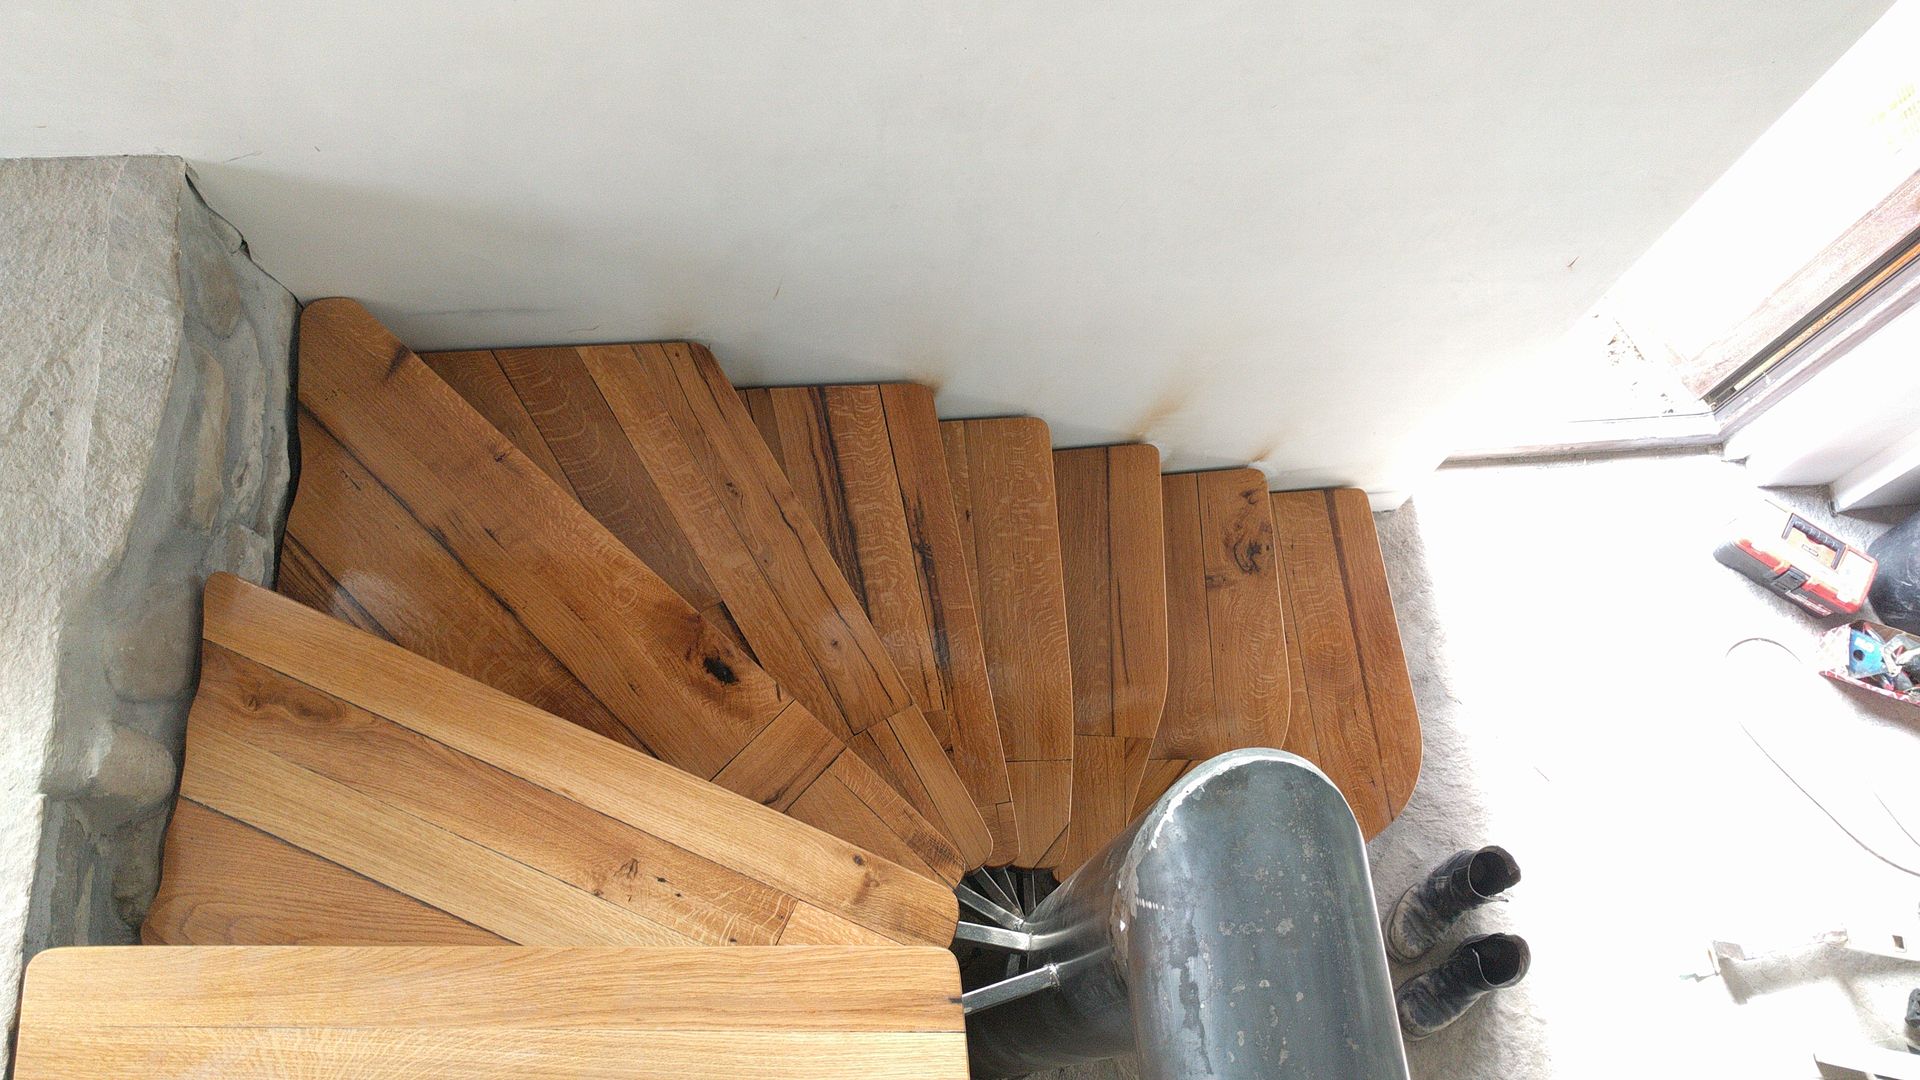
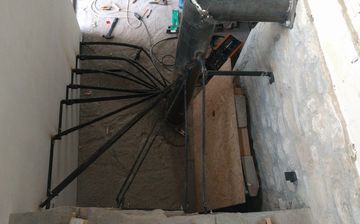
Making sure the spiral looks good from above.

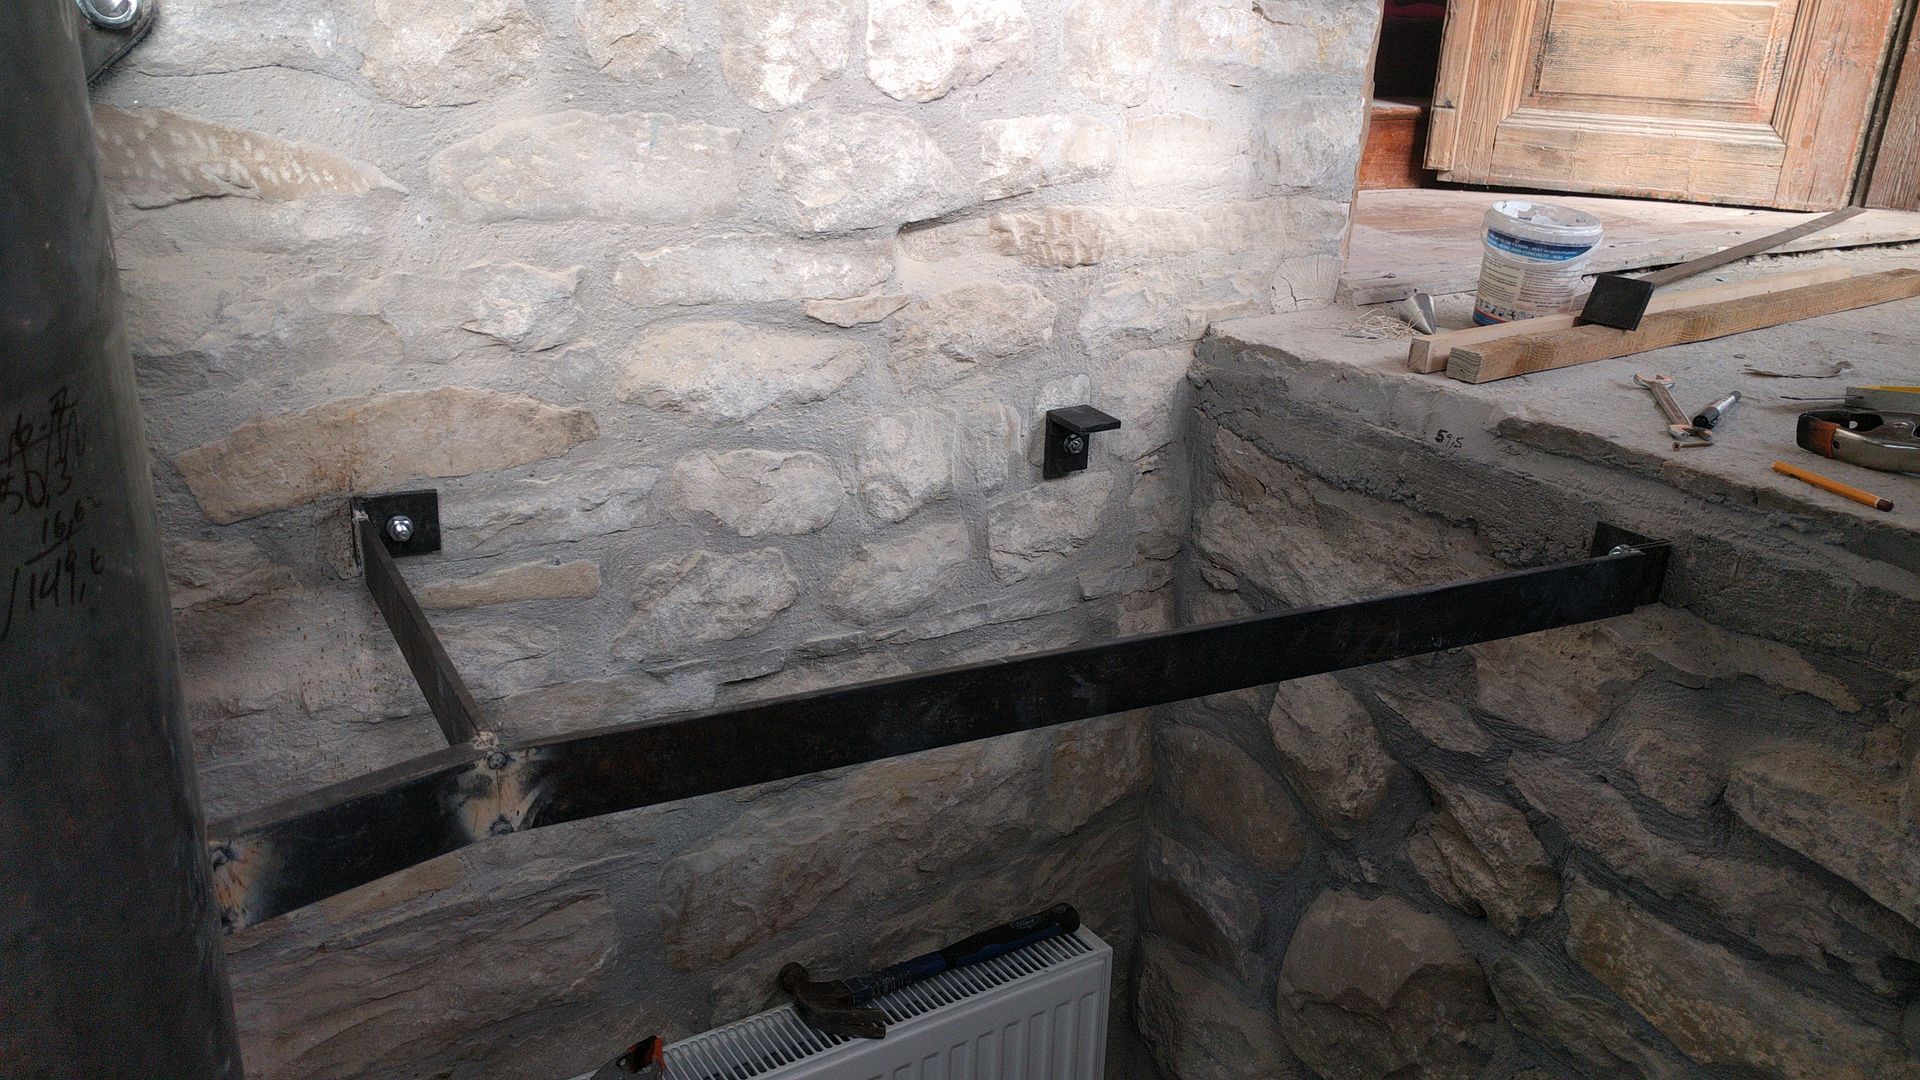
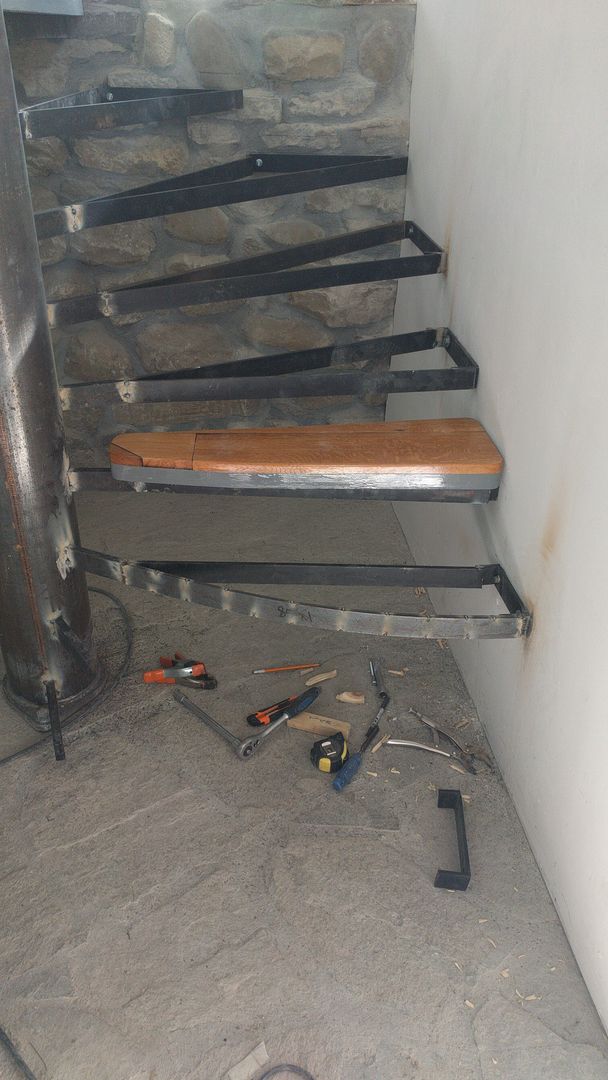
I started from the top step adding the brackets and worked my way down. It would have been hard working from the bottom up.
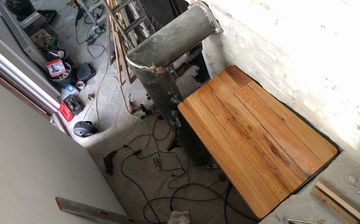
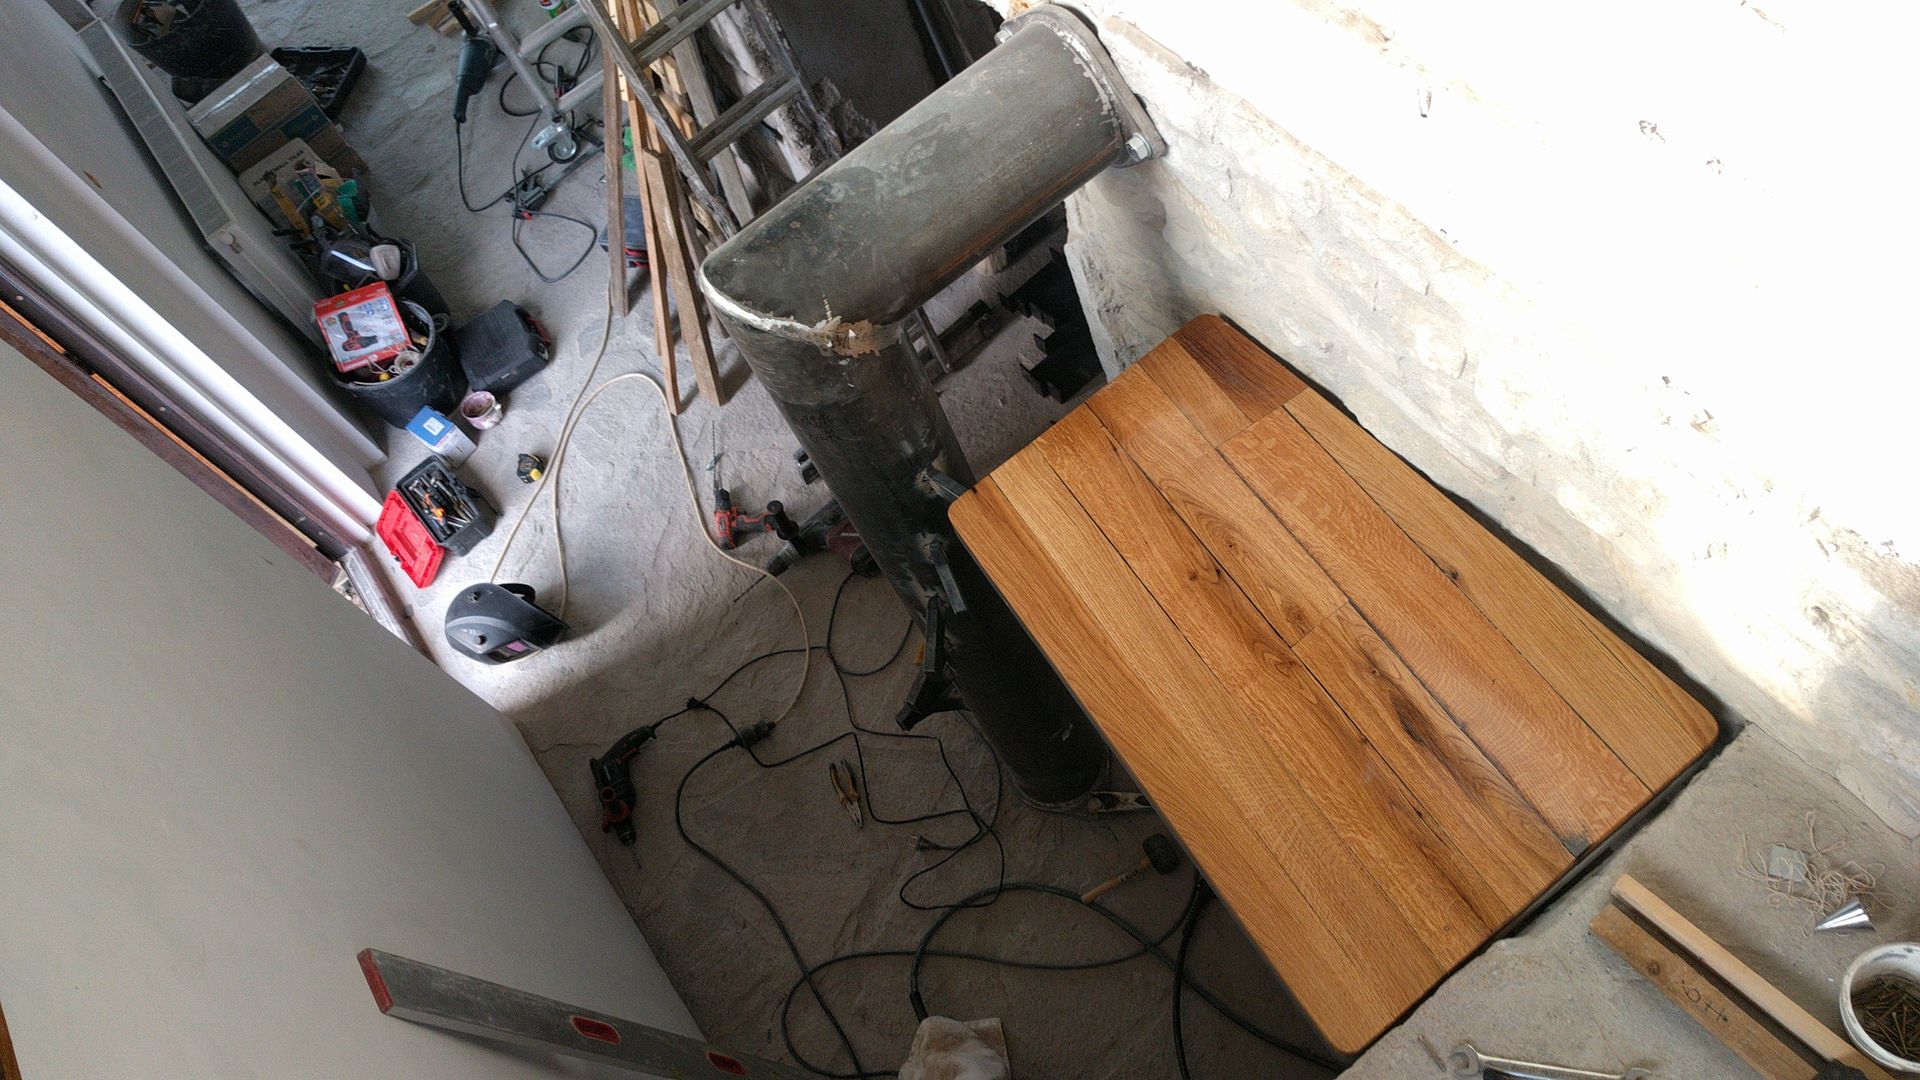
Test fitting the landing. Looks good.
And level.
Down we go one by one. Only tack welding with flux core 0.8mm MIG.
Step 7 is the hard one as it has to align to 3 planes.
Looks good from the top.
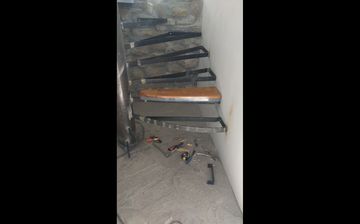
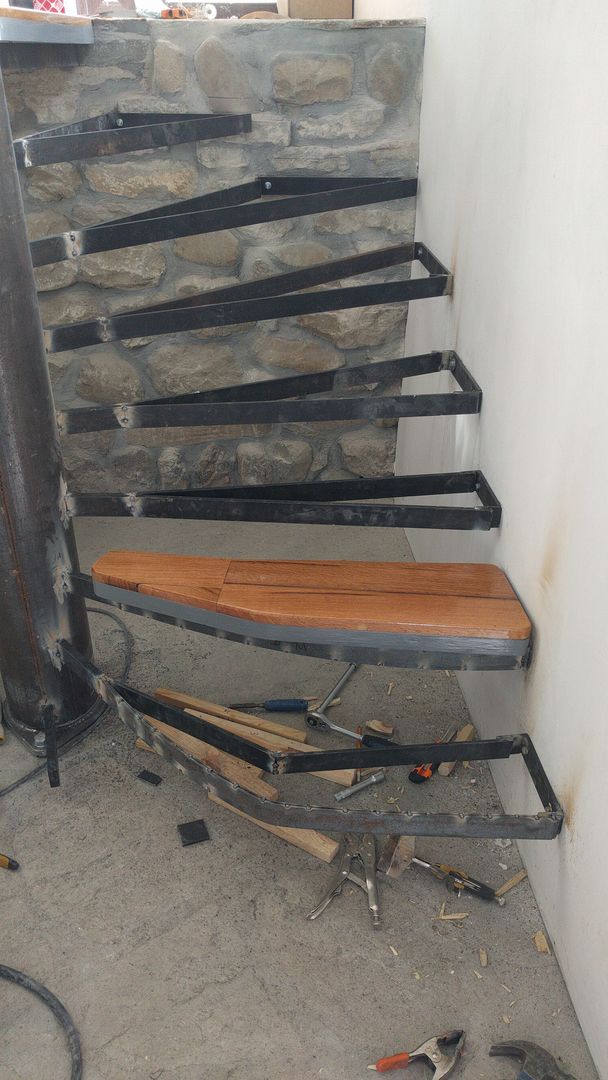
Now we come to the hard part as the curved steps need curved front supports. They need to be thick but you can't bend 6mm very easily. The trick here is to use 3 layers of 3mm thick metal which you can bend. Clamp them together and weld them. This has to be done in place. All the metal parts were pre-cut 3cm longer then they needed to be then trimmed during installation.
You won't see that back support so not having it curved is fine.
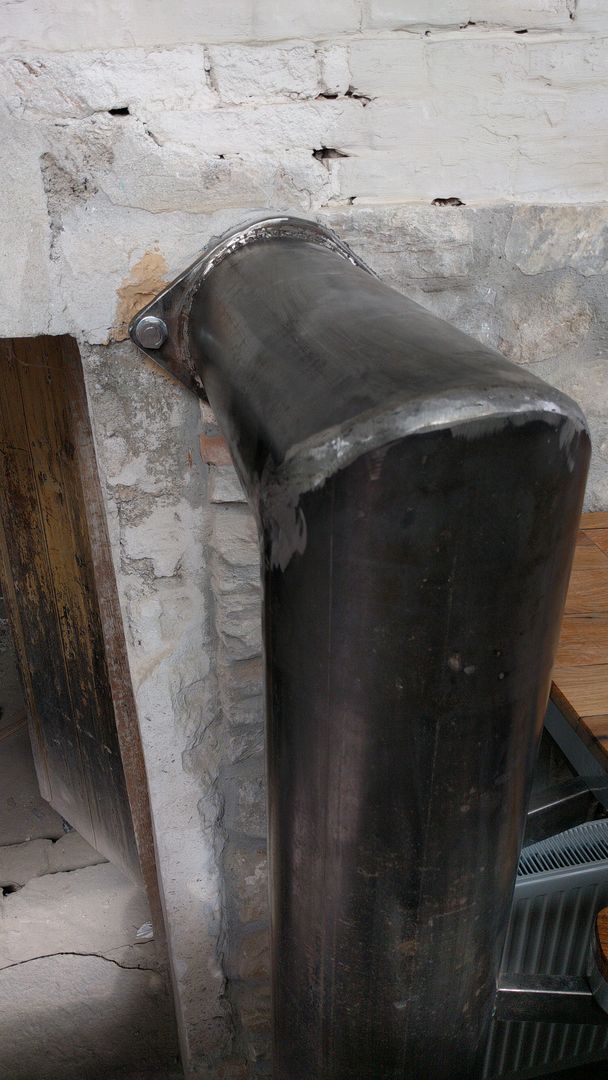
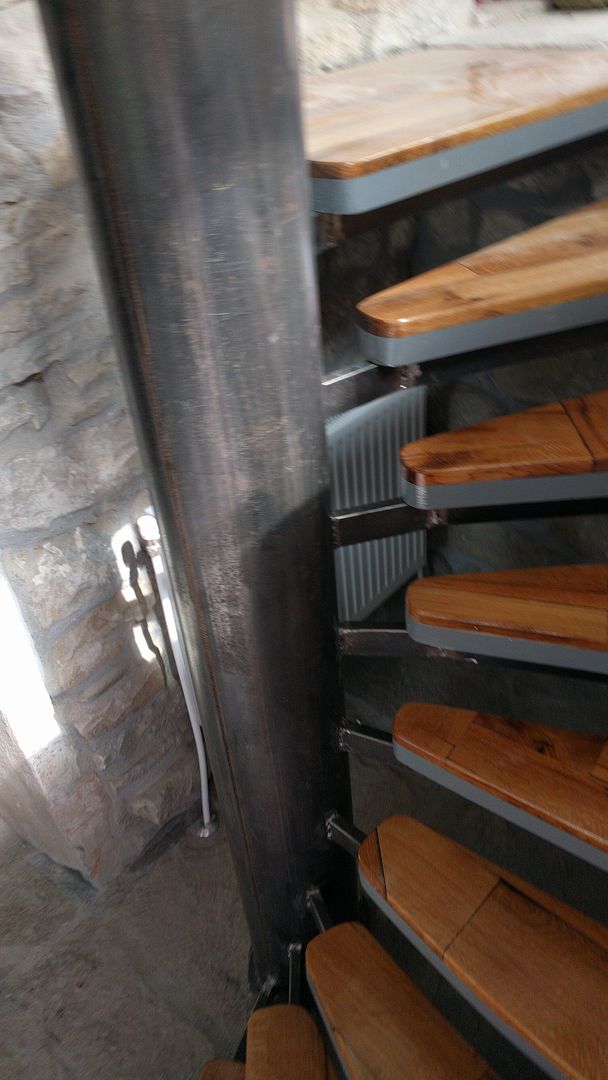
A small vertical foot was added to the front curve of the bottom step to prevent any flexing. You can also see that I covered the white metal heating radiator with construction scraps I found in the house to prevent it getting little welding spark burns on it.
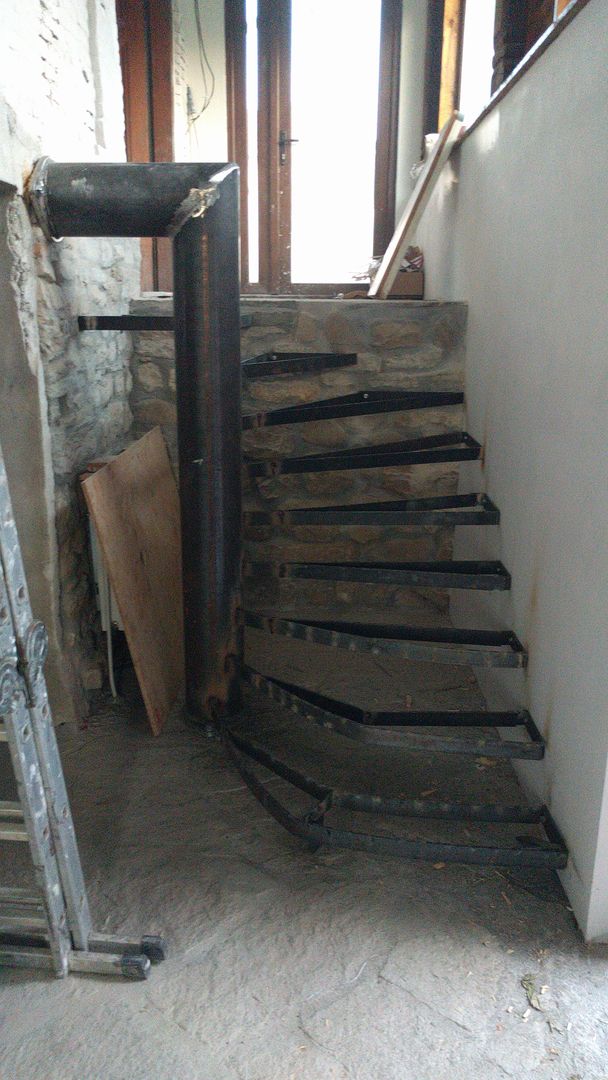
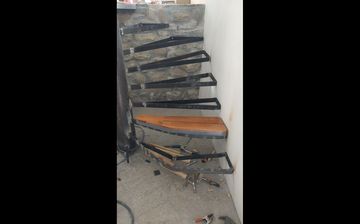
All the frames complete and ready to be stick welded with 7018 electrode.
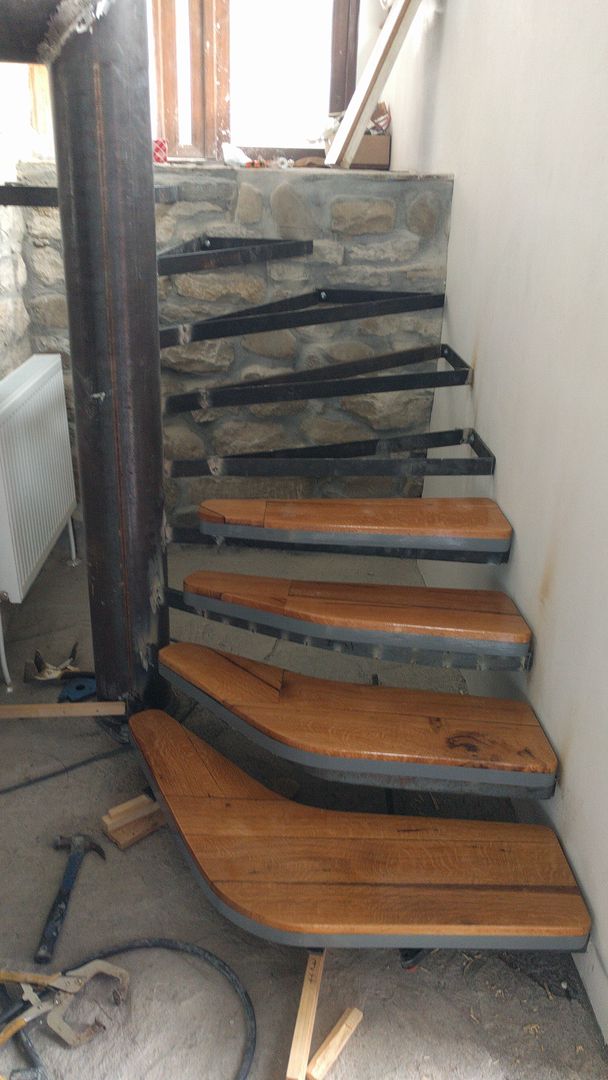
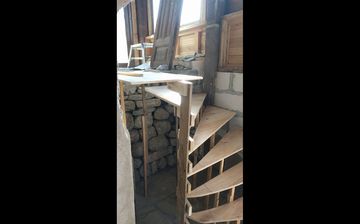
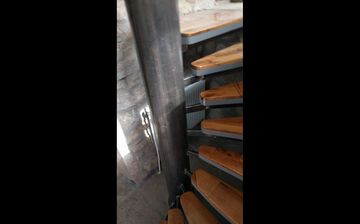
You can see that vertical metal supports were added to the steps along the right wall. That wall is made from aircrete and although there are special anchor bolts for this, I found that they do not hold much weight because the blocks are much more air than they are concrete.
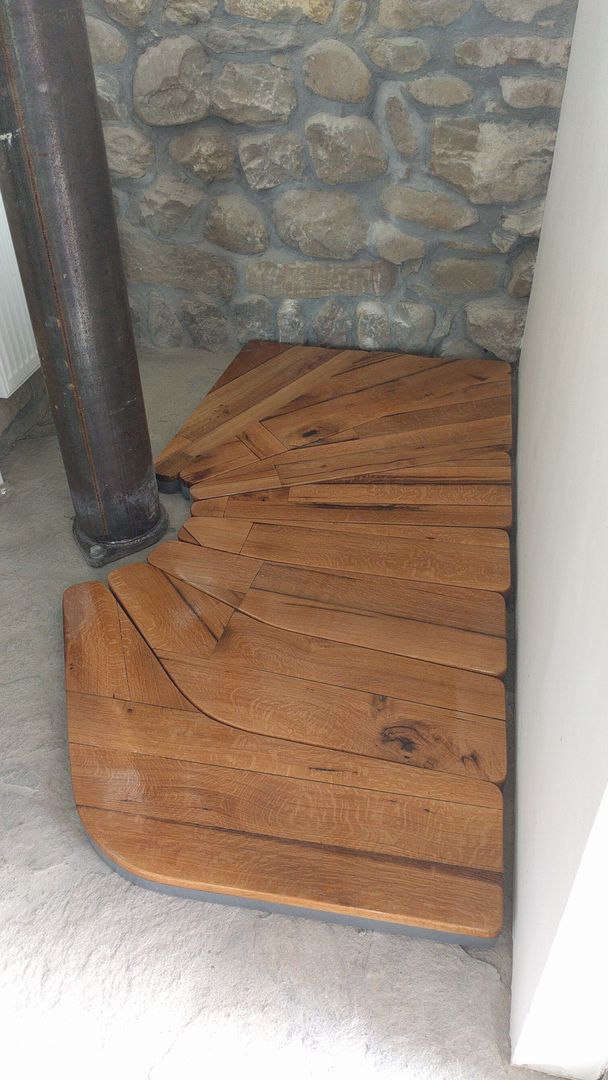
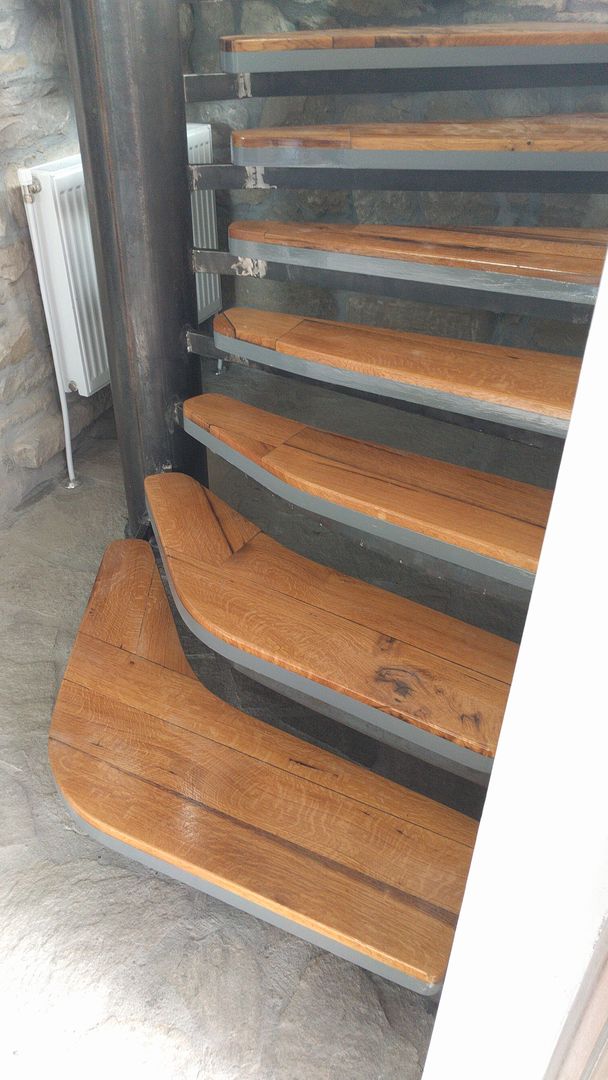
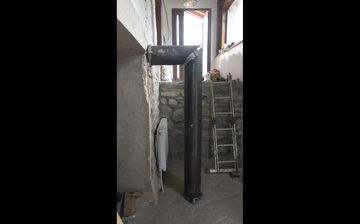
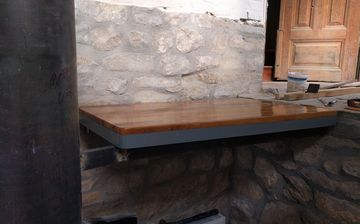
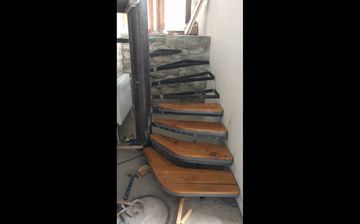
All done except for lacquering of the metal.
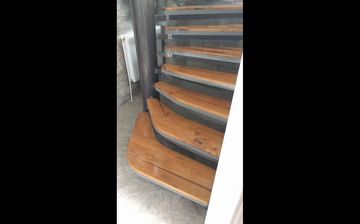

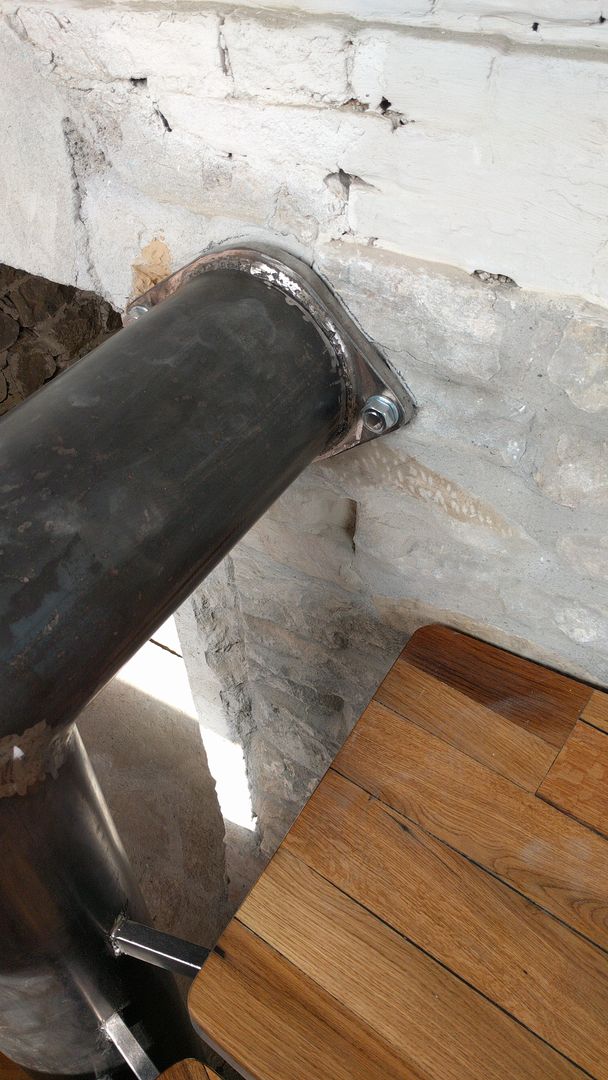
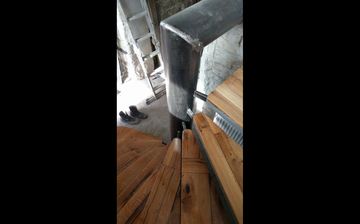
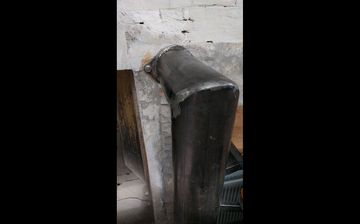
You can see that I made the corner joint of the pipe not perfectly sharp, but a little rounded, just for saftey's sake.
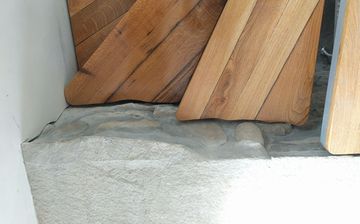
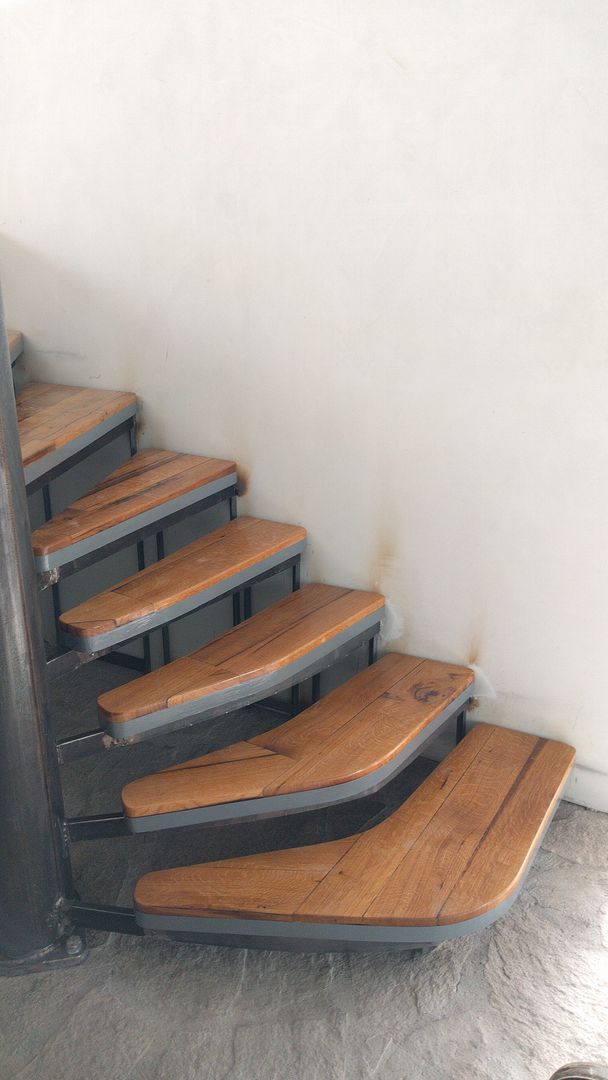
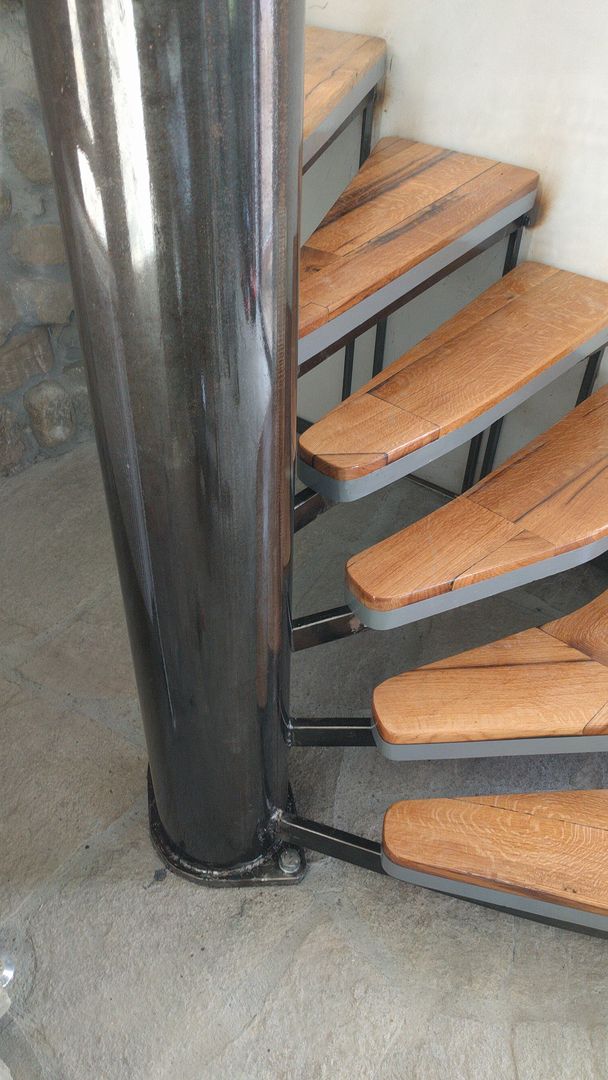
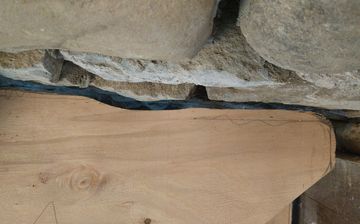
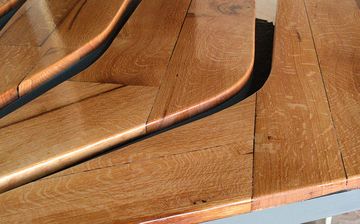
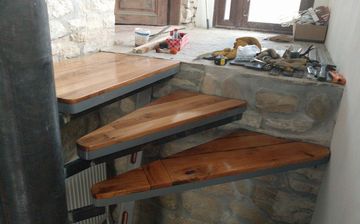
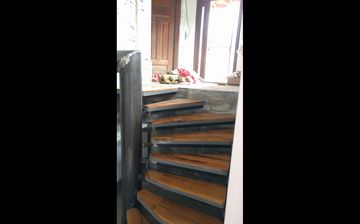
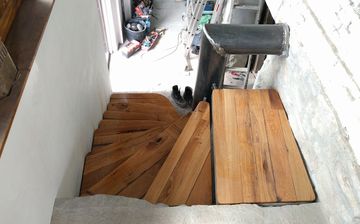
Those 2 steps with the curves seem to fit the rock shapes pretty good.
It's a good idea not to walk on the new pretty steps in your big ugly boots.
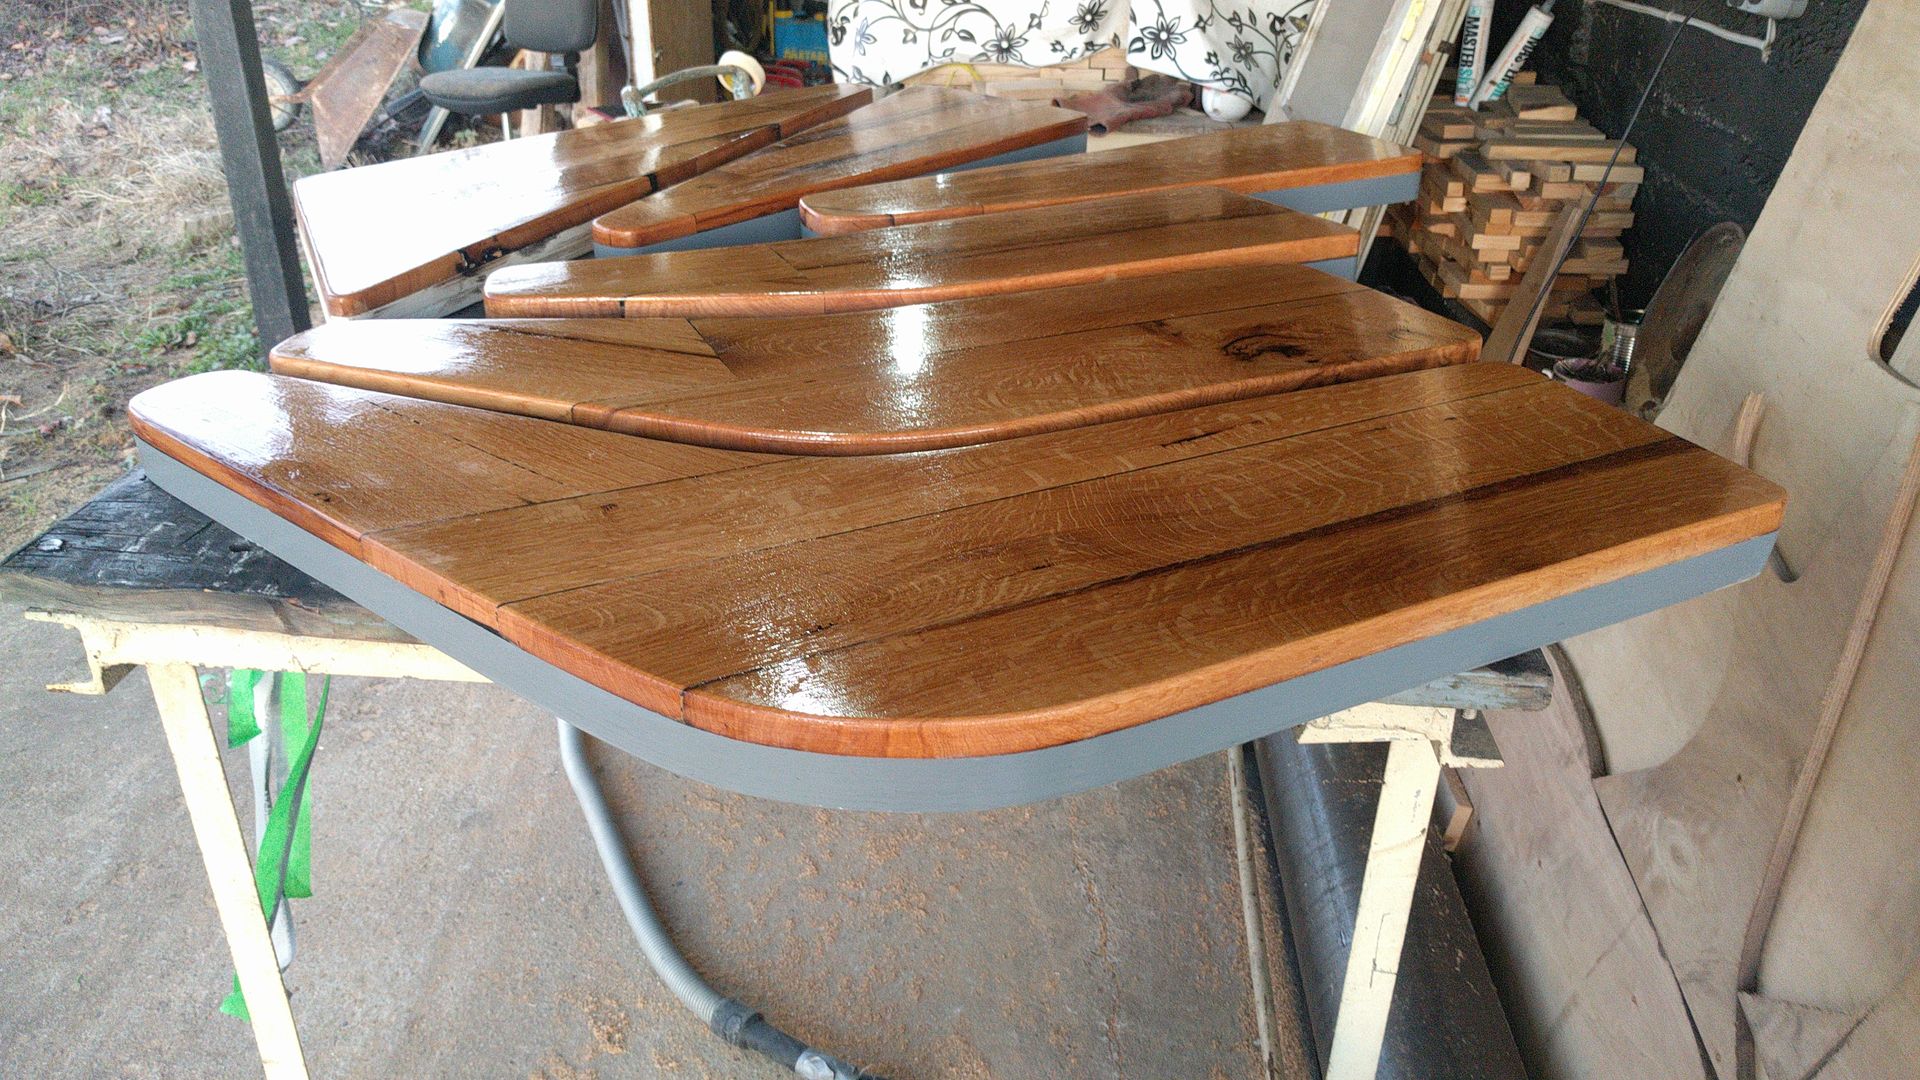
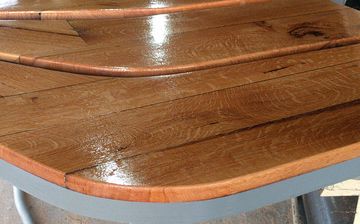
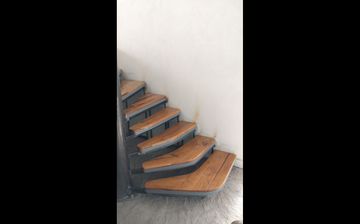
Shiny with lacquer.
I hope they get many years of use out of these steps!